The importance of a well-executed home improvement project cannot be overstated. Among the many areas you can tackle, replacing interior doors holds unique potential for transforming your living space. This comprehensive guide will walk you through every essential step of the process, ensuring you achieve a professional and aesthetically pleasing result.
Assessing Your Current Interior Doors
Before diving into the project, start by thoroughly assessing your current interior doors. Take note of their condition, design, and the functionality they offer. Are they worn out, outdated, or no longer fit with your home’s style? Understanding the specific issues will help you determine the scope and objectives of your project. Measure each door to get precise dimensions, as this will be essential information when purchasing new doors. Consider the door frames’ condition as well; if they’re damaged or warped, you might need to replace or repair them as part of the overall upgrade.

Choosing the Right Replacement Doors
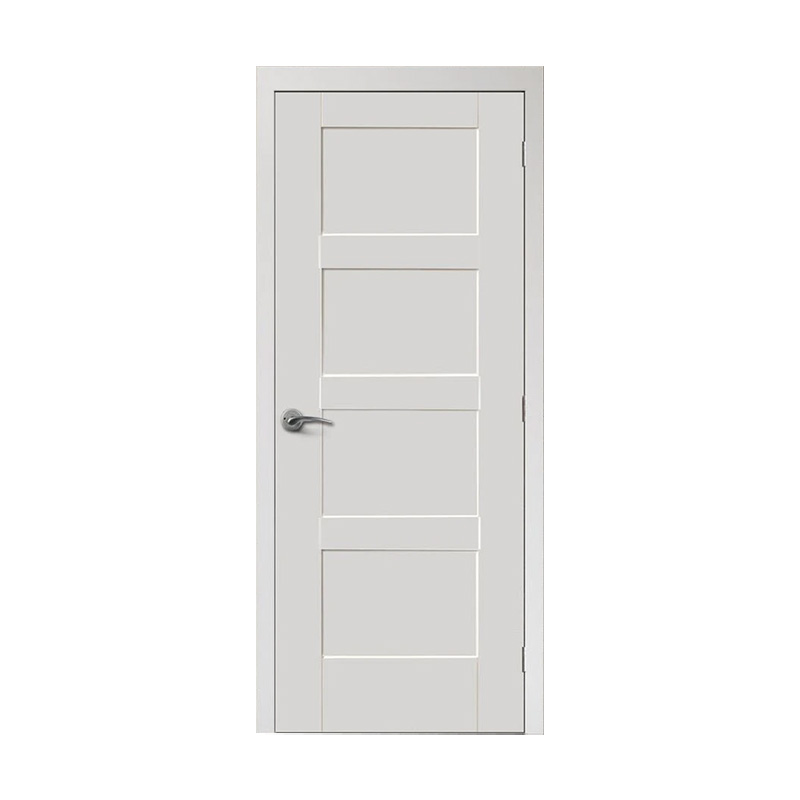
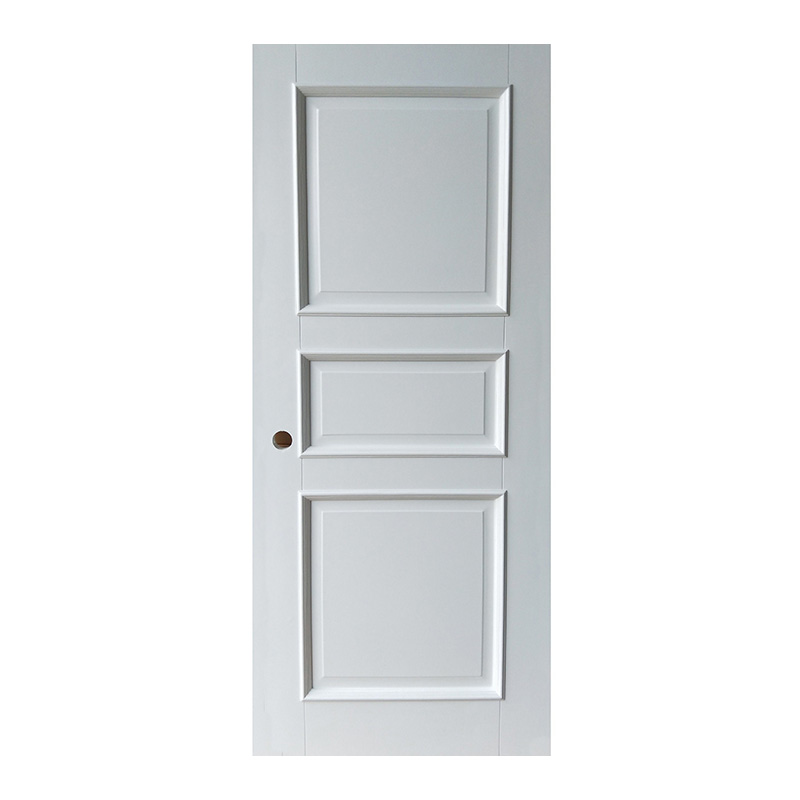
Selecting the perfect replacement doors involves balancing aesthetics, functionality, and budget. Start by exploring different door materials—solid wood, hollow core, and solid core are common options, each offering distinctive benefits. Solid wood doors provide durability and a high-end look, while hollow core doors are lightweight and budget-friendly. Solid core doors typically strike a balance between the two, offering good sound insulation and robustness at a reasonable cost. Additionally, consider the door’s style. Panel doors, flush doors, French doors, and barn doors each bring unique visual elements and functions to your interiors.
Gathering the Necessary Tools and Supplies
Preparation is the key to a seamless door replacement project. Assemble all the necessary tools and supplies beforehand to avoid interruptions. Essential tools include a tape measure, screwdriver, hammer, chisel, hand saw or circular saw, drill, level, and wood glue. You will also need supplies like shims, nails, screws, and door hinges. Depending on the type of door you select, you might require additional hardware such as handles, locks, or sliding door tracks. Having everything ready from the start will streamline the process and ensure you stay on schedule.
Removing the Old Door
The first practical step in replacing an interior door is removing the existing one. Open the door and use a screwdriver to remove the hinge pins, starting from the bottom hinge and working your way up. Once the hinge pins are out, carefully lift the door out of the frame. If you’re planning to reuse the hinges, make sure to store them safely. This step also provides a great opportunity to inspect the door frame for any potential repairs or adjustments needed before installing the new door.
Preparing the Door Frame
A well-prepared door frame sets the stage for a smooth installation process. Check the frame for any signs of damage or warping, and use a level to ensure it is straight and plumb. If the frame is not perfectly aligned, use shims to adjust it. For minor repairs, wood filler can be used to fill in small cracks or holes. Sand the surface once the filler is dry to create a smooth, even base for the new door. Taking the time to address any frame issues ensures that the new door will fit properly and operate smoothly.
Fitting and Cutting the New Door
Before installing the new door, it needs to be properly sized to fit the existing frame. Begin by marking the door based on the precise measurements taken from the old door or the door frame. If the new door is too large, use a hand saw or circular saw to trim it to the correct dimensions. Always trim from the bottom to maintain the door’s topside integrity, particularly if you are working with paneled or decorative doors. After cutting, sand down the edges to prevent splinters and ensure a smooth finish.
Installing the Hinges
Installing hinges correctly is crucial for proper door functionality. Start by marking the positions of the hinges on the new door, ensuring they align with the existing hinge placements on the frame. Use a chisel to create shallow mortises for the hinge leaves, enabling them to sit flush against the door. Attach the hinges using screws, ensuring they are securely fastened and positioned evenly. Once the hinges are in place, lift the door and align the hinges with the corresponding recesses on the door frame. Insert the hinge pins, starting with the top hinge to support the door’s weight effectively.
Hanging the New Door
With the new door fitted and the hinges in place, it’s time to hang it. This process may require an extra set of hands, as aligning the door perfectly can be challenging. Begin by inserting the hinge pins into the top hinge, followed by the middle and bottom hinges. Ensure the door opens and closes smoothly without any resistance. If you encounter issues, check the alignment and use shims for minor adjustments. The door should swing freely and sit evenly within the frame, indicating a successful installation.
Installing Additional Door Hardware
Once the door is securely hung, the next step involves installing any additional hardware, such as handles, locks, or latches. Start by marking the positions for the hardware based on the manufacturer’s instructions and the door’s design. Drill the necessary holes and attach the hardware components, ensuring a secure fit. Test the functionality of the handles and locks to guarantee they operate smoothly. Pay attention to detail, as properly installed hardware not only enhances the door’s functionality but also contributes to the overall aesthetics of your interior space.
Testing and Adjusting the Door
After installing the hardware, thoroughly test the door to identify any issues. Open and close the door multiple times to ensure it moves smoothly and doesn’t stick. Check the alignment and make any necessary adjustments using shims or by repositioning the hinges. If the door is misaligned, it may require sanding or trimming to achieve a perfect fit. Addressing these issues at this stage is crucial to ensure long-term functionality and prevent future problems.
Painting or Staining the New Door
To complete the transformation, consider painting or staining the new door to match your interior decor. Choose a finish that complements the overall style and color scheme of your home. Sand the door surface lightly to create a smooth base for the paint or stain. Apply a primer if necessary, followed by a coat of your chosen paint or stain. Allow sufficient drying time between coats to achieve a professional and durable finish. Properly finishing the door enhances its appearance and protects it from wear and tear.
Final Inspection and Clean-Up
With the door installed, hardware in place, and a fresh finish applied, conduct a final inspection to ensure everything meets your standards. Check for any remaining imperfections, such as uneven edges or loose hardware, and address them promptly. Clean up the work area, removing any debris, dust, or leftover materials. A thorough clean-up not only leaves your space looking tidy but also allows you to appreciate the full impact of your home improvement project. Taking the time for this final step ensures that you can fully enjoy the enhanced aesthetics and functionality of your new interior door.
Benefits of Replacing Interior Doors
Investing time and effort into replacing interior doors offers numerous benefits. New doors can significantly enhance the visual appeal of your home, adding a fresh and modern touch to your interiors. Properly installed doors improve functionality, providing smoother operation and better insulation. Upgrading from hollow core to solid core doors can also enhance soundproofing, creating a quieter and more comfortable living environment. Additionally, high-quality interior doors contribute to the overall value of your home, making it a worthwhile investment for both immediate enjoyment and future resale potential.
Tips for Maintaining Your New Interior Doors
To ensure your new interior doors remain in excellent condition, establish a regular maintenance routine. Clean the doors periodically using a mild detergent and a soft cloth to remove dust and dirt. Check the hardware periodically to ensure it remains securely fastened and well-lubricated. If you notice any signs of wear, such as squeaky hinges or loose handles, address them promptly to prevent further damage. By maintaining your doors, you prolong their lifespan and keep them looking and functioning their best.
Troubleshooting Common Issues
Despite your best efforts, you may encounter some common issues with your new interior doors. Problems like sticking doors, misaligned hardware, or difficulty closing can often be resolved with minor adjustments. For instance, sticking doors can be addressed by sanding down any high spots or using graphite powder to lubricate the hinges. Misaligned hardware may require tightening screws or realigning the components. If you face more significant issues, such as warping or structural damage, you may need to consult a professional for a thorough assessment and repair.
Conclusion: Enjoying Your Upgraded Space
Replacing interior doors is a rewarding home improvement project that can dramatically enhance your living space. By following this step-by-step guide, you ensure a smooth and successful installation process. From selecting the right door and gathering the necessary tools to hanging the door and adding finishing touches, each step is crucial for achieving a professional result. With your new doors in place, enjoy the improved aesthetics, functionality, and comfort they bring to your home. Properly maintained, your upgraded doors will continue to enhance your space for years to come.