French doors have long been celebrated for their elegance and practicality, offering a beautiful way to transition between indoor and outdoor spaces. They allow natural light to flow into your home while providing a captivating view of your garden, patio, or balcony. Whether you’re planning a renovation or simply looking to enhance your living space, the installation of French doors can elevate both functionality and aesthetics. In this article, we will take you through a detailed step-by-step guide for installing French doors, ensuring you achieve a seamless transition between your indoor and outdoor areas.
Understanding French Doors: Types and Styles
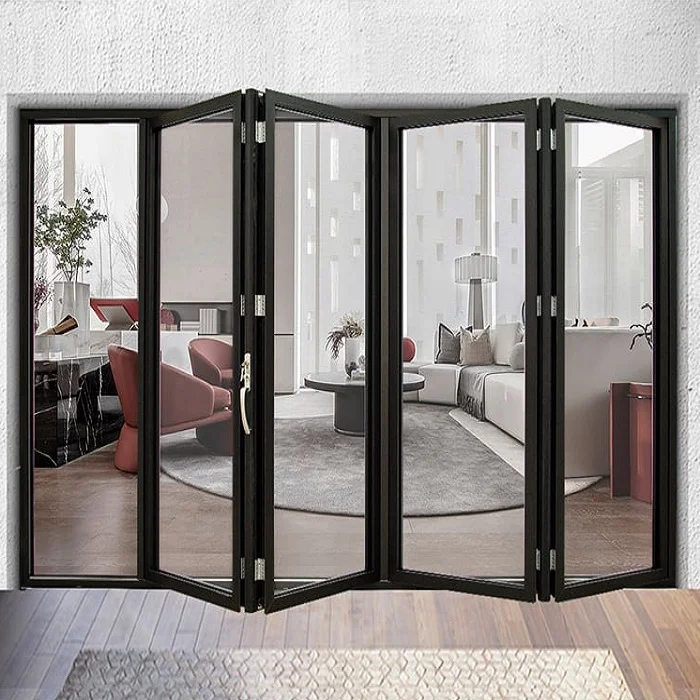
Before diving into the installation process, it’s crucial to choose the right type of French doors for your home. Generally, French doors come in various styles, materials, and designs, including traditional, modern, French patio, and sliding. Traditional French doors feature a two-door setup that swings open from the center, while modern options may incorporate sleek lines, minimal grids, and contemporary finishes. Materials can also vary; options include wood for a classic look, fiberglass for durability, and aluminum for a modern touch.
Once you’ve settled on the style, consider the specific requirements of your project. Do you need double or triple paned glass for energy efficiency? Is the frame material adaptable to your climate? Ensuring you have the right doors tailored to your environment is critical for both functionality and aesthetics. By establishing a solid foundation early on, you’ll make the installation process more straightforward and effective.
Gathering Tools and Materials: The Essentials
To install French doors successfully, proper tools and materials are essential. Start with the primary components: your French doors, including frames and all necessary hardware. You’ll typically need hinges, a doorknob or handle, and, depending on the design, a lock system. Next, collect tools such as a tape measure, level, hammer, screwdrivers, pry bar, and, preferably, a power drill.
Additionally, don’t forget about safety gear. Working with tools can pose risks; therefore, wearing safety glasses and gloves is a smart precaution. You may also want to have a caulk gun, wood screws, and insulation material handy, especially if you’re installing the doors in an area prone to drafts. Finally, be sure to read through the manufacturer’s instructions that accompany your doors. These instructions will often outline specific requirements for installation, ensuring you adhere to guidelines, which can vary considerably based on materials and design.
Preparing the Opening: Measuring and Framing
Before installing your new French doors, the existing doorway must be properly prepared. Begin by removing any old doors or door frames and clearing the area of debris. Ensure that the opening is clean and level—this is vital, as any irregularities can lead to problems later on. Use your tape measure to check the height and width of the doorway. Most French doors require specific dimensions, so accuracy here is key.
Once measurements are confirmed, inspect the overall structure. Make sure that the doorframe is free from rot or damage, and repair any issues as necessary. Adding shim pieces may provide a good alignment point for the new frame. If you’re not already familiar with the process, take your time during this step; any errors will magnify during installation, potentially creating gaps or misalignment that could ruin the aesthetic of your new French doors.

Installing the Frame: Ensuring a Secure Fit
With the opening properly prepared, it’s time to proceed to the next critical step: installing the door frame. It is important to build a stable foundation for your French doors. Begin by placing the frame into the doorway and use wood shims to adjust it, ensuring it fits snugly against the sides of the opening. Employ a level to make sure the frame is perfectly straight—both vertically and horizontally.
Fasten the frame using wood screws entered through the frame into the support structure of your home. Check back frequently with the level to ensure nothing shifts during the fastening process. Once the frame is securely in place, inspect for gaps that could invite drafts; if you notice any, it might be necessary to apply insulation or other sealing materials later to mitigate any issues. This foundational step is not only crucial for aesthetics but equally essential for energy efficiency.
Installing the Doors: Aligning and Securing
Now it’s time to install the French doors themselves. Carefully lift the first door into the frame. This step can be challenging, especially if the doors are heavy, so it may be beneficial to have a helper assist you. Start by attaching the hinges on the door. It’s usually easiest to begin with the top hinge; once that is secured, attach the bottom hinge and finally the middle hinge, if your door frame configures one. Be sure to keep a level handy, adjusting to ensure the door swings freely without rubbing against the frame.
Once the first door is properly aligned and fastened, repeat the same process with the second door. After both doors are mounted, test their functionality: they should open and close smoothly without excessive effort. Adjust the positioning of hinges as needed until both doors effortlessly meet in the middle. Take a moment to double-check that the doors are completely level; this might require re-shimming at the top or bottom.
Adding Hardware: Handles, Locks, and Finishing Touches
With the doors securely in place, the next step is to install the hardware. This often includes attaching the doorknob and lockset. As you attach these components, pay careful attention to the height and alignment, as improper placement can lead to awkward use or hinder accessibility. Ensure that the hardware fits well into the pre-drilled holes, and use manufacturing guidelines for alignment.
After securing the handles and hardware, don’t overlook the aesthetics. This step can involve adding decorative elements that complement your chosen style, such as casing around the door frame, which enhances the polished look of the installation. Employ caulking or weather stripping to seal any gaps between the frame and the door to improve energy efficiency. A well-installed set of French doors not only looks good but also should provide the highest thermal performance possible.
Sealing and Insulating: Protecting Your Investment
Now that your French doors are installed and adorned, it’s essential to ensure they are properly sealed and insulated. Gaps in the installation can lead to drafts and energy loss, undermining not just performance but comfort year-round. Start by applying caulk around the exterior edges of the door frame. Door and window caulking designed for exterior use will typically perform best in maintaining insulation integrity.
Consider the benefits of adding weather stripping along the bottom and sides of each door. This makes an effective barrier against air leaks and adds an extra layer of sound insulation. For homes in regions that experience extreme weather conditions, these measures become even more critical. Inspect for any minor imperfections in installation that might need attention. After applying the caulk and seals, give everything at least a day to cure before proceeding to use your new doors.
Conclusion: Embracing the Transition
Installing French doors can be a rewarding home improvement project, seamlessly connecting your indoor and outdoor spaces while enhancing your home’s aesthetic. By following this step-by-step guide, you can ensure a successful installation experience, regardless of your skill level. From understanding different styles and gathering the right tools to preparing the opening, securing the frame, and finally sealing and maintaining your new doors, each step is crucial for achieving a beautiful and functional result.