Installing shower doors can be a rewarding DIY project that enhances both the functionality and aesthetics of your bathroom. Whether you’re updating an old shower or adding new doors to a recently remodeled space, this guide will walk you through the essential steps of installation, from preparation to final adjustments. By following this detailed guide, even beginners can successfully tackle this home improvement project with confidence.
Understanding the Types of Shower Doors
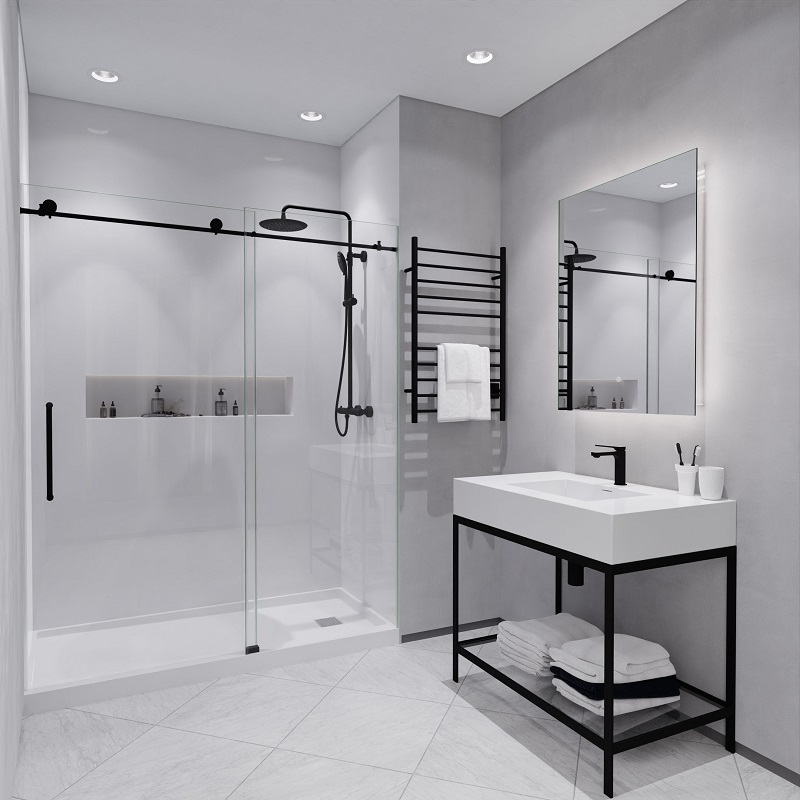
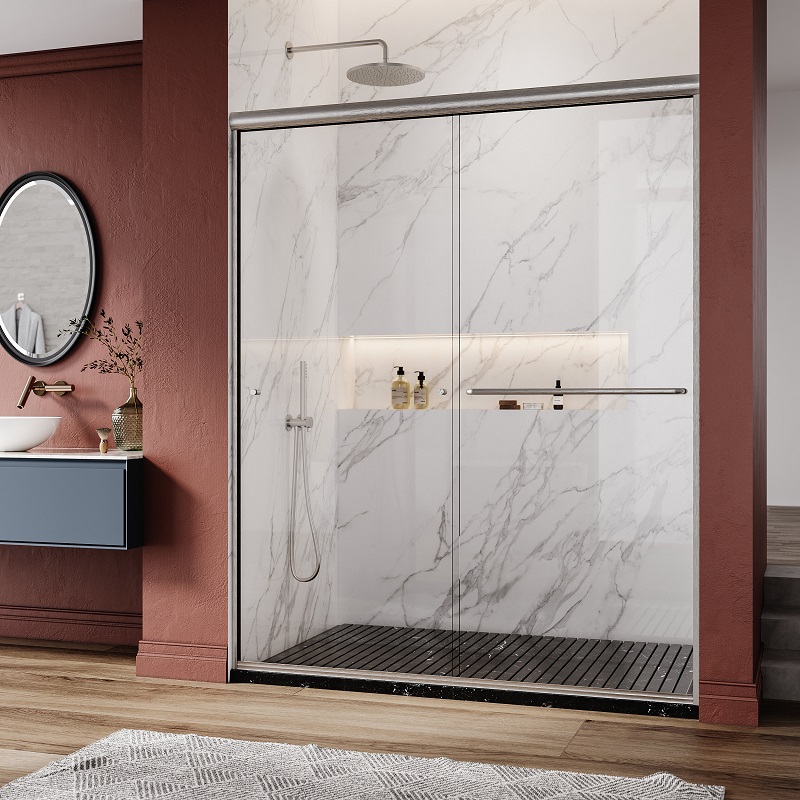
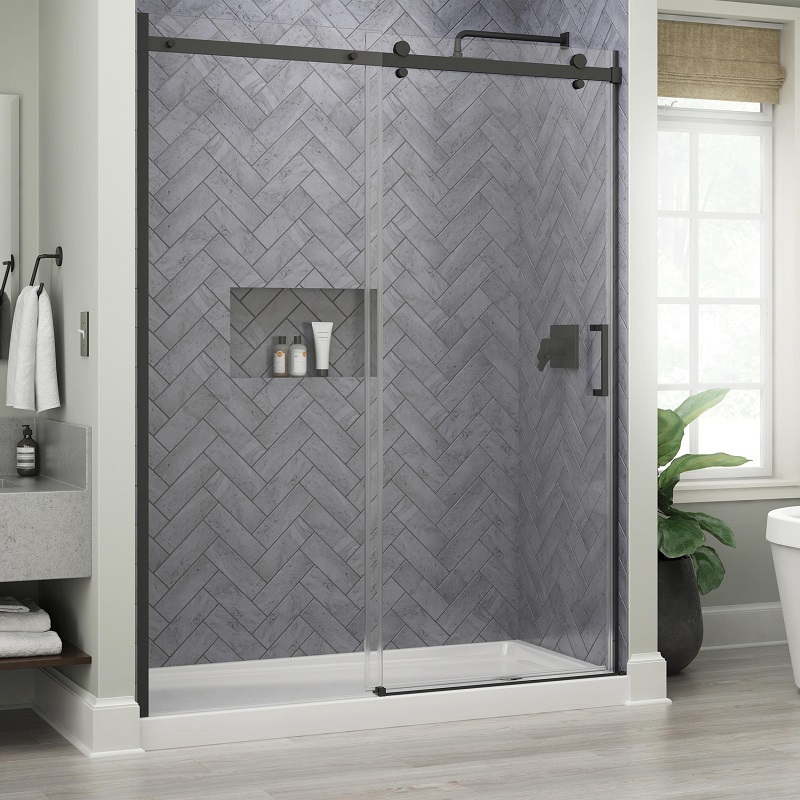
1.1 Sliding Shower Doors
Sliding shower doors are a popular choice due to their space-saving design. They operate on a track system, where one door slides past the other. This type is ideal for smaller bathrooms where outward swinging doors would be impractical. Sliding doors come in various styles, including framed, frameless, and semi-frameless options, each offering different aesthetics and levels of durability. When installing sliding doors, ensure that the track is level and securely fastened to avoid operational issues.
1.2 Bi-Fold Shower Doors
Bi-fold shower doors, also known as folding doors, are another space-efficient option. They fold in on themselves when opened, allowing for a wide entryway without requiring additional space. This style is particularly suitable for compact bathrooms. Installing bi-fold doors involves mounting the hinges and track system securely, and making sure that the doors align properly when folded. Proper alignment and adjustments are crucial to ensure smooth operation and prevent gaps that could lead to water leakage.
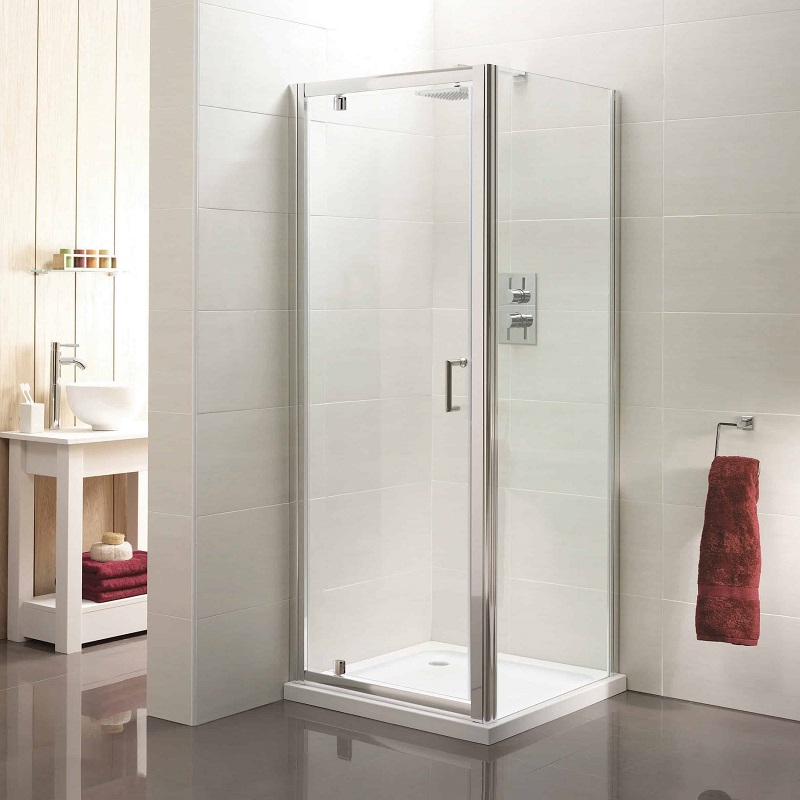
1.3 Hinged Shower Doors
Hinged shower doors, also known as pivot doors, swing open like traditional doors. They are often used in larger bathrooms where there is ample space for the doors to open outward. Hinged doors can be either framed or frameless, with frameless options providing a modern, sleek look. When installing hinged doors, it’s important to ensure that the door frame is square and that the hinges are mounted securely. Proper installation of these doors requires careful measurement and leveling to ensure that they close tightly and prevent water leakage.
Gathering the Necessary Tools and Materials
2.1 Essential Tools
Before beginning the installation process, gather all the necessary tools. These typically include a drill, level, tape measure, screwdriver, and a utility knife. A caulking gun and silicone sealant will also be required for sealing gaps and ensuring a watertight installation. Depending on the type of shower door you are installing, you might also need additional tools such as a stud finder or a glass cutter. Having all these tools ready will make the installation process smoother and more efficient.
2.2 Materials Needed
In addition to tools, you will need specific materials for the installation. These include the shower door kit (which usually comes with tracks, rollers, and handles), mounting hardware (such as screws and anchors), and sealant. It’s important to purchase high-quality materials that are compatible with your shower door type. If you’re installing a glass door, make sure the glass panels are of the appropriate size and thickness as specified by the manufacturer. Checking the contents of the shower door kit against the installation instructions is crucial to ensure you have all the necessary components.
Preparing the Installation Area
3.1 Measuring and Planning
Accurate measurements are critical for a successful shower door installation. Begin by measuring the width and height of the shower opening where the doors will be installed. Check the measurements at multiple points to ensure consistency, as walls and floors may not be perfectly square. Planning the installation involves determining the type of shower door that best fits your space and understanding the layout of the tracks or hinges. Mark the locations for mounting hardware and any necessary adjustments to accommodate your specific door type.
3.2 Preparing the Shower Space
Before installing the shower doors, prepare the shower space by cleaning and clearing the area. Remove any old door tracks, hardware, or caulking. Ensure that the surfaces where the new doors will be mounted are clean, dry, and free of debris. If necessary, make any repairs to the walls or floor to ensure a smooth and even surface. For glass doors, inspect the shower walls and floor for any damage or unevenness that could affect the installation. Proper preparation will help ensure a clean, professional finish.
Installing Sliding Shower Doors
4.1 Installing the Track System
Begin by installing the track system for sliding shower doors. This typically involves attaching the top and bottom tracks to the shower enclosure. Use a level to ensure the tracks are perfectly horizontal, as any misalignment can cause the doors to operate improperly. Mark the drilling locations, drill pilot holes, and then secure the tracks with screws. For the bottom track, ensure it is positioned correctly to support the weight of the sliding doors and allow for smooth operation.
4.2 Attaching the Doors
Once the tracks are in place, you can attach the sliding doors. Begin by installing the rollers onto the top of each door according to the manufacturer’s instructions. Lift the doors into the top track and carefully lower them onto the bottom track. Adjust the rollers to ensure the doors slide smoothly and are properly aligned within the tracks. Once the doors are positioned correctly, check for any gaps or misalignment and make necessary adjustments to ensure a snug fit.
Installing Bi-Fold Shower Doors
5.1 Mounting the Track and Hinges
Installing bi-fold shower doors involves mounting both the top and bottom tracks as well as the hinges. Start by securing the top track to the shower enclosure, ensuring it is level and properly aligned. Attach the hinges to the sides of the shower opening, making sure they are spaced evenly to support the folding action of the doors. The bottom track should be installed in a similar fashion, providing a guide for the bottom of the doors. Accurate placement of these components is crucial for the smooth operation of the bi-fold doors.
5.2 Hanging the Doors
With the tracks and hinges in place, you can now hang the bi-fold doors. Attach the doors to the hinges and ensure they are properly aligned within the tracks. Test the folding mechanism to confirm that the doors open and close smoothly. Adjust the hinges and tracks as needed to eliminate any binding or gaps. Once the doors are properly adjusted, check the overall fit and alignment to ensure a secure and functional installation.
Installing Hinged Shower Doors
6.1 Installing the Hinges and Frame
For hinged shower doors, begin by installing the frame and hinges. Secure the hinge mounts to the wall or shower enclosure, ensuring they are level and aligned with the door opening. Install the frame components according to the manufacturer’s instructions, making sure that all connections are tight and secure. The frame should provide a sturdy support for the hinged doors, allowing them to swing open and closed without obstruction.
6.2 Hanging the Doors
Once the frame and hinges are installed, you can hang the shower doors. Attach the doors to the hinges, making sure they are properly aligned and level. Test the swinging action to ensure the doors open and close smoothly without any resistance. Adjust the hinges if necessary to achieve a proper fit and alignment. After installation, check for any gaps or misalignment and make final adjustments to ensure a watertight seal and proper functionality.
Sealing and Final Adjustments
7.1 Sealing the Edges
To prevent water leakage and ensure a watertight seal, apply silicone sealant around the edges of the shower doors. Carefully run a bead of sealant along the seams where the doors meet the wall and the floor. Smooth the sealant with a caulking tool or your finger to ensure an even application and fill any gaps. Allow the sealant to cure according to the manufacturer’s instructions before using the shower to ensure a durable and effective seal.
7.2 Final Inspection
Conduct a final inspection to ensure that the shower doors properly install and functioning correctly. Check for any gaps, misalignment, or operational issues. Test the doors by opening and closing them several times to ensure they operate smoothly and do not stick or bind. Inspect the sealant to ensure it has fully cured and created a watertight barrier. Make any necessary adjustments or repairs before completing the project.
Conclusion
Installing shower doors can be a manageable and satisfying DIY project with the right preparation and tools. By understanding the different types of shower doors, gathering the necessary materials, and following the step-by-step instructions, even beginners can achieve professional-looking results. Proper installation not only enhances the functionality of your bathroom but also contributes to a clean and polished look. With regular maintenance and care, your new shower doors will provide lasting performance and enjoyment.