
Maintaining clean shower doors can significantly enhance the overall appearance and hygiene of your bathroom. Water spots, soap scum, and grime can quickly accumulate, making the doors look dull and uninviting. Understanding the best techniques for cleaning and maintaining your shower doors will ensure they remain sparkling and clear. This comprehensive guide delves into effective methods and tips for achieving a pristine finish, addressing common issues, and providing solutions for various types of shower doors.
Understanding the Types of Shower Doors
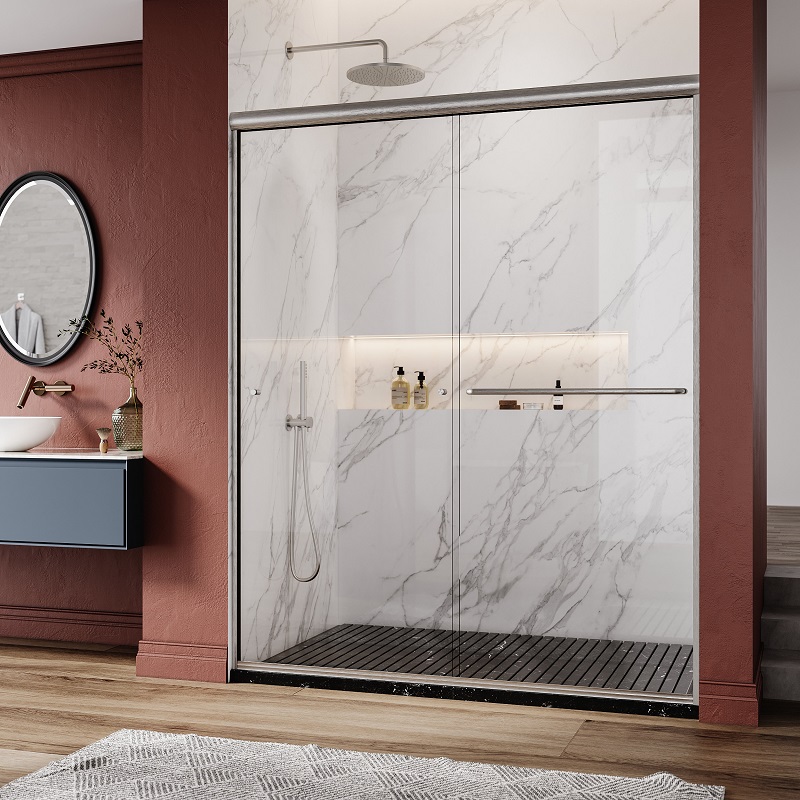
Framed Shower Doors
Framed shower doors are encased in metal or plastic frames, which can trap water and soap scum. Cleaning these doors involves paying attention to both the glass panels and the frame itself. The metal frames are prone to corrosion, so it’s crucial to use non-abrasive cleaners that won’t damage the finish. A combination of white vinegar and water is often effective for removing soap scum and water spots. To clean the metal frame, use a cloth dipped in the solution and scrub gently to avoid scratching.
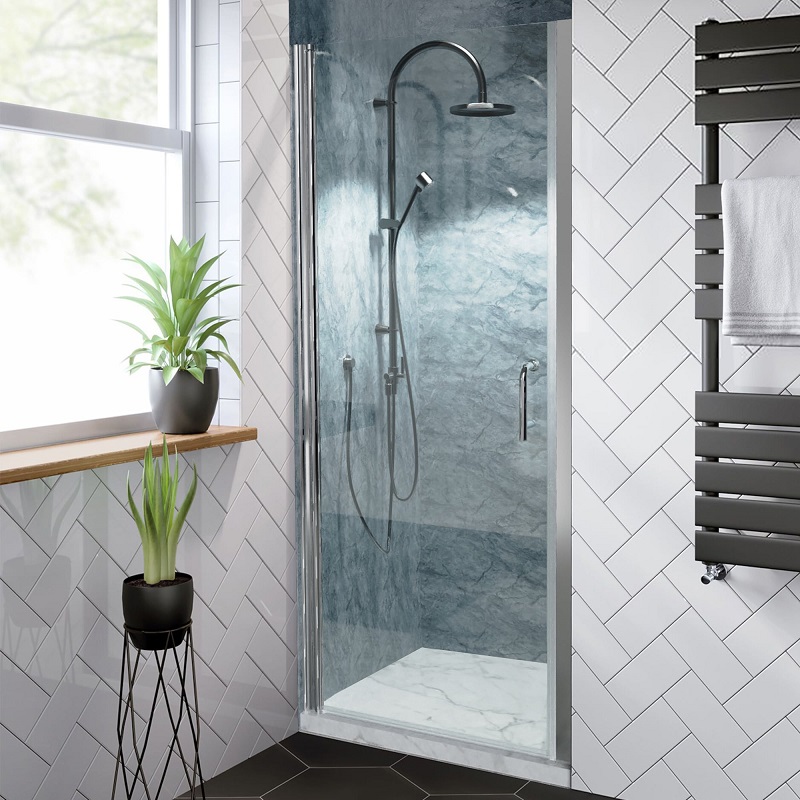
Frameless Shower Doors
Frameless shower doors are made of thicker glass and are designed without metal framing, offering a modern and sleek appearance. While they are less prone to collecting soap scum in the frame, they can still attract water spots and mineral deposits. The cleaning process for frameless doors typically involves using specialized glass cleaners or a mixture of vinegar and water. It’s important to use a squeegee after each shower to prevent the buildup of hard water stains. For more stubborn deposits, a mixture of baking soda and water can be used as a paste to scrub the glass gently.
Essential Cleaning Tools and Supplies
Choosing the Right Cleaners
Selecting the appropriate cleaners is crucial for effective shower door maintenance. Commercial glass cleaners are formulated to remove streaks and leave a sparkling finish, but they can sometimes contain harsh chemicals. For a more natural approach, a mixture of white vinegar and water works well for breaking down soap scum and mineral deposits. Baking soda can be used as a mild abrasive to tackle tougher stains without scratching the glass. Ensure that any cleaner you use is suitable for the type of glass and any surrounding materials to avoid damage.
Cleaning Tools
Using the right tools can make a significant difference in the effectiveness of your cleaning routine. A squeegee is an essential tool for removing excess water and preventing water spots. Soft cloths or microfiber towels are ideal for wiping down surfaces without leaving lint or scratches. For more detailed cleaning, a non-abrasive sponge or a soft-bristled brush can help remove stubborn grime. Avoid using steel wool or harsh scrubbers, as these can scratch and damage the glass surface.
Step-by-Step Cleaning Process
Preparing the Area
Before you start cleaning, it’s important to prepare the area to ensure a thorough job. Remove any personal items from the shower, such as soap dishes or shampoo bottles, to have clear access to the doors. If your shower has a shower mat or rug, remove it as well to avoid getting cleaning solutions on it. It’s also a good idea to ventilate the bathroom by opening a window or turning on the exhaust fan to ensure proper air circulation and to help the cleaning solutions work effectively.
Applying the Cleaner
For framed shower doors, start by applying your chosen cleaner to the glass and frame. Use a spray bottle for even distribution, or apply the cleaner directly to a cloth if you prefer. For frameless doors, spray the cleaner onto the glass surface, ensuring that you cover all areas, including the edges and corners. Allow the cleaner to sit for a few minutes to break down soap scum and mineral deposits. For tough stains, you may need to gently scrub the surface using a non-abrasive sponge or brush.
Scrubbing and Rinsing
Once the cleaner has had time to work, use a soft cloth or sponge to scrub the glass gently. Focus on areas with visible stains or buildup, using circular motions to ensure that all residue is removed. For framed doors, don’t forget to clean the metal frame and any rubber seals. After scrubbing, rinse the glass thoroughly with warm water to remove any remaining cleaner and loosened grime. It’s important to rinse completely to prevent streaks and residue from drying on the surface.
Drying and Polishing
After rinsing, use a squeegee to remove excess water from the glass. Start from the top of the door and work your way down to prevent water spots and streaks. Once you’ve used the squeegee, follow up with a dry microfiber cloth or towel to buff the glass and ensure a sparkling finish. Pay attention to the edges and corners, where water can often collect. For an extra shine, you can apply a glass polish or a mixture of water and vinegar to the glass surface, then buff it to a clear shine.
Preventing Future Build-Up
Regular Maintenance
To keep your shower doors looking their best, regular maintenance is key. After each use, use a squeegee to remove water from the glass and frame. This simple step can significantly reduce the buildup of soap scum and water spots. Additionally, regularly wiping down the doors with a microfiber cloth or a glass cleaner can help maintain clarity and prevent stains. Setting up a cleaning schedule, such as once a week or bi-weekly, can help you stay on top of maintenance and keep your shower doors sparkling.
Installing a Water Repellent
Consider applying a water repellent or glass protector to your shower doors. These products create a protective barrier on the glass that repels water and reduces the buildup of soap scum and mineral deposits. Water repellents are typically applied after cleaning and drying the glass. Follow the manufacturer’s instructions for application and reapplication to ensure optimal performance. Using a water repellent can make cleaning easier and help maintain the appearance of your shower doors over time.
Addressing Stubborn Stains and Buildup
Dealing with Hard Water Stains
Hard water stains can be particularly challenging to remove. These stains are caused by mineral deposits from water that leave a cloudy or filmy residue on the glass. To tackle hard water stains, use a mixture of equal parts white vinegar and water. Apply the solution to the stained areas and let it sit for 10-15 minutes to dissolve the minerals. Use a soft cloth or sponge to scrub the area gently, then rinse and dry thoroughly. For very stubborn stains, a paste made from baking soda and water can be applied and scrubbed into the affected areas.
Removing Mold and Mildew
Mold and mildew can develop in the damp environment of a shower, leading to unsightly spots and potential health concerns. To remove mold and mildew from shower doors, use a solution of bleach and water. Mix one part bleach with four parts water and apply it to the affected areas. Let the solution sit for 10-15 minutes to kill mold spores. Scrub the area with a soft brush or sponge, then rinse thoroughly with warm water. Be sure to ventilate the bathroom while using bleach and to wear protective gloves and eyewear.

Conclusion
Achieving a Sparkling Finish
Achieving and maintaining a sparkling finish on your shower doors requires consistent cleaning and proper care. By understanding the types of shower doors you have, using the right tools and cleaners, and following a regular maintenance routine, you can keep your doors looking clear and fresh. Addressing specific issues like hard water stains and mold promptly will help prevent more serious buildup and extend the life of your shower doors. With these techniques, you can enjoy a pristine bathroom space that enhances both functionality and aesthetics.
Enjoying a Fresh and Clean Bathroom
Ultimately, a clean and well-maintained shower door contributes to a more enjoyable and hygienic bathroom experience. The effort you put into cleaning and caring for your shower doors will pay off with a sparkling finish and a more pleasant environment. Embrace these cleaning techniques and tips to ensure your shower doors remain a highlight of your bathroom for years to come.