Introduction to Shower Door Options
Choosing the right shower doors can transform the feel of your bathroom. Each type offers different benefits and considerations for installation. Let’s review the most common styles.
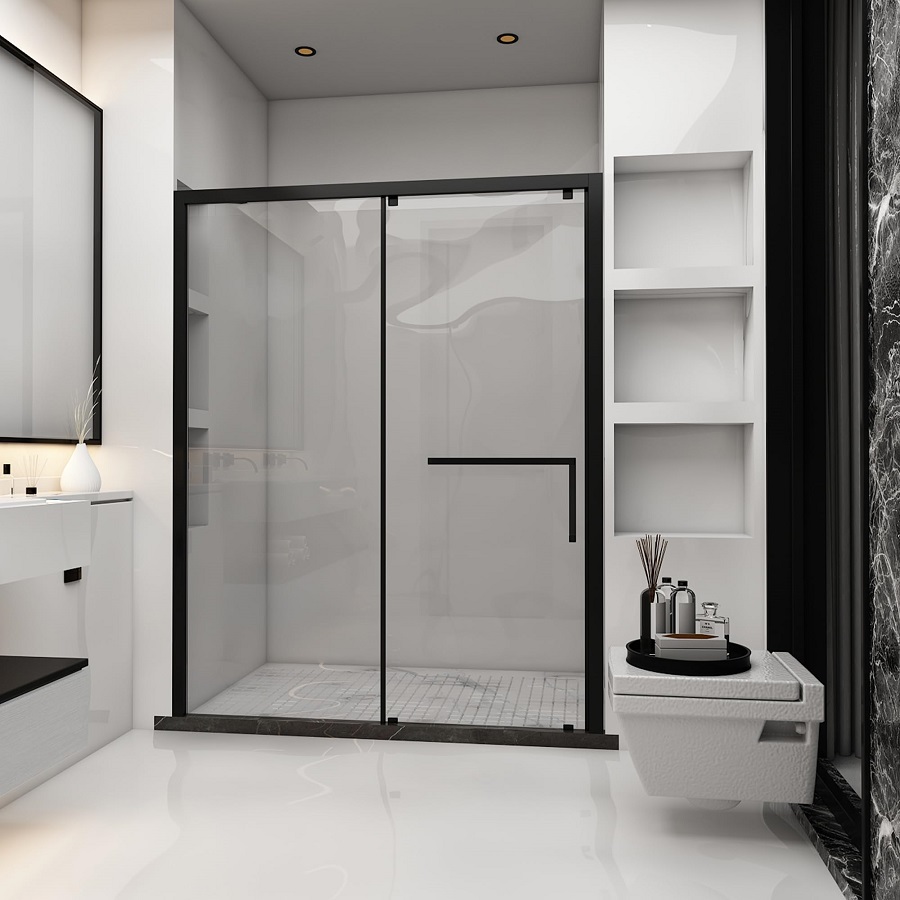
Framed Shower Doors
Framed shower doors are cost-effective and stable. They come with a metal frame that holds the glass in place. These are great for those new to DIY since they’re simpler to install. The frame also helps in preventing leaks.
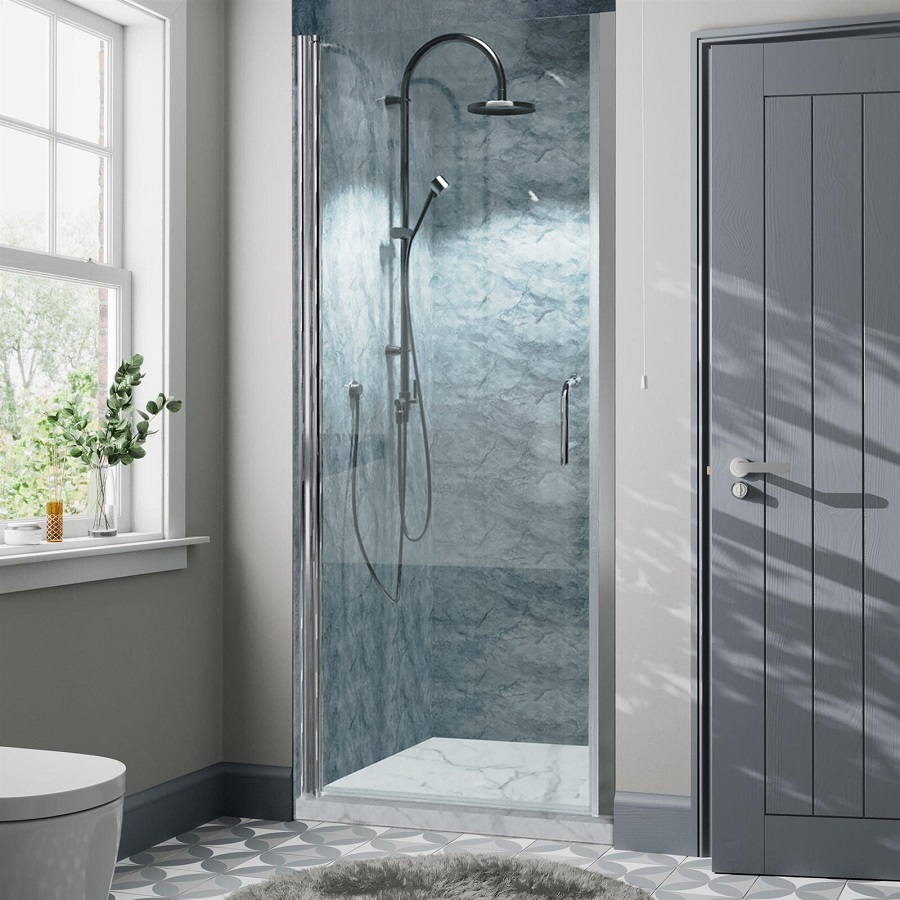
Frameless Shower Doors
Frameless shower doors give a modern, clean look. They make bathrooms appear larger due to minimal hardware. Thick tempered glass is used for support instead of a frame. However, they can be tricky to install and cost more than framed options.
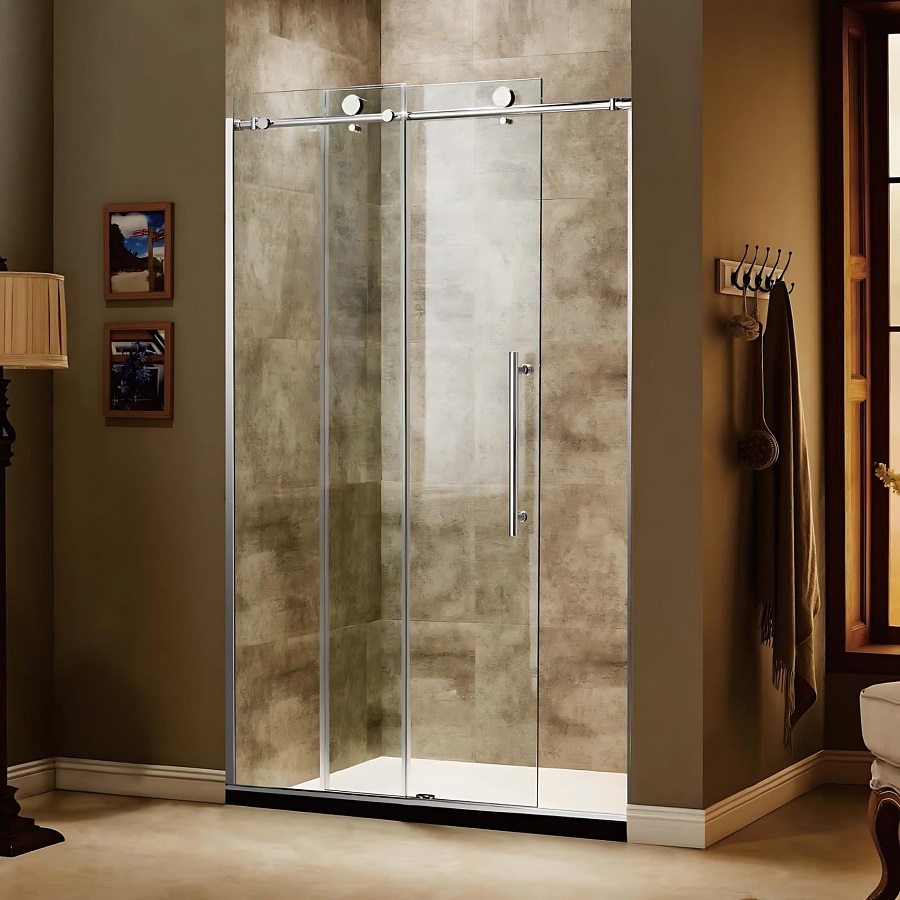
Sliding Shower Doors
Sliding doors, also known as bypass doors, are ideal for small spaces. They don’t swing out, so they save room. These can be framed or frameless and glide on tracks at the top and bottom of the enclosure. They’re convenient and utilize space efficiently.
Essential Tools and Materials for Installation
Basic Tools Required
When installing shower doors, the right tools are key to a successful job. Start by gathering essential items such as a tape measure, level, drill, hacksaw, screwdrivers, caulking gun, utility knife, and pencil. You may also need a plastic mallet, hammer, safety glasses, and work gloves for protection and precision in your work.
Additional Materials Needed
In addition to your basic tools, you’ll require specific materials to ensure a stable installation. Make sure you have clear, mildew-resistant silicone caulk, wall anchors, and stainless steel screws. Your shower door kit typically includes the door, tracks, and hardware. Keep cleaning supplies handy to tidy up post-installation. For a neat job, measure twice and cut once, check all tools are in good condition, and have all materials within reach before starting.
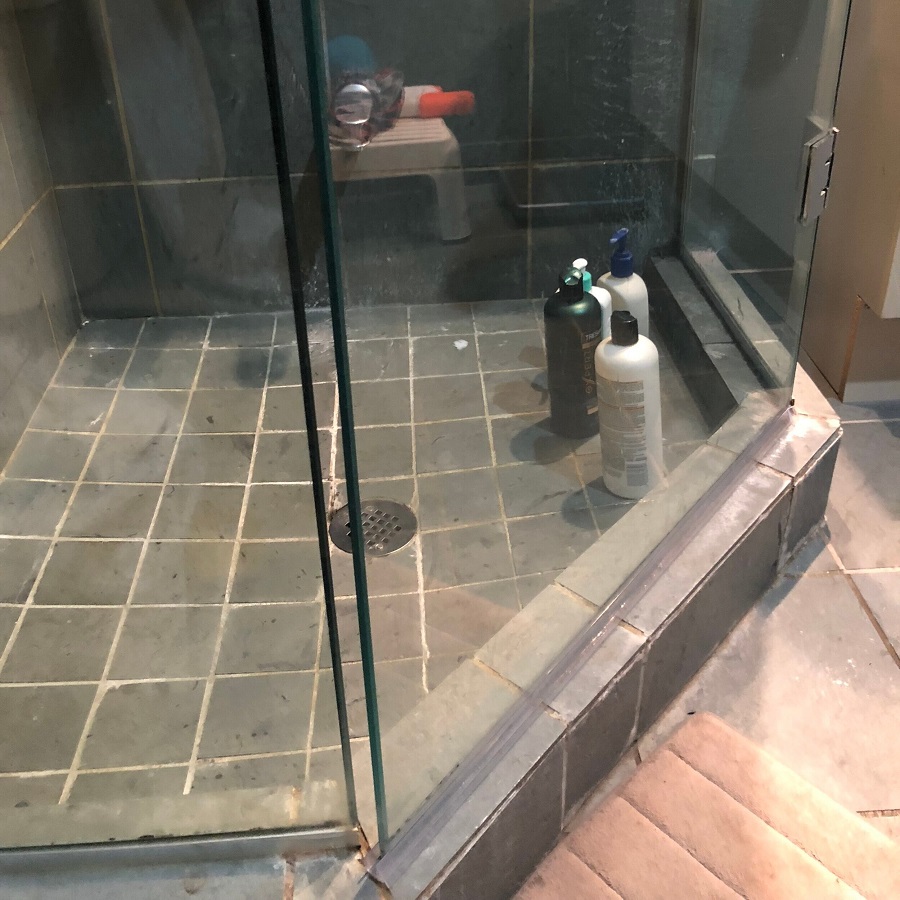
Preparing for Installation
Proper preparation is crucial when installing shower doors. Begin by measuring and ensuring walls are plumb.
Measuring the Shower Opening
To start, measure your shower’s width at three heights. This ensures the door fits perfectly. Use the smallest of these measurements when buying your shower door. Also measure from the door’s pivot to nearby objects to avoid any obstructions.
Ensuring Walls are Plumb
Use a level to check your walls. If they are over half an inch off over 5 feet, use a filler strip. This ensures your door functions properly and achieves a watertight seal.
Installing the Shower Door Base Track
The base track installation sets the stage for a steady shower door setup. Here’s how to get started.
Cutting and Positioning the Base Track
Firstly, measure the shower threshold for the base track. Ensure measures are exact. Nip the track using a hacksaw, then smoothen edges with a file. It’s vital to vacuum metal scraps to avoid scratches.
Center the trimmed base track on the threshold. Mark its position at both ends with a pencil. This aids repositioning if the track moves during installation.
Securing the Track
Once positioned, the base track needs securing. Apply a bead of clear silicone caulk under the track, if the manufacturer permits, for waterproofing. Precisely align and fix the track using the correct hardware from the shower door kit.
Mounting the Side Jambs
Once the base track is in place, it’s time to focus on the side jambs. These provide the vertical framework for your shower door and are crucial for the correct and smooth operation of the door.
Installing the Hinge-Side Jamb
Begin with the jamb on the hinge side. This is where the door will hang. Align its bottom with the base track, holding it against the wall. Use a level to make sure it’s plumb, marking where screws will go. Drill holes for the screws, using anchors if needed. Then, securely screw the jamb in place. Make sure it’s straight and level.
Setting Up the Strike-Side Jamb
Next, install the jamb on the opposite side. This jamb will hold the door in place when closed. If you have a side panel, set this up first. Then, position the jamb, making sure it lines up with the hinge jamb. Mark the screw positions, drill, and fasten the jamb. The door should close snugly against this jamb. It may take a few adjustments to get it just right.
Hanging the Shower Door
Hanging the shower door is a delicate procedure. It requires a steady hand and a keen eye for detail to ensure that the door functions properly and maintains a watertight seal.
Attaching the Shower Door to the Hinge Rail
Begin by lifting the door, preparing to swing it out from the shower area. Next, line up the hinge rail with the previously installed hinge-side jamb. With help, guide the hinge rail into place. Be careful not to knock the glass on any hard surfaces to avoid damage. Secure the door into the jamb with care, ensuring that all parts align correctly.
Adjusting for Plumb
Upon setting the door, check the plumb of its edge opposite the hinges. If the door isn’t vertically straight, adjust the hinge rail top or bottom accordingly. This helps the door swing freely and close soundly. Fine-tune the door to be upright before securing it in place. While holding the door steady, drill pilot holes through the hinge rail into the hinge-side jamb. Insert and tighten the screws that came with your shower door kit to affix the hinge rail securely.
Installing Additional Components
When installing shower doors, extra parts may need adding. These steps complete your setup.
Setting the Header
The header is a bar that adds strength to the top. Measuring is key to get the right length. Cut the header then smooth out any sharp bits. Put it on top of the side panels and hinge jamb. Make sure it fits tight. Secure it with screws, drilling small guide holes first. This keeps the shower door firm.
Attaching the Drip Rail
A drip rail stops water from leaking out. Cut it to match the door’s width, then fix the rubber sweep inside it. This sweep should lightly touch the shower base when the door shuts. Fasten the drip rail at the door’s bottom. Tilt it a bit towards the hinges for the water to flow back into the shower. This step is vital for a dry bathroom floor.
Sealing and Adding Finishing Touches
A proper seal and some final additions make your new shower door complete and functional.
Applying Silicone Caulk
Once the door is up, it’s time to waterproof it. Apply clear, mildew-resistant caulk along the in and outside of your base track. Do the same for the inside of both side jambs. Use a smooth, steady motion for a clean line. Wipe any excess caulk right away for a polished look. This keeps water from getting under the track or behind walls, preventing damage and repairs later on.
Installing Door Handles
The last step is to put on the door handles. Line up the outside handle with the holes in the door. Join it to the inside handle, then tighten screws well. This makes sure the handle is firm and ready to use. Your shower door is now installed and ready for a test run. Look for leaks or gaps and fix them as needed. Enjoy your new shower door!
Troubleshooting Common Installation Issues
When installing shower doors, you might face some common issues. Here’s how to deal with them efficiently.
Resolving Uneven Walls and Leaks
Uneven surfaces can make the installation tricky. If walls are not plumb, shims can help level out the jambs. For any leaks, reapplying silicone caulk often fixes the problem. Be sure to seal all edges where water could escape. Check the alignment of the door again after making adjustments to ensure a watertight seal.
Fixing Gaps and Sticky Doors
If you notice gaps between the door and frame, consider adding a door sweep or additional weatherstripping. For doors that stick or don’t slide smoothly, check the tracks for obstructions. Clean out any debris and ensure the tracks are aligned properly. Lubricating the tracks might also improve movement. Ensure screws are tight and the door is still plumb after any adjustments.
Shower Door Cost Considerations
When planning for shower door installation, it’s important to consider costs.
Budgeting for Your Shower Door
Here are a few points to keep in mind when budgeting:
- Decide on the shower door type first, as costs vary.
- Framed doors are usually less expensive than frameless ones.
- Sliding doors may offer a middle-ground price-wise.
- Factor in glass thickness and quality which impact price.
- Include any additional customizations in your budget.
Comparing DIY vs. Professional Installation Costs
Choosing between DIY and hiring a pro affects your budget:
- DIY can save on labor but consider your skill level.
- Mistakes may lead to higher costs in the long run.
- Professional installers bring experience and may offer a warranty.
- Pro installations range from $500 to $1,000 on average.
Understanding the potential expenses helps you allocate your budget wisely.