Introduction: The Peril of Loose Tiles
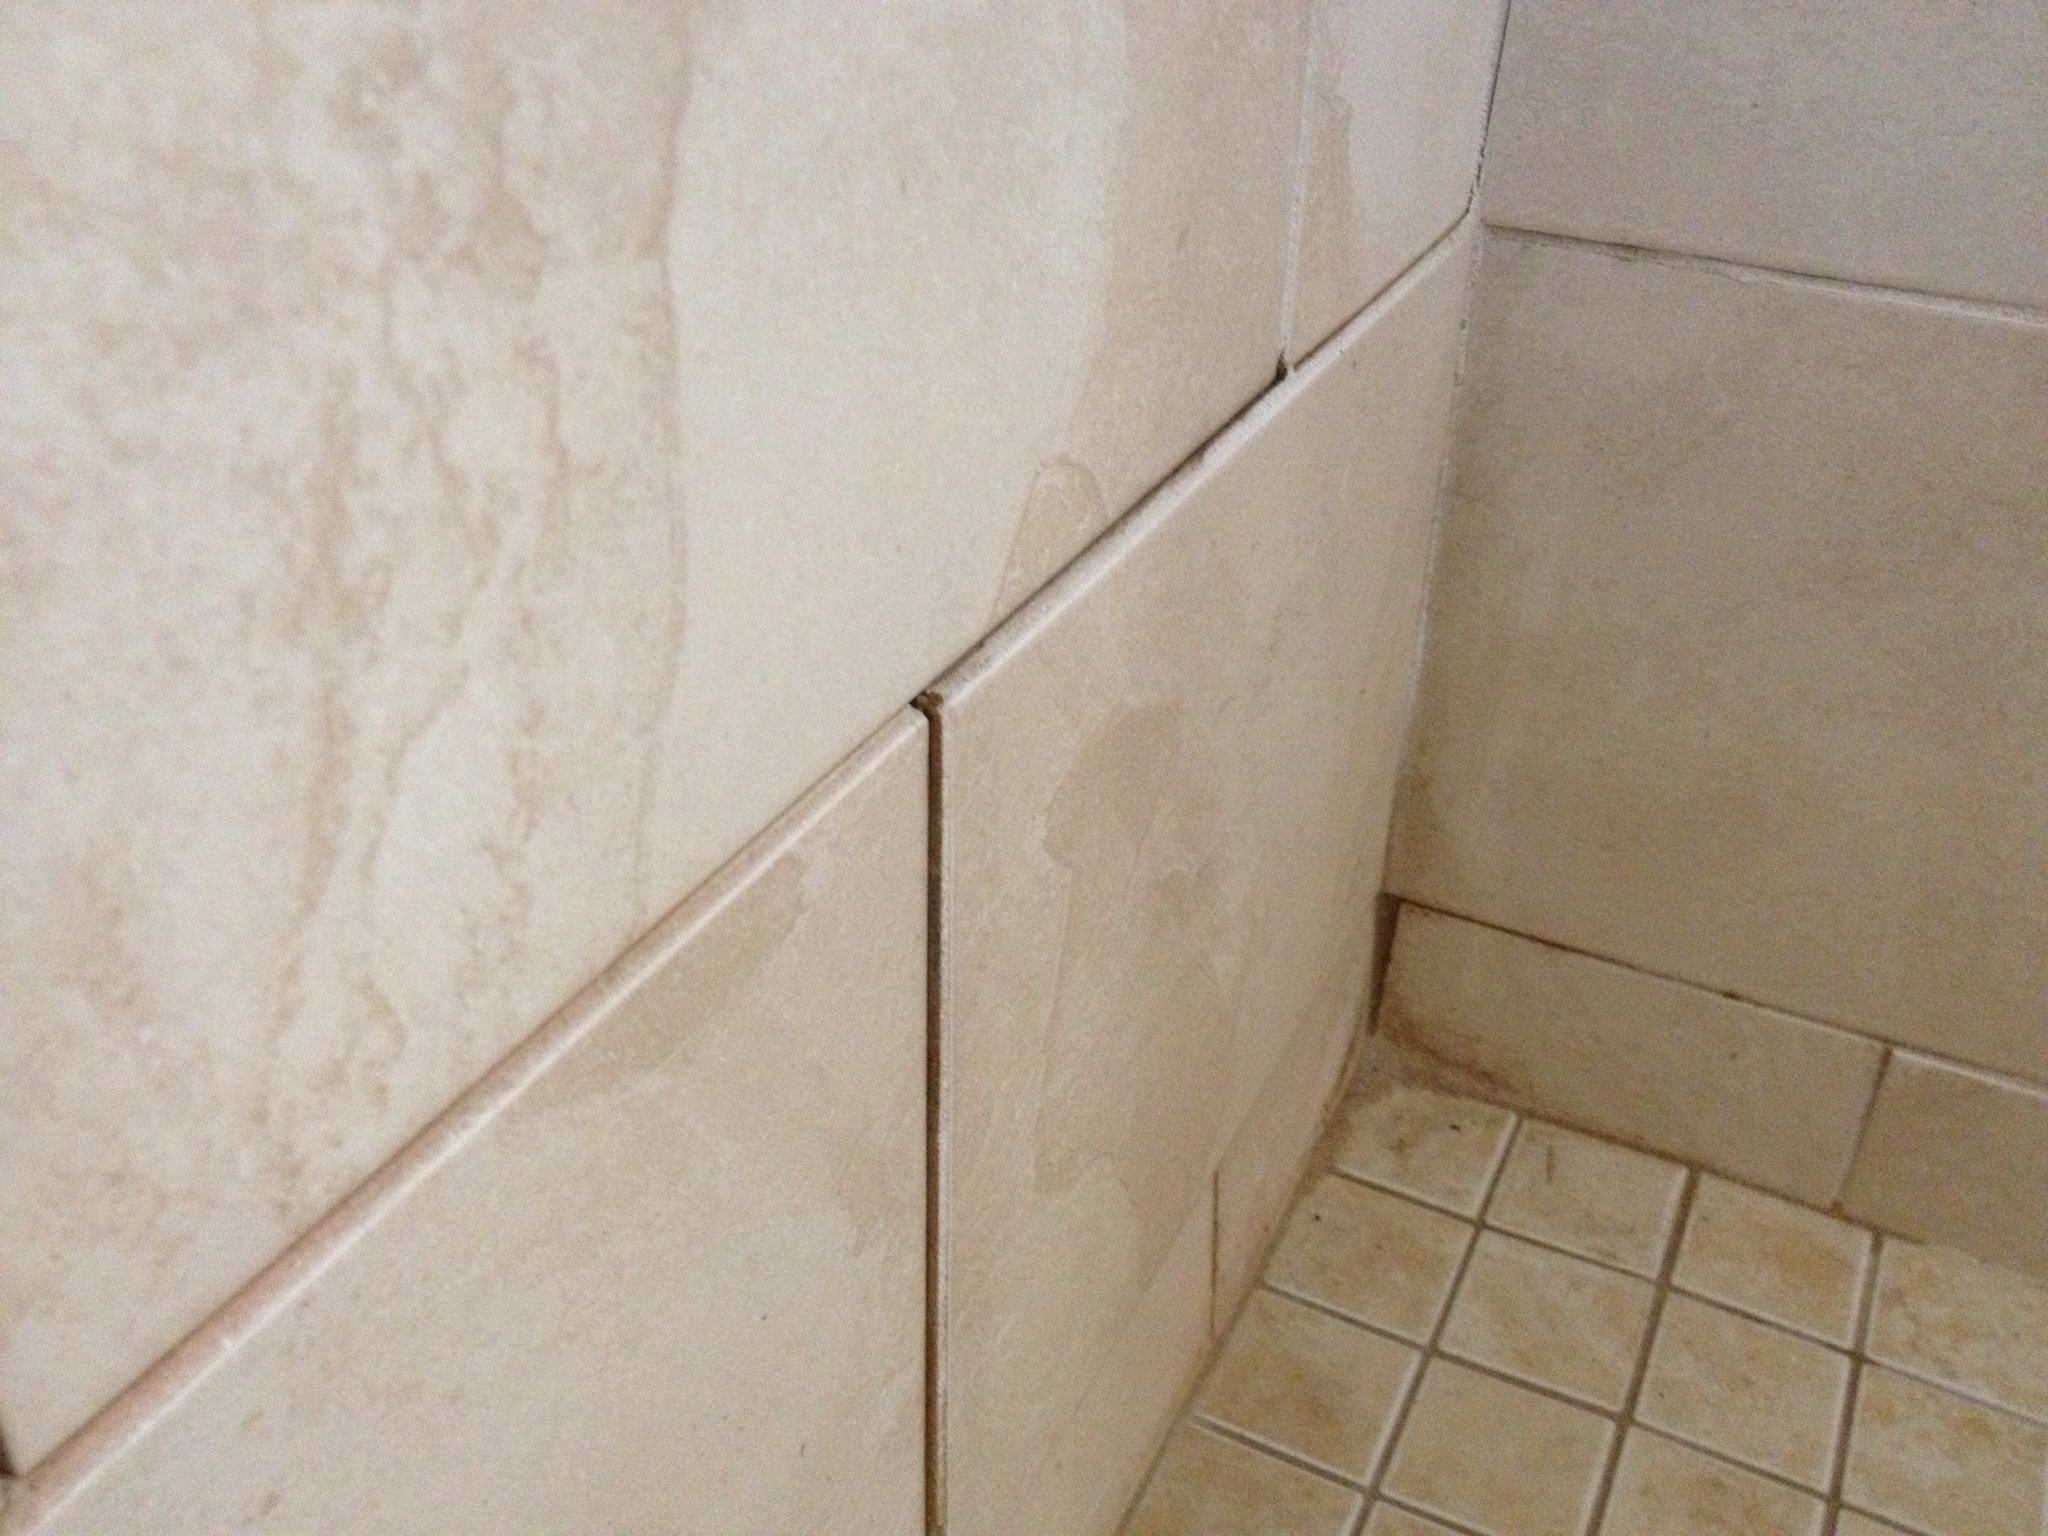
Loose tiles not only detract from the aesthetics of your floor but also pose a safety hazard. Whether in your kitchen, bathroom, or hallway, the inconvenience and risk they bring are undeniable. Fortunately, there are simple yet effective solutions to secure loose tiles and restore the safety and beauty of your floors.
Understanding the Problem: Why Do Tiles Become Loose?
Before delving into solutions, it’s essential to understand why tiles become loose in the first place. Common causes include:
1. Substandard Installation: Improper installation techniques or the use of low-quality adhesives can result in tiles that fail to bond securely to the underlying surface.
2. Subfloor Movement: Changes in temperature, moisture levels, or structural shifting can cause the subfloor to move, leading to loosened tiles over time.
3. Wear and Tear: Heavy foot traffic, impact from dropped objects, or regular exposure to water can weaken the bond between tiles and the substrate.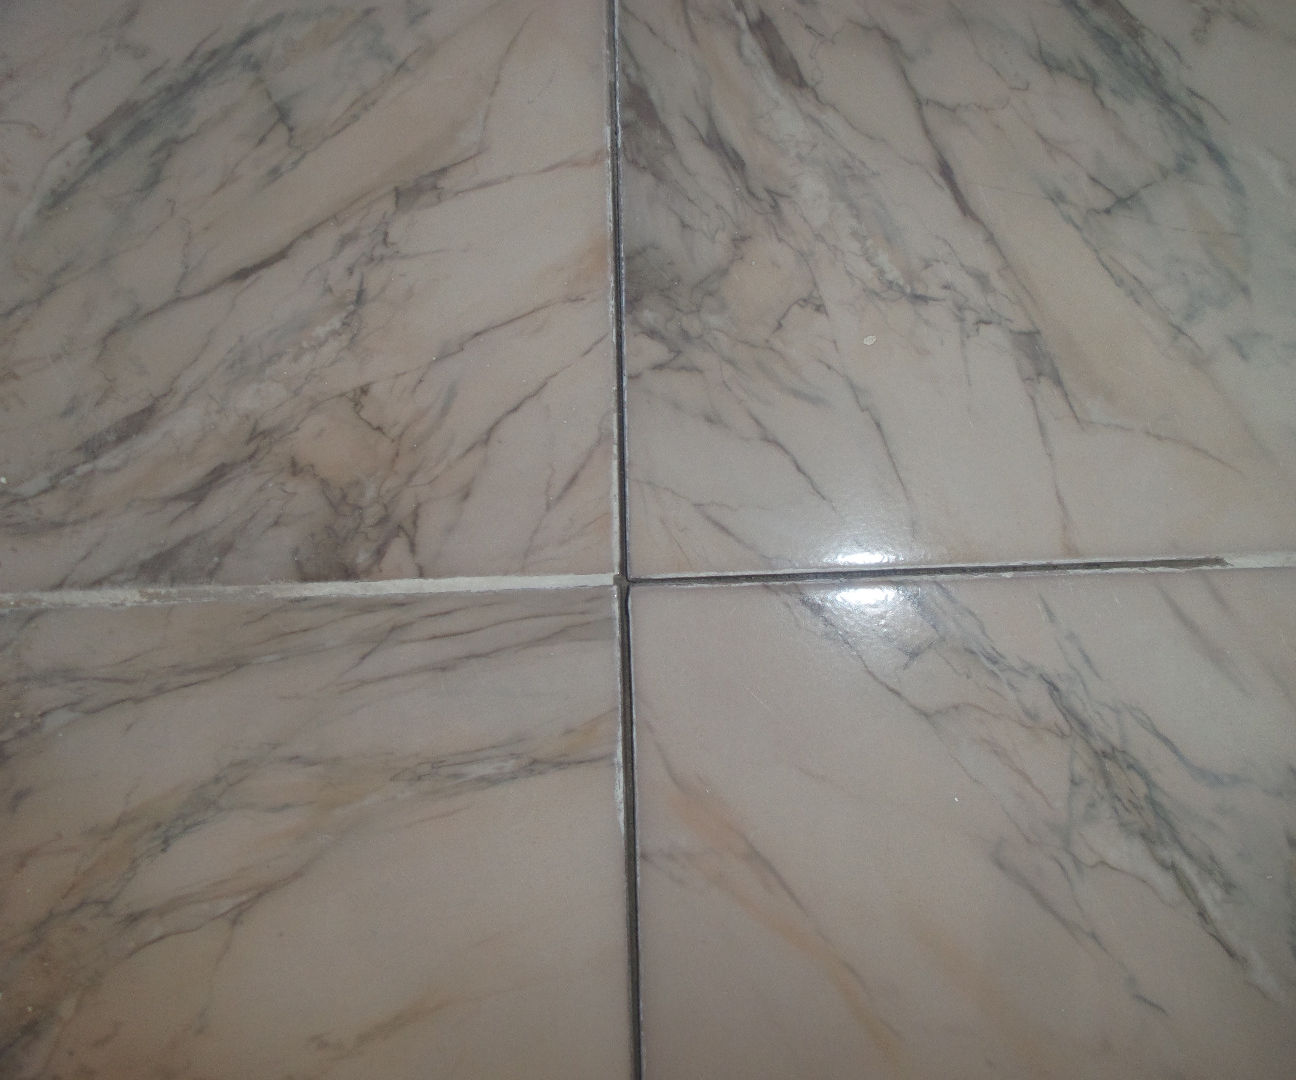
Solution 1: Re-Adhere Loose Tiles with Epoxy Resin
Epoxy resin is a powerful adhesive that can effectively re-adhere loose tiles to the subfloor. Here’s how to use it:
1. Clean the Surface: Remove any debris, dirt, or old adhesive from both the tile and the substrate.
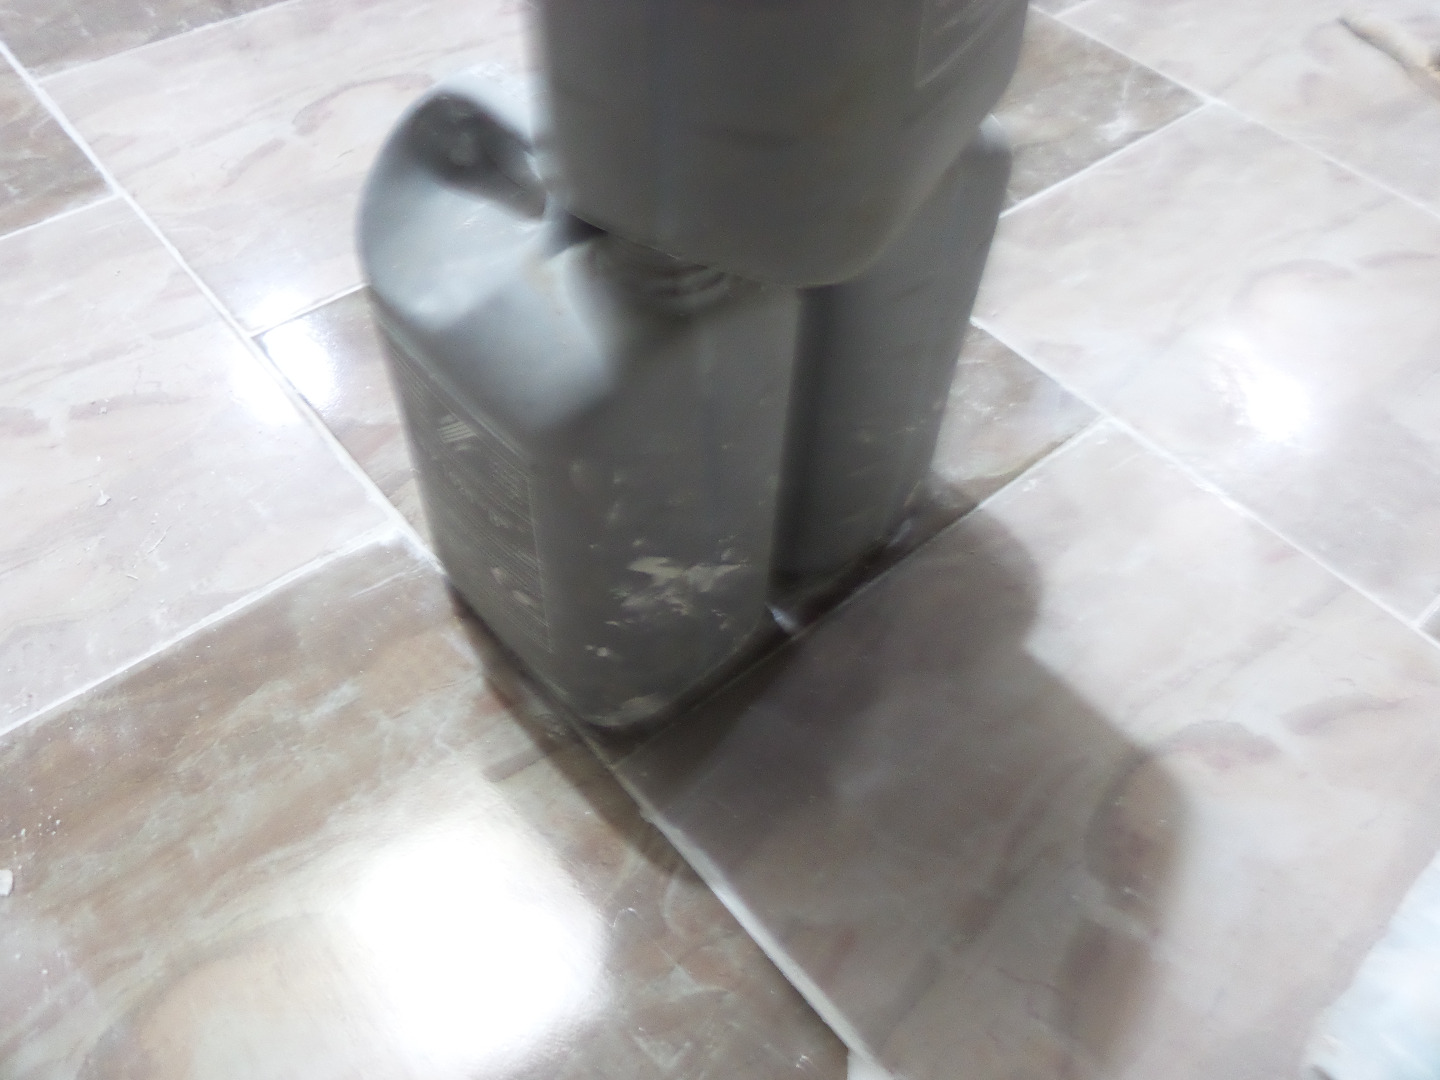
2. Apply Epoxy Resin: Mix the epoxy resin according to the manufacturer’s instructions and apply it evenly to the back of the loose tile.
3. Press into Place: Press the tile firmly onto the substrate, ensuring full contact and alignment with surrounding tiles.
4. Allow to Cure: Allow the epoxy resin to cure completely before walking on or grouting the tile.
Solution 2: Injecting Tile Adhesive Underneath
For tiles that are slightly lifted but not completely loose, injecting tile adhesive underneath can provide a secure fix. Here’s how to do it:
1. Identify Lifting Areas: Locate areas where the tiles are lifted or hollow-sounding when tapped.
2. Drill Injection Holes: Use a small drill bit to create holes in the grout lines near the lifted tiles.
3. Inject Adhesive: Insert a syringe or specialized adhesive applicator into the holes and inject tile adhesive underneath the tiles.
4. Apply Pressure: Press down on the tiles to ensure the adhesive spreads evenly and creates a strong bond.
Solution 3: Replace Damaged Tiles
In some cases, damaged or severely loosened tiles may need to be replaced entirely. Here’s how to do it:
1. Remove the Damaged Tile: Use a grout saw or chisel to carefully remove the damaged tile and clean the area underneath.
2. Prepare the Substrate: Ensure the substrate is clean, level, and free of debris or old adhesive.
3. Apply New Adhesive: Apply a fresh layer of tile adhesive to the substrate using a notched trowel.
4. Install the New Tile: Press the new tile into place, ensuring it is level and aligned with surrounding tiles.
5. Grout and Seal: Once the adhesive has cured, grout the tile joints and seal the surface to prevent moisture infiltration and maintain durability.
Preventive Measures: Ensuring Long-Term Stability
While addressing existing loose tiles is essential, taking preventive measures can help avoid future issues. Here are some tips:
1. Professional Installation: Hire experienced professionals to ensure proper tile installation using high-quality materials and techniques.
2. Regular Maintenance: Keep your floors clean and free of debris, and promptly address any signs of damage or loosening.
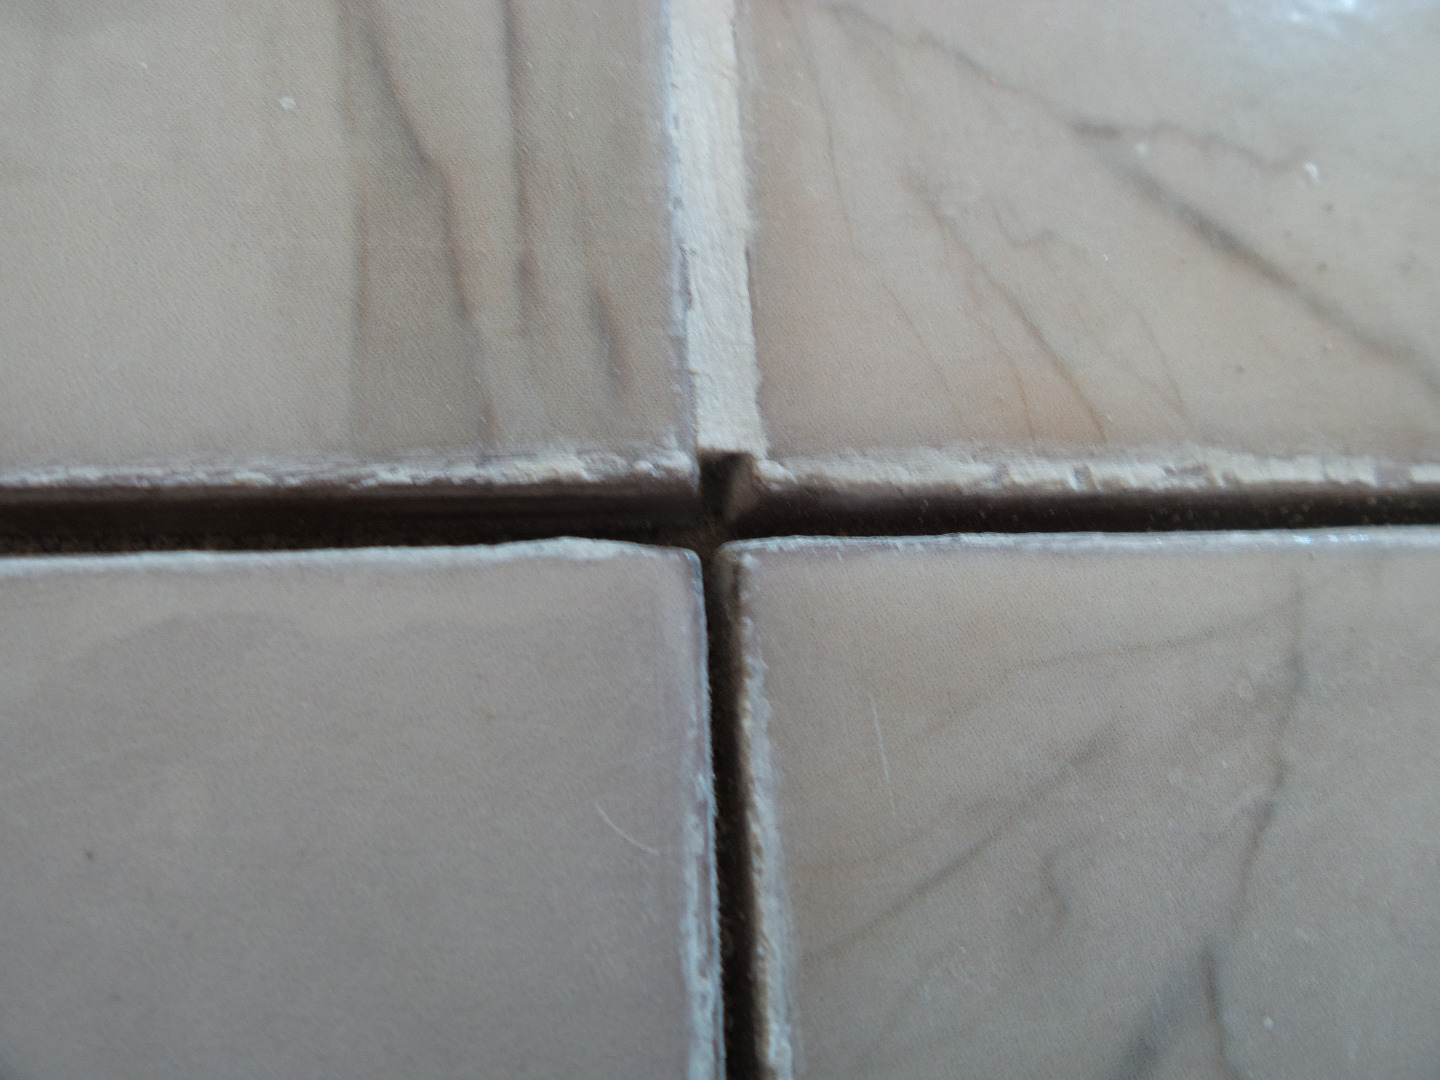
3. Use Flexible Grout: Opt for flexible grout formulations that can accommodate slight movement without cracking or crumbling.
4. Seal Grout Lines: Apply a sealant to grout lines to protect against moisture penetration and prevent grout deterioration.
Solution 4: Reinforce with Underlayment
Another effective solution for securing loose tiles is to reinforce the subfloor with an underlayment. This approach provides added support and stability to prevent future tile movement. Here’s how to proceed:
- Assess Subfloor Condition: Determine if the subfloor is uneven or prone to movement. If so, reinforcing it with an underlayment can help stabilize the surface.
- Select Underlayment Material: Choose an appropriate underlayment material based on the existing subfloor and tile type. Options include cement backer board, uncoupling membranes, or plywood.
- Prepare Subfloor: Clean the subfloor to remove any debris, dust, or old adhesive. Ensure the surface is smooth, level, and free of irregularities.
- Install Underlayment: Cut the underlayment material to size and secure it to the subfloor according to manufacturer guidelines. Use screws or nails to ensure proper attachment.
- Apply Tile Adhesive: Once the underlayment is in place, apply a layer of tile adhesive or thin-set mortar over the surface, following the manufacturer’s instructions.
- Set Tiles: Press the tiles into the adhesive, ensuring they are level and aligned with surrounding tiles. Use spacers to maintain consistent spacing between tiles.
- Grout and Seal: After the adhesive has cured, grout the tile joints and seal the surface to protect against moisture and enhance durability.
By reinforcing the subfloor with an underlayment, you can provide a solid foundation for your tiles, minimizing the risk of future loosening and ensuring long-term stability.

Solution 5: Addressing Subfloor Movement
Subfloor movement is a common underlying cause of loose tiles, and addressing this issue directly can provide a lasting solution. Here’s how to mitigate subfloor movement:
- Identify Causes: Determine the factors contributing to subfloor movement, such as temperature fluctuations, moisture levels, or structural issues. Addressing these root causes is essential for long-term stability.
- Stabilize Subfloor: Depending on the specific issues identified, stabilize the subfloor using appropriate methods. This may involve reinforcing joists, installing support beams, or improving ventilation to reduce moisture levels.
- Flexible Adhesive: When re-adhering tiles or installing new ones, use a flexible adhesive that can accommodate slight movement without compromising bond strength. This helps prevent tiles from loosening due to subfloor shifts.
- Expansion Joints: Incorporate expansion joints into the tile layout to allow for natural movement without causing stress on the tiles. These joints provide a buffer that helps prevent cracking and loosening in response to subfloor expansion or contraction.
- Regular Inspection: Periodically inspect the subfloor and tiles for signs of movement or damage. Address any issues promptly to prevent further damage and maintain the integrity of your flooring.
By addressing subfloor movement directly and implementing measures to stabilize the substrate, you can effectively prevent tiles from becoming loose and ensure the long-term durability of your floors.
Conclusion: Enjoy Safe and Secure Floors
Loose tiles are not only unsightly but also pose safety risks in your home. By understanding the causes of tile loosening and implementing effective solutions such as epoxy resin application, adhesive injection, or tile replacement, you can restore stability and beauty to your floors. Additionally, taking preventive measures and prioritizing proper installation and maintenance will ensure long-term stability and safety for your floors. Say goodbye to loose tiles and enjoy the peace of mind of secure and beautiful flooring throughout your home.