Mastering the Art of Bleeding: A DIY Guide for Radiator Maintenance
Radiators play a vital role in maintaining the optimal temperature within our homes and workplaces by efficiently circulating heated water or steam through their intricate systems. However, over time, air pockets can accumulate within these radiators, causing them to function inefficiently or even fail entirely. The process of bleeding a radiator is an essential maintenance task that homeowners can perform themselves to ensure their heating systems operate at peak performance. This comprehensive DIY guide will walk you through the art of bleeding your radiators, from preparation to completion, providing you with the knowledge and confidence to tackle this task independently.
Understanding the Need for Bleeding
The Air Pockets Conundrum
Air pockets within radiators can form due to various reasons, such as system refills, repairs, or natural expansion and contraction due to temperature fluctuations. These pockets prevent hot water from filling the entire radiator, leading to cold spots, uneven heat distribution, and reduced overall efficiency. Furthermore, trapped air can cause increased pressure within the system, potentially damaging pipes, valves, or the boiler itself.
Symptoms of Air-locked Radiators
Recognizing the signs of air-locked radiators is crucial for prompt intervention. Common indicators include:
- Uneven heating: Some sections of the radiator feel significantly cooler than others.
- Noisy operation: Bubbling, gurgling, or knocking sounds emanating from the radiator.
- Slow warm-up: Radiators take longer than usual to heat up or fail to reach their full temperature.
- Frequent need for thermostat adjustment: Your heating system requires constant tweaking to maintain a comfortable room temperature.
Preparation and Tools
Gathering Essential Equipment
To successfully bleed your radiators, you’ll need a few basic tools:
- Radiator key or flathead screwdriver: Depending on your radiator’s valve type, you may require a specialized radiator key or a flathead screwdriver to open the bleed valve.
- Cloth or rag: To catch any dripping water and protect your floor.
- Bucket or container (optional): If you’re concerned about spills, place a bucket or container beneath the bleed valve for added protection.
- Torch or flashlight: To inspect the radiator valve and surrounding area in dimly lit spaces.
System Preparation
Before bleeding your radiators, ensure the following:
- Turn off the heating system: Allow the radiators to cool down completely before starting the bleeding process to avoid burns and potential damage to the valve or system components.
- Identify the highest and lowest points: Begin bleeding radiators at the highest point in your property (usually the top floor) and work your way down to the lowest level. This sequential approach ensures that any released air flows naturally downward, preventing re-entrainment into the system.

Bleeding Procedure
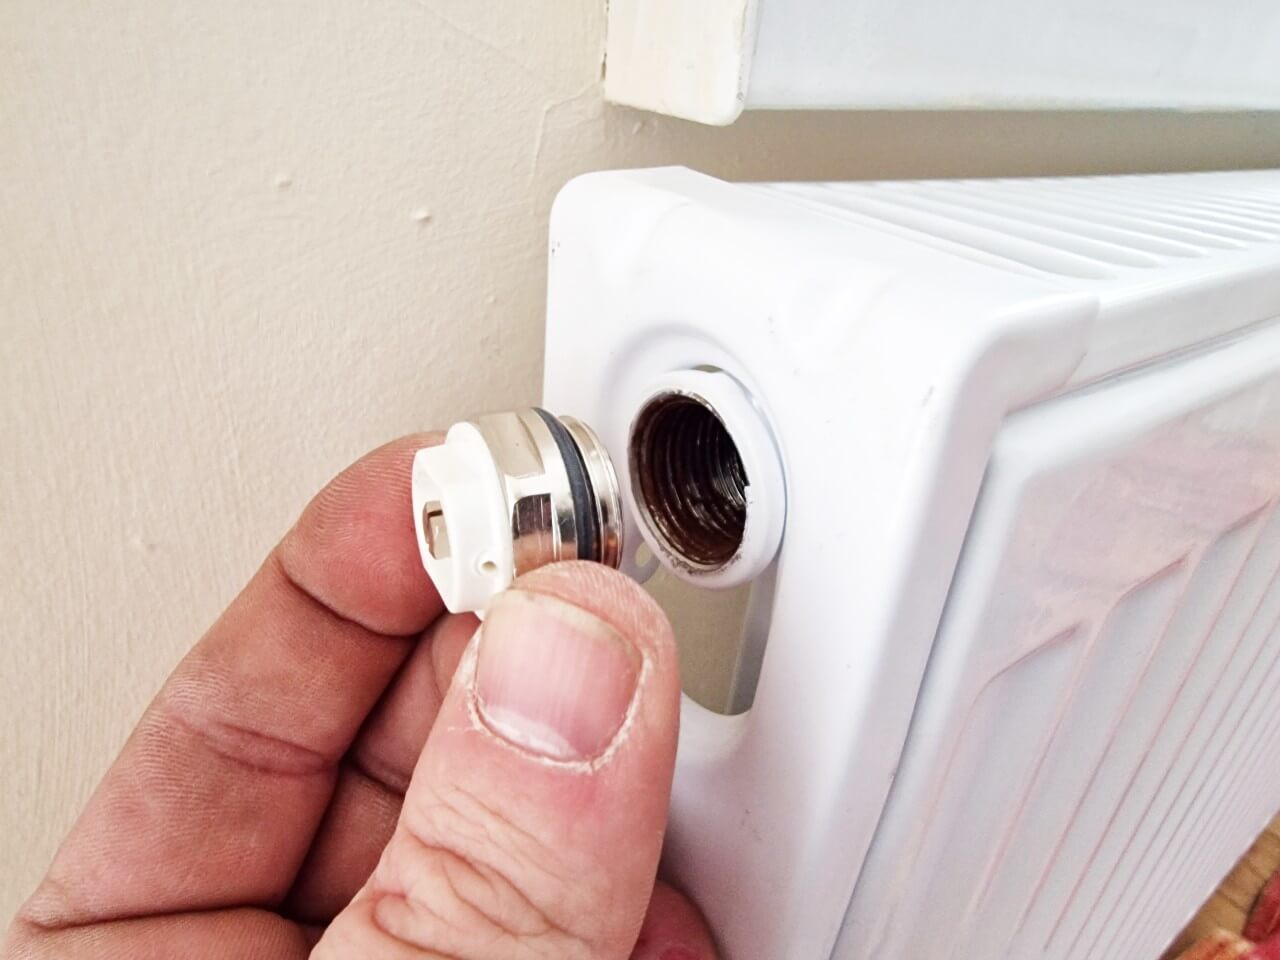
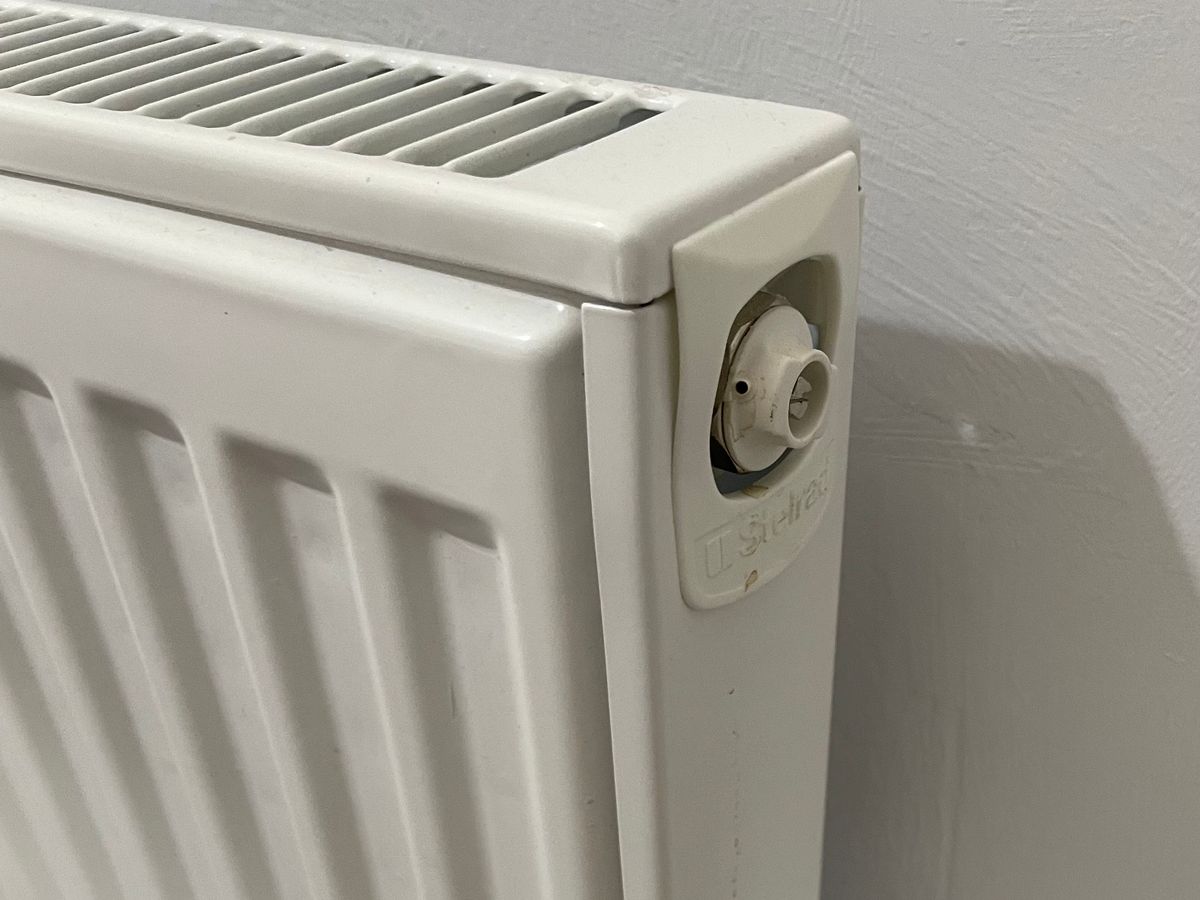
Locating and Opening the Bleed Valve
- Find the bleed valve: It is typically located at the top of the radiator, near one end, and may be concealed by a plastic cap or plug.
- Insert the tool: Firmly insert your radiator key or screwdriver into the square-shaped slot of the bleed valve, turning it counterclockwise gently until you hear a hissing sound. This indicates that air is escaping.
Monitoring the Process
- Listen and watch: Keep the bleed valve open until a steady stream of water starts dribbling out, replacing the escaping air. Be patient; this could take several seconds to a minute or more.
- Close the valve: Once water appears, immediately turn the bleed valve clockwise to seal it tightly, ensuring no further leakage.
Repeating the Process
- Check other radiators: Proceed to the next radiator in your sequence, repeating the bleeding process until all radiators have been attended to.
- Reassess heating performance: After bleeding all radiators, turn your heating system back on and monitor its performance. If issues persist, you may need to repeat the bleeding process or consult a professional for further diagnosis.

Advanced Techniques and Troubleshooting
Using a Pressure Gauge
If your heating system features a built-in pressure gauge, monitor the pressure during and after bleeding. Ensure it remains within the manufacturer’s recommended range (usually 1-1.5 bar). If the pressure drops significantly, you may need to refill the system using the filling loop or consult a professional.
Addressing Persistent Issues
Despite your best efforts, some radiators may still exhibit air-lock symptoms. In such cases, consider:
- Power flushing: A professional power flush can help remove stubborn blockages and accumulated sludge, improving overall system performance.
- Valve inspection and replacement: Faulty valves may contribute to air-lock problems. Inspect and, if necessary, replace them with new, properly functioning ones.
Maintenance and Prevention
Regular Inspection and Bleeding
Perform visual inspections of your radiators regularly, especially after system repairs or seasonal startups, to identify any signs of air pockets early. Schedule annual bleeding sessions to maintain optimal radiator performance and prolong the life of your heating system.
System Balancing
For even heat distribution throughout your home, consider having your heating system professionally balanced. This involves adjusting the flow rates of individual radiators to ensure they receive the appropriate amount of hot water based on their size and location.
Additional Tips and Considerations
- Safety First: Always prioritize safety when performing any DIY tasks. Wear protective gloves to guard against hot surfaces and potential leaks, and ensure children and pets are kept away from the work area.
- Use a Radiator Key Properly: If your radiator has a valve that requires a radiator key, handle it with care. Over-tightening or applying excessive force can damage the valve or cause it to seize, making future bleeding attempts more difficult.
- Check for Leaks: After bleeding each radiator, inspect the valve and surrounding area for any signs of leakage. If you notice persistent dripping or a significant leak, turn off the heating system and seek professional assistance to address the issue.
- Maintain Adequate System Pressure: As mentioned earlier, monitor the system pressure during and after bleeding. If the pressure drops too low, your boiler may shut down as a safety measure. Familiarize yourself with your system’s manual and learn how to use the filling loop to replenish lost water and restore proper pressure.
Conclusion
Mastering the art of bleeding your radiators not only saves you money on professional services but also empowers you to maintain a comfortable living environment. By understanding the importance of bleeding, preparing adequately, following the proper procedure, and adopting preventive measures, you can confidently tackle this essential DIY task, ensuring your heating system operates efficiently and reliably for years to come.