Preparing for the Project: Gathering Tools and Materials
Before diving into the world of door transformations, it’s essential to equip yourself with the right tools and materials. Begin by assembling a toolkit that includes sandpaper or a sanding block (medium-grit for rough surfaces, fine-grit for finishing), painter’s tape, a paint tray, a roller with an extension pole for larger areas, a high-quality brush for detailed work, a putty knife, a clean cloth, a primer suitable for your door’s material, and, of course, the paint of your choice. Ensure your paint is specifically designed for interior use and matches the door’s function—semi-gloss or gloss finishes are popular choices for doors due to their durability and ease of cleaning.
Protective Measures: Prepping the Area
To avoid accidental paint splatters and ensure a clean workspace, start by thoroughly covering the floor beneath the work area with a drop cloth or plastic sheeting. Protect adjacent walls and trim by carefully applying painter’s tape along the edges where they meet the door. Remove any hardware from the door, including knobs, hinges, and strike plates, and place them in a labeled container to keep everything organized. This step not only simplifies the painting process but also prevents unwanted paint buildup on these items.
Surface Preparation: The Key to a Flawless Finish
A thorough surface preparation is the cornerstone of a professional-looking paint job. Begin by giving the door a good clean with a mild detergent solution to remove dirt, grime, and oils. Rinse well and let it dry completely. Next, use a sandpaper or sanding block to smooth out any rough patches, imperfections, or old paint flakes. For previously painted doors, focus on light sanding to create a slightly abrasive surface that the new paint can adhere to more effectively. Wipe away all sanding dust with a tack cloth or damp cloth before proceeding.
Priming for Perfection
Applying a coat of primer is a critical step that many DIY enthusiasts overlook. Primer serves several purposes: it seals the surface, enhances adhesion of the paint, and promotes even coverage, ultimately leading to a richer, more uniform color. Choose a primer that complements your paint type and the door’s material—oil-based primers work well for woods prone to tannin bleeding, while water-based options are ideal for most other surfaces. Apply the primer evenly using a brush for corners and grooves and a roller for flat surfaces. Allow it to dry according to the manufacturer’s instructions before moving on to the next step.
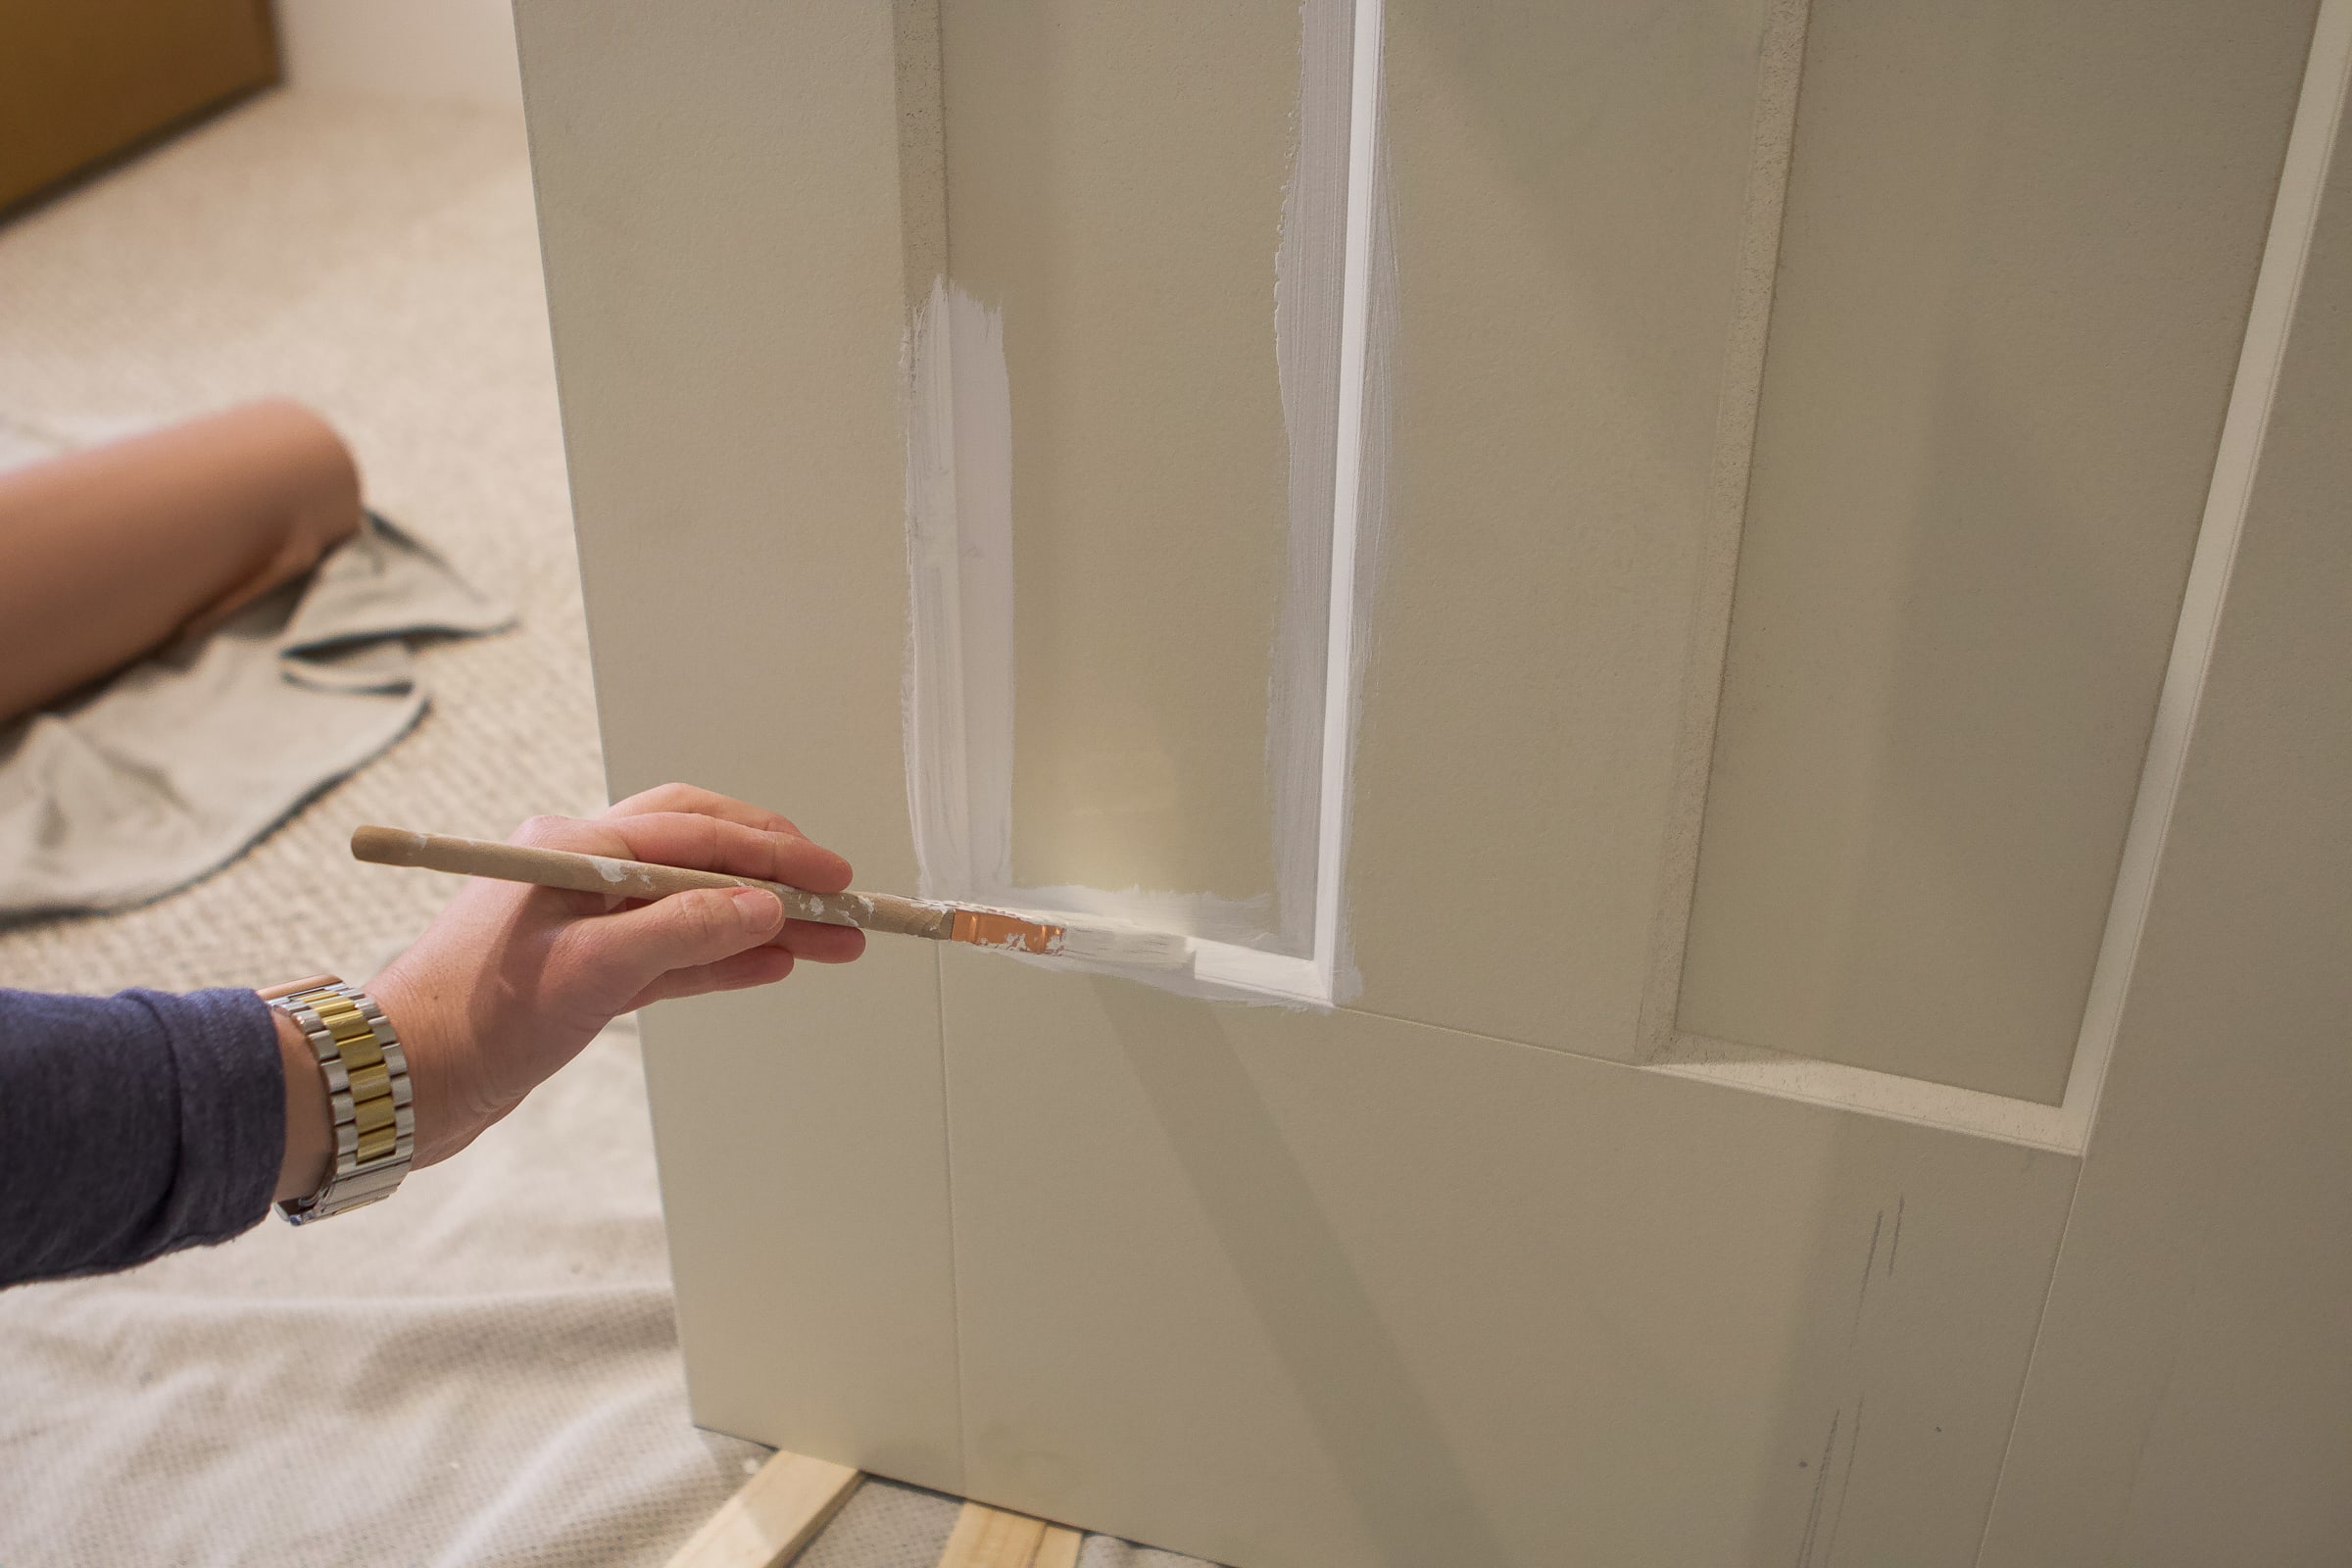
The Art of Painting: Technique Matters
When it comes to achieving a professional finish, technique is everything. Start by cutting in the edges with a quality brush, carefully following the contours of the door panels and frames. Once the edges are defined, switch to a roller to cover the larger, flat areas. Apply the paint in thin, even coats, working from top to bottom to prevent drips. It’s often recommended to paint the panels first, followed by the vertical sections (stiles), horizontal rails, and finally, the edges. Allow each coat to dry completely before applying the next. Most doors require two coats for optimal coverage and depth of color.
Finishing Touches: Sanding and Final Coat
After the second coat of paint has dried, lightly sand the entire surface with fine-grit sandpaper to achieve a super-smooth finish. This step removes any minor imperfections and creates a seamless look. Wipe away the sanding residue and apply a third and final coat of paint if necessary, focusing on areas that may appear thin or uneven. This last coat solidifies the professional appearance you’ve been striving for.
Restoration and Hardware Reinstallation
Once your masterpiece has dried to perfection, it’s time to reinstall the hardware. Clean the hardware pieces to remove any residual dust from the painting process. Reattach hinges, handles, and locks carefully, ensuring everything is aligned and functioning smoothly. This is also an excellent opportunity to upgrade your hardware if you’re looking to give your doors a more modern or stylish touch.
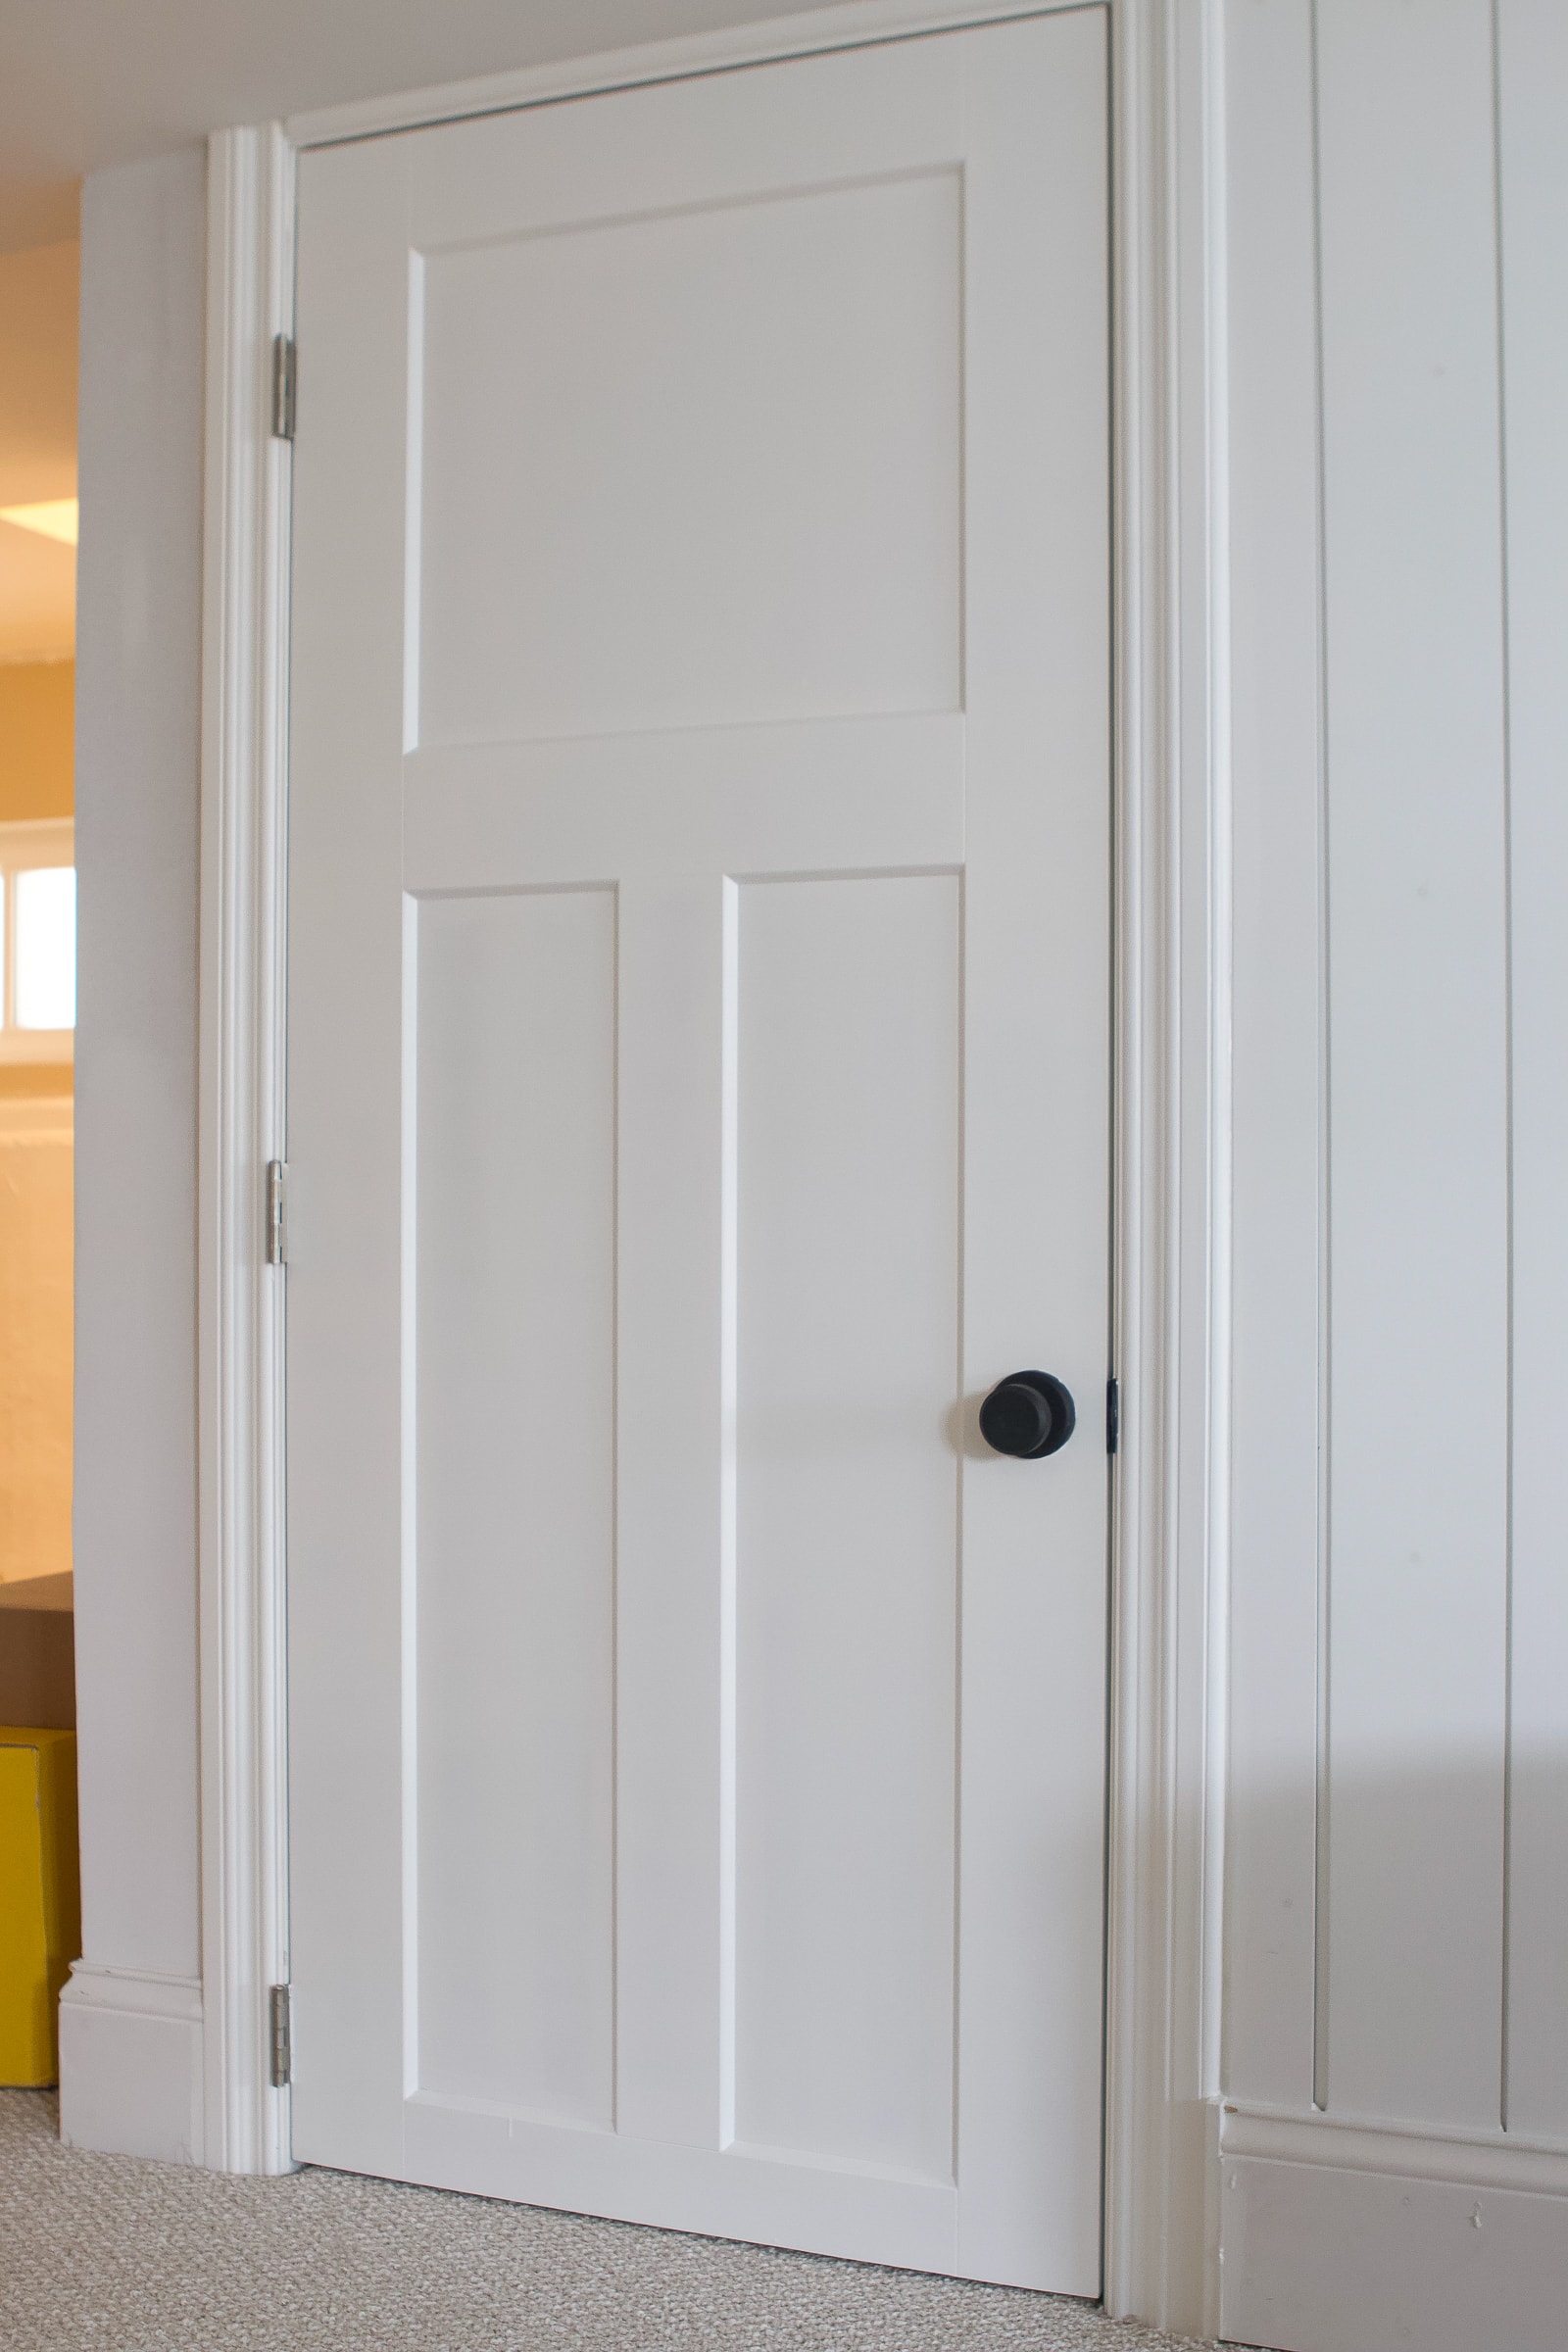
Inspect and Admire Your Work
Stand back and take a moment to appreciate your handiwork. Inspect the door under different lighting conditions to catch any spots that may need touching up. Addressing these minor details ensures a truly polished result. Remember, painting interior doors is not just about aesthetics; it’s also a chance to revitalize and protect these high-traffic surfaces, adding value and charm to your home.
Sealing and Longevity: The Importance of a Topcoat
To enhance the durability and longevity of your freshly painted interior doors, consider applying a topcoat. This final layer serves as a protective barrier against everyday wear and tear, including scratches, scuffs, and cleaning chemicals. A clear polyurethane or acrylic sealer can be used, depending on the type of paint and desired finish (glossy or satin). Apply the topcoat in thin, even layers using a fine brush or foam roller, allowing each coat to dry thoroughly before applying the next. Typically, one to two coats are sufficient to provide ample protection.
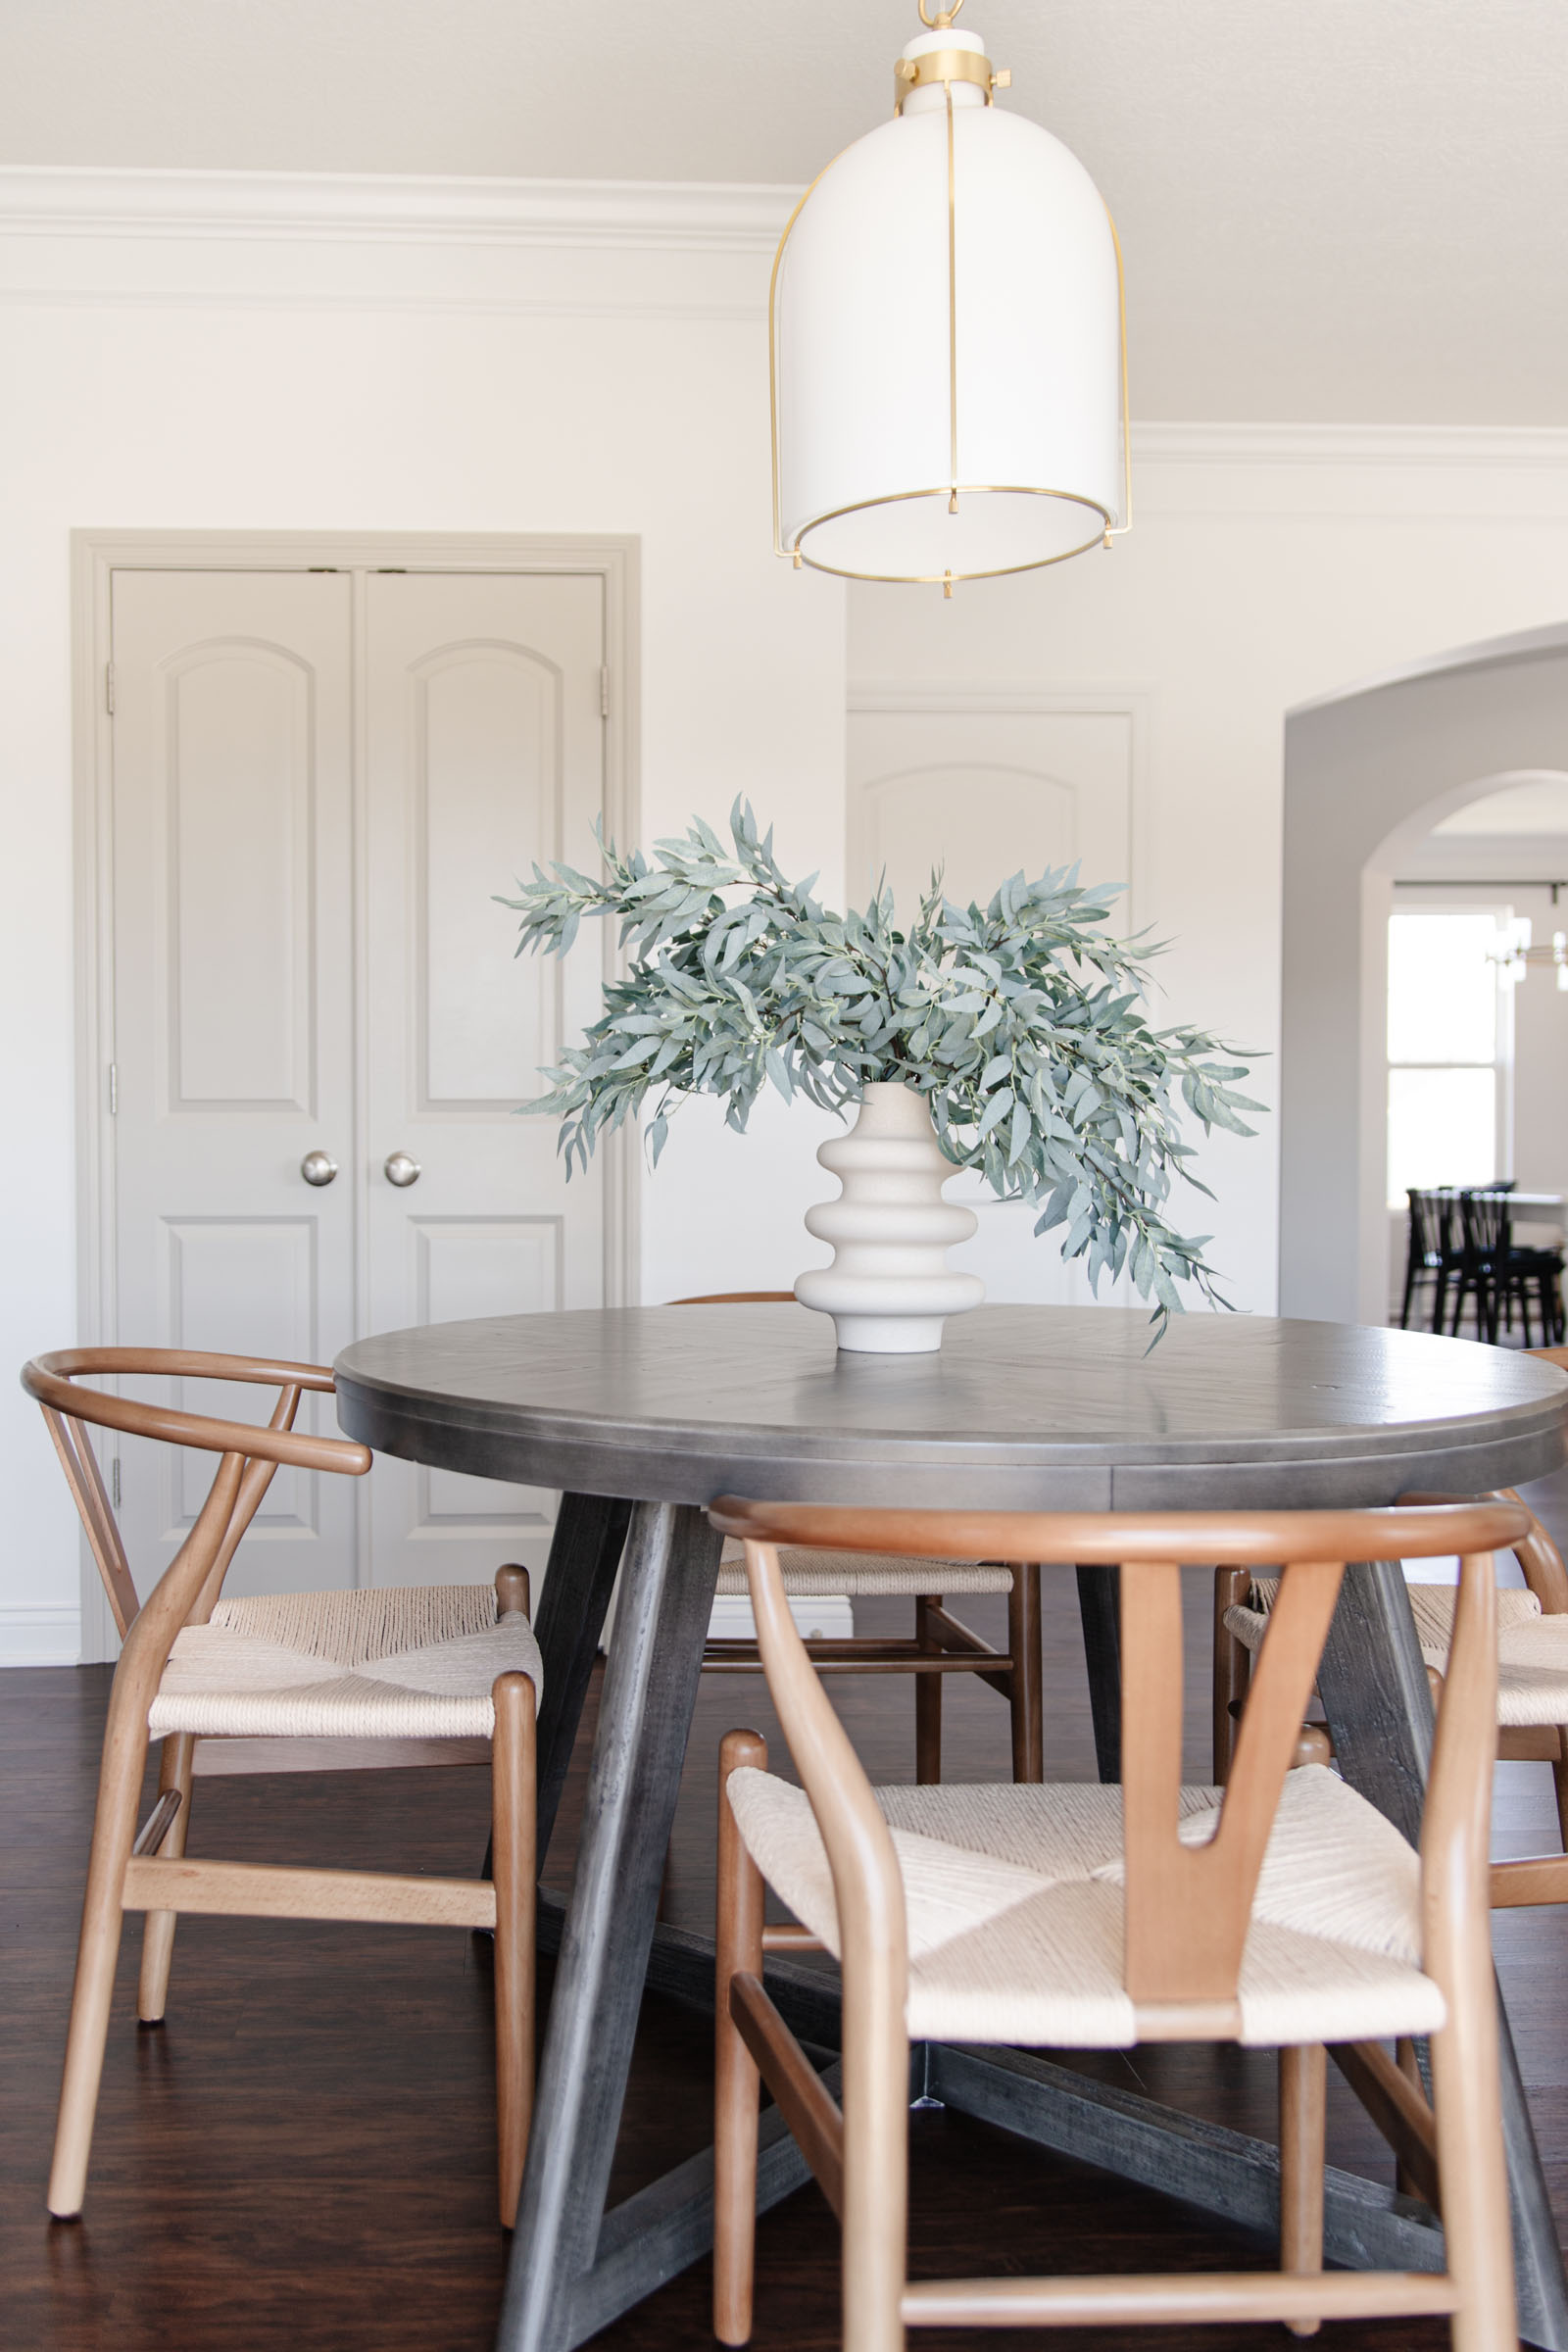
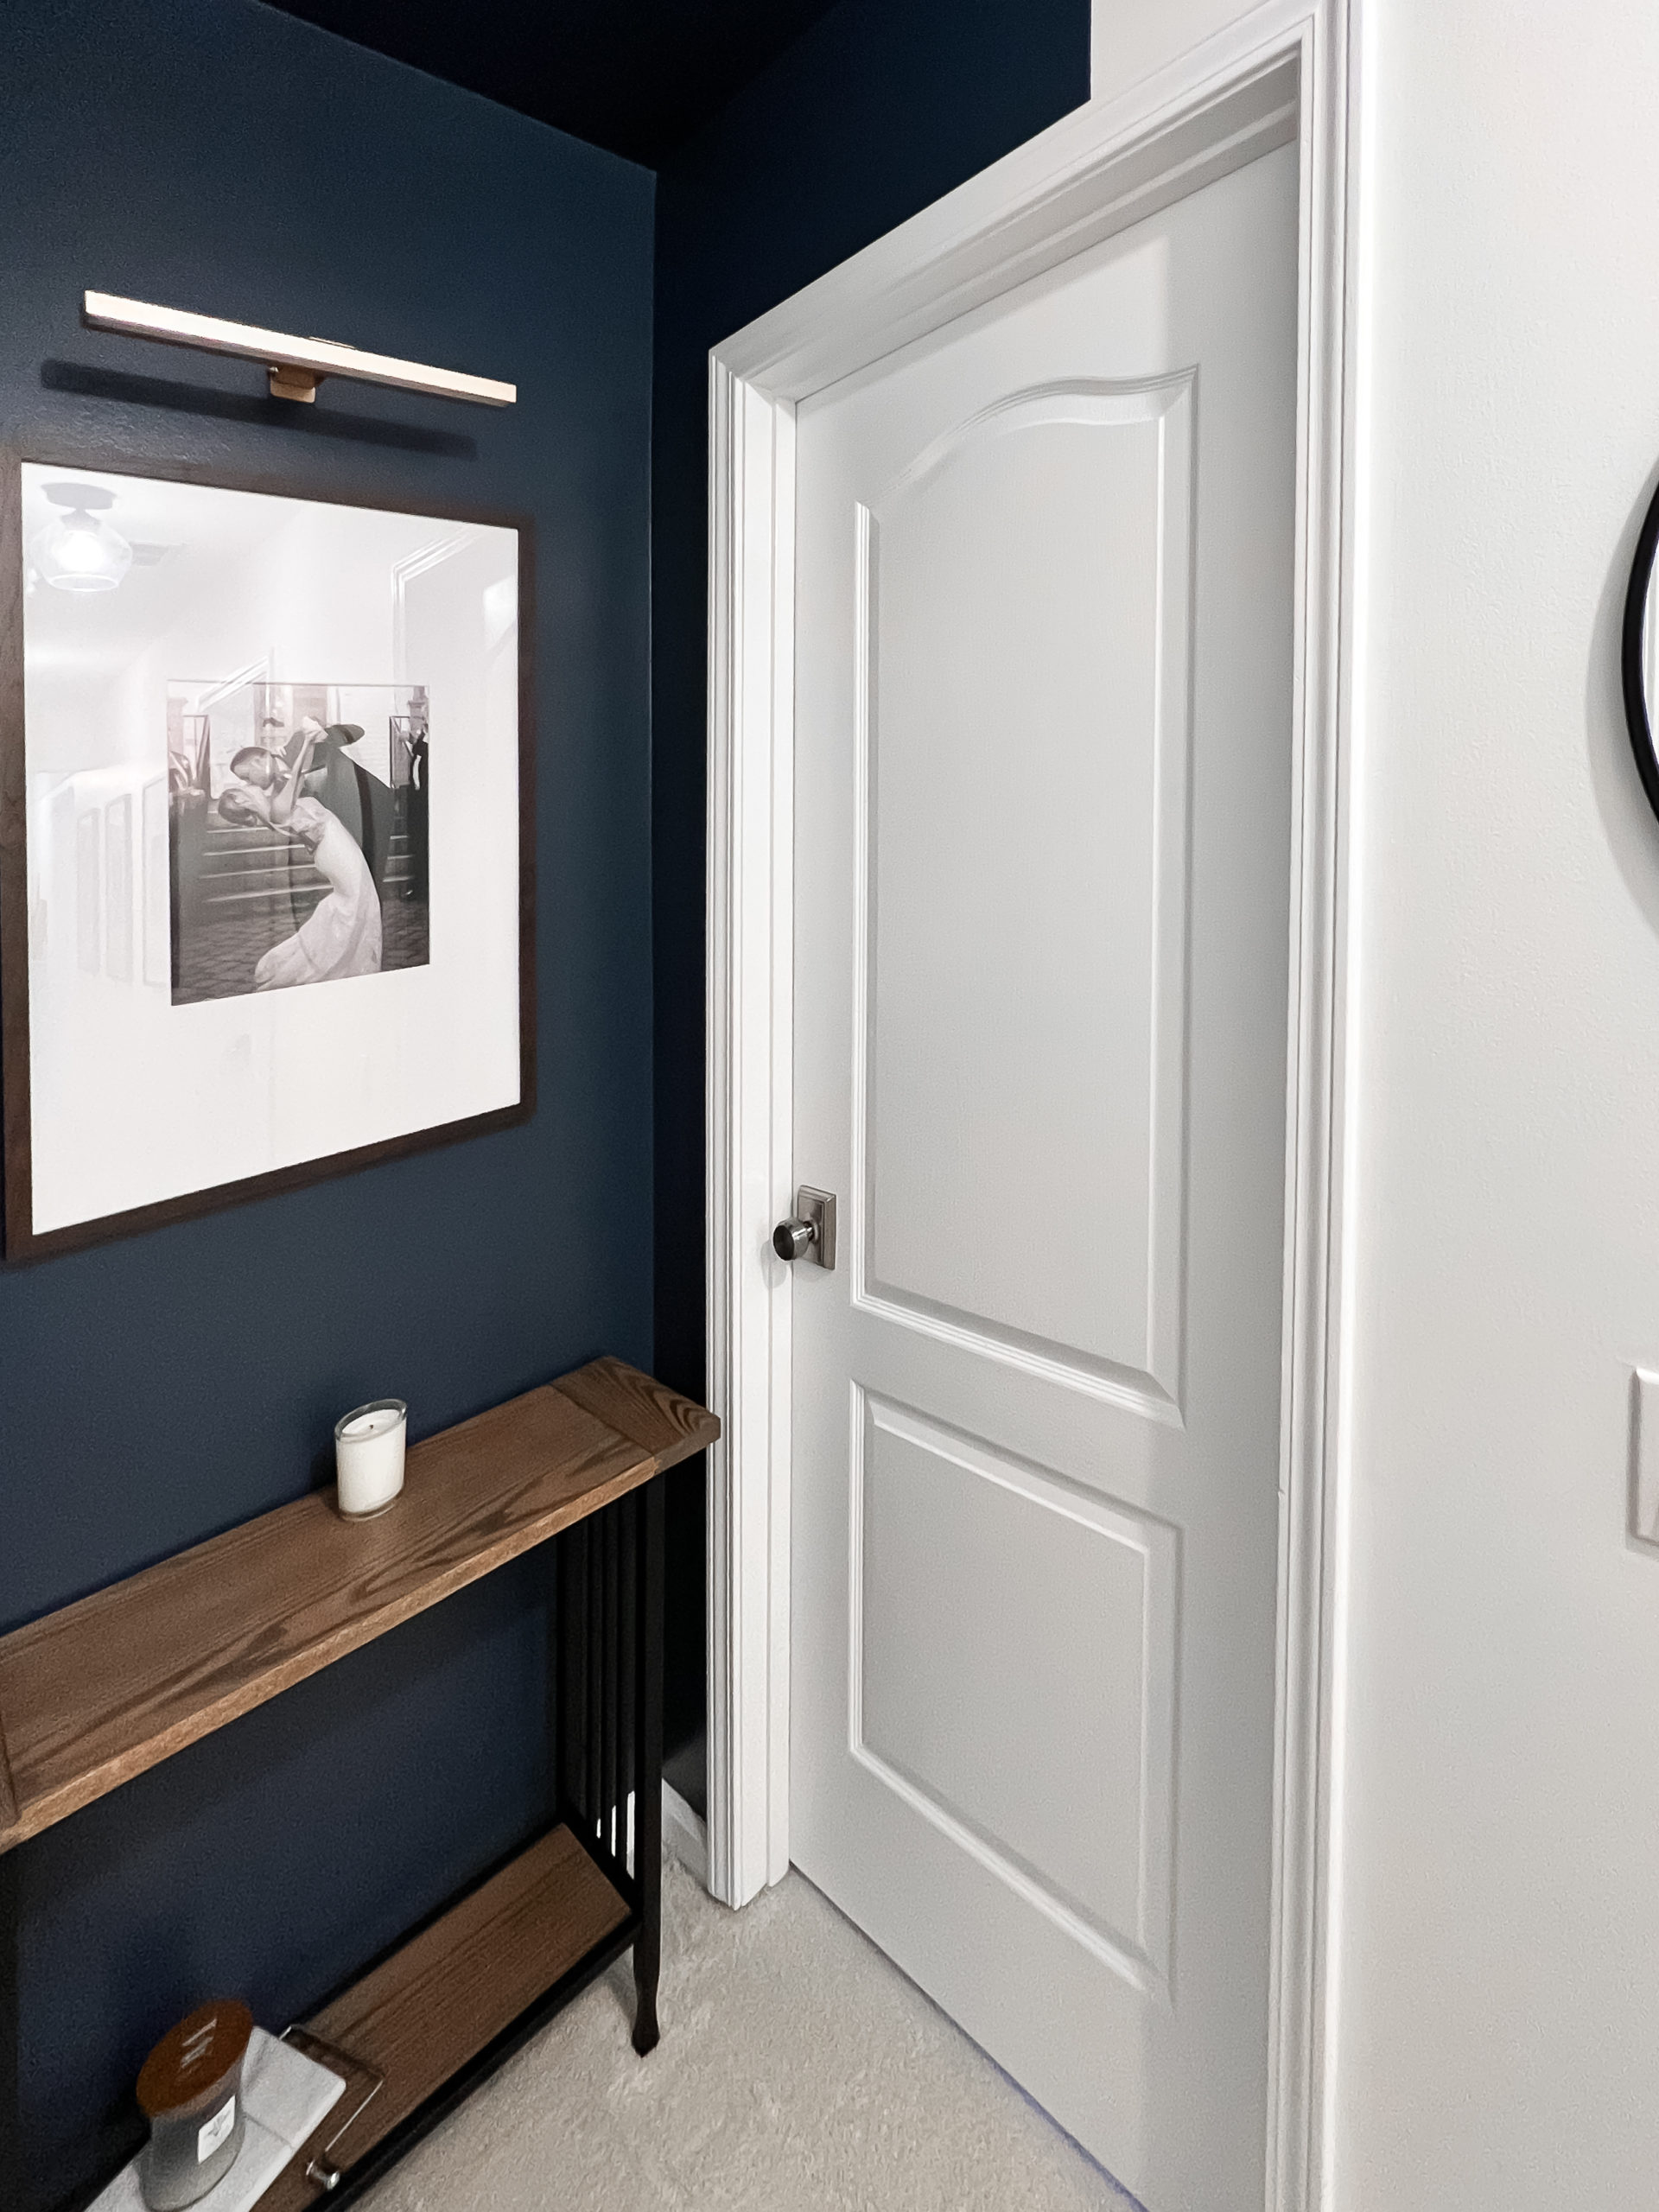
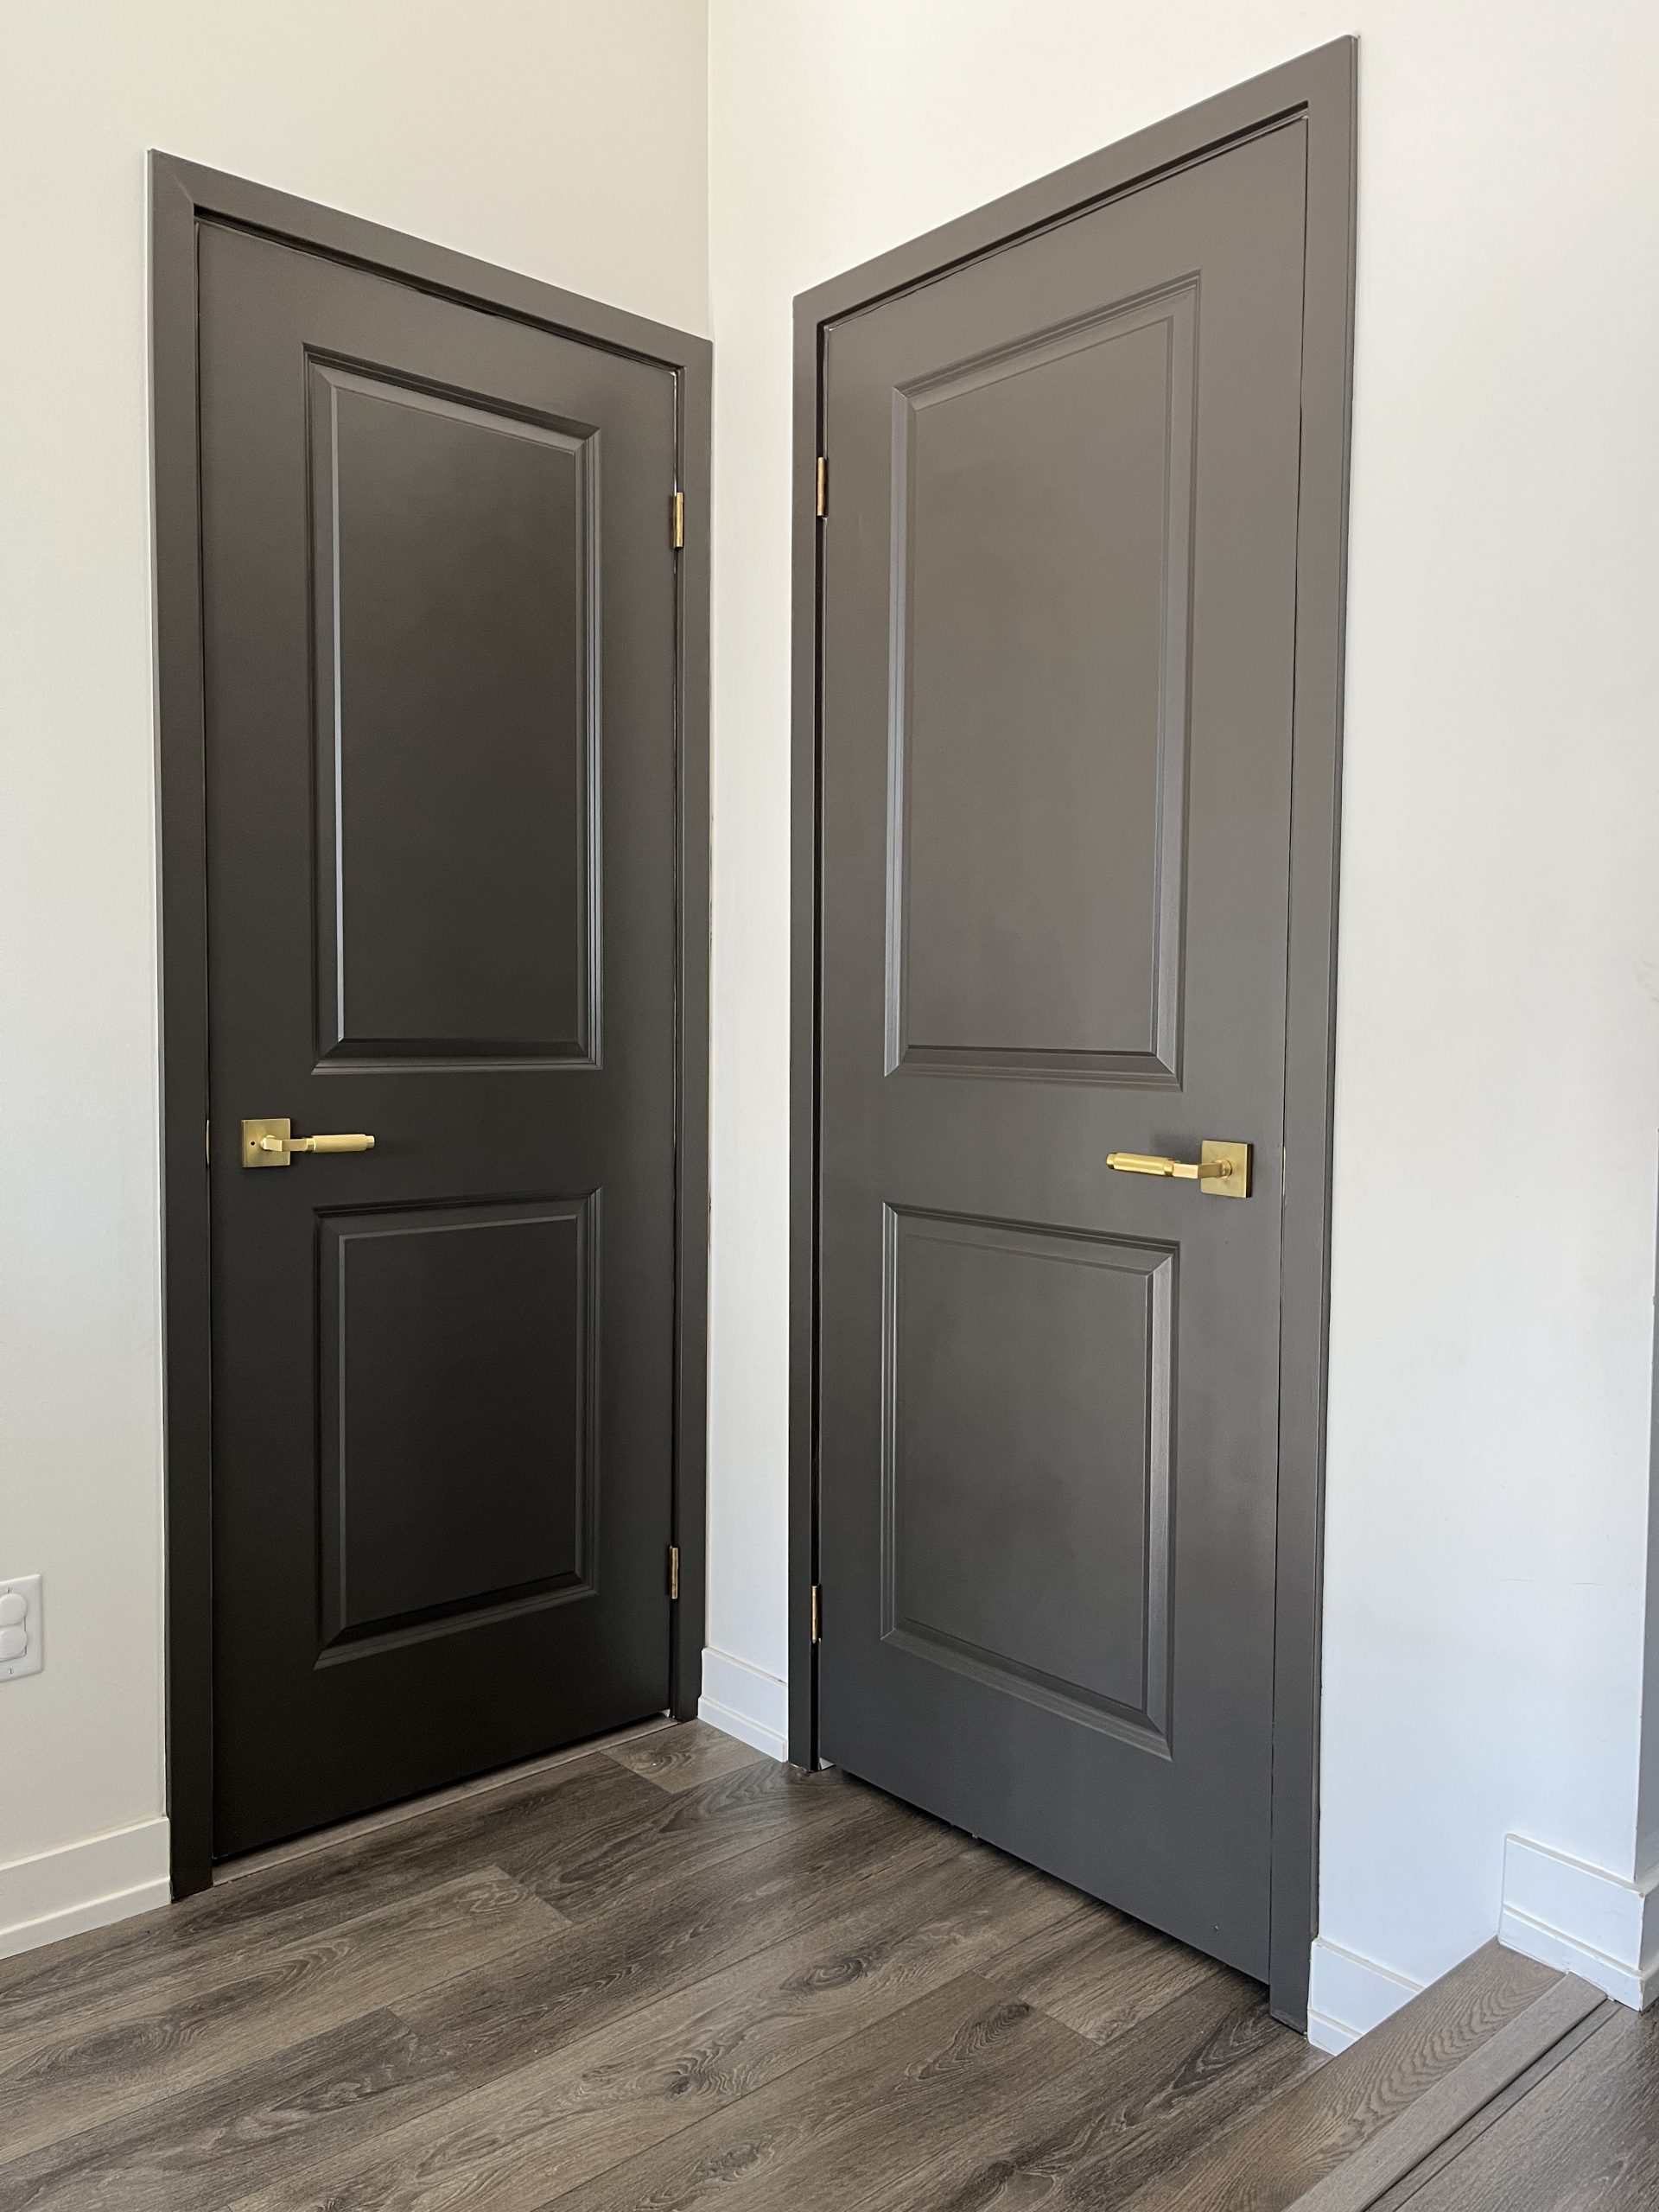
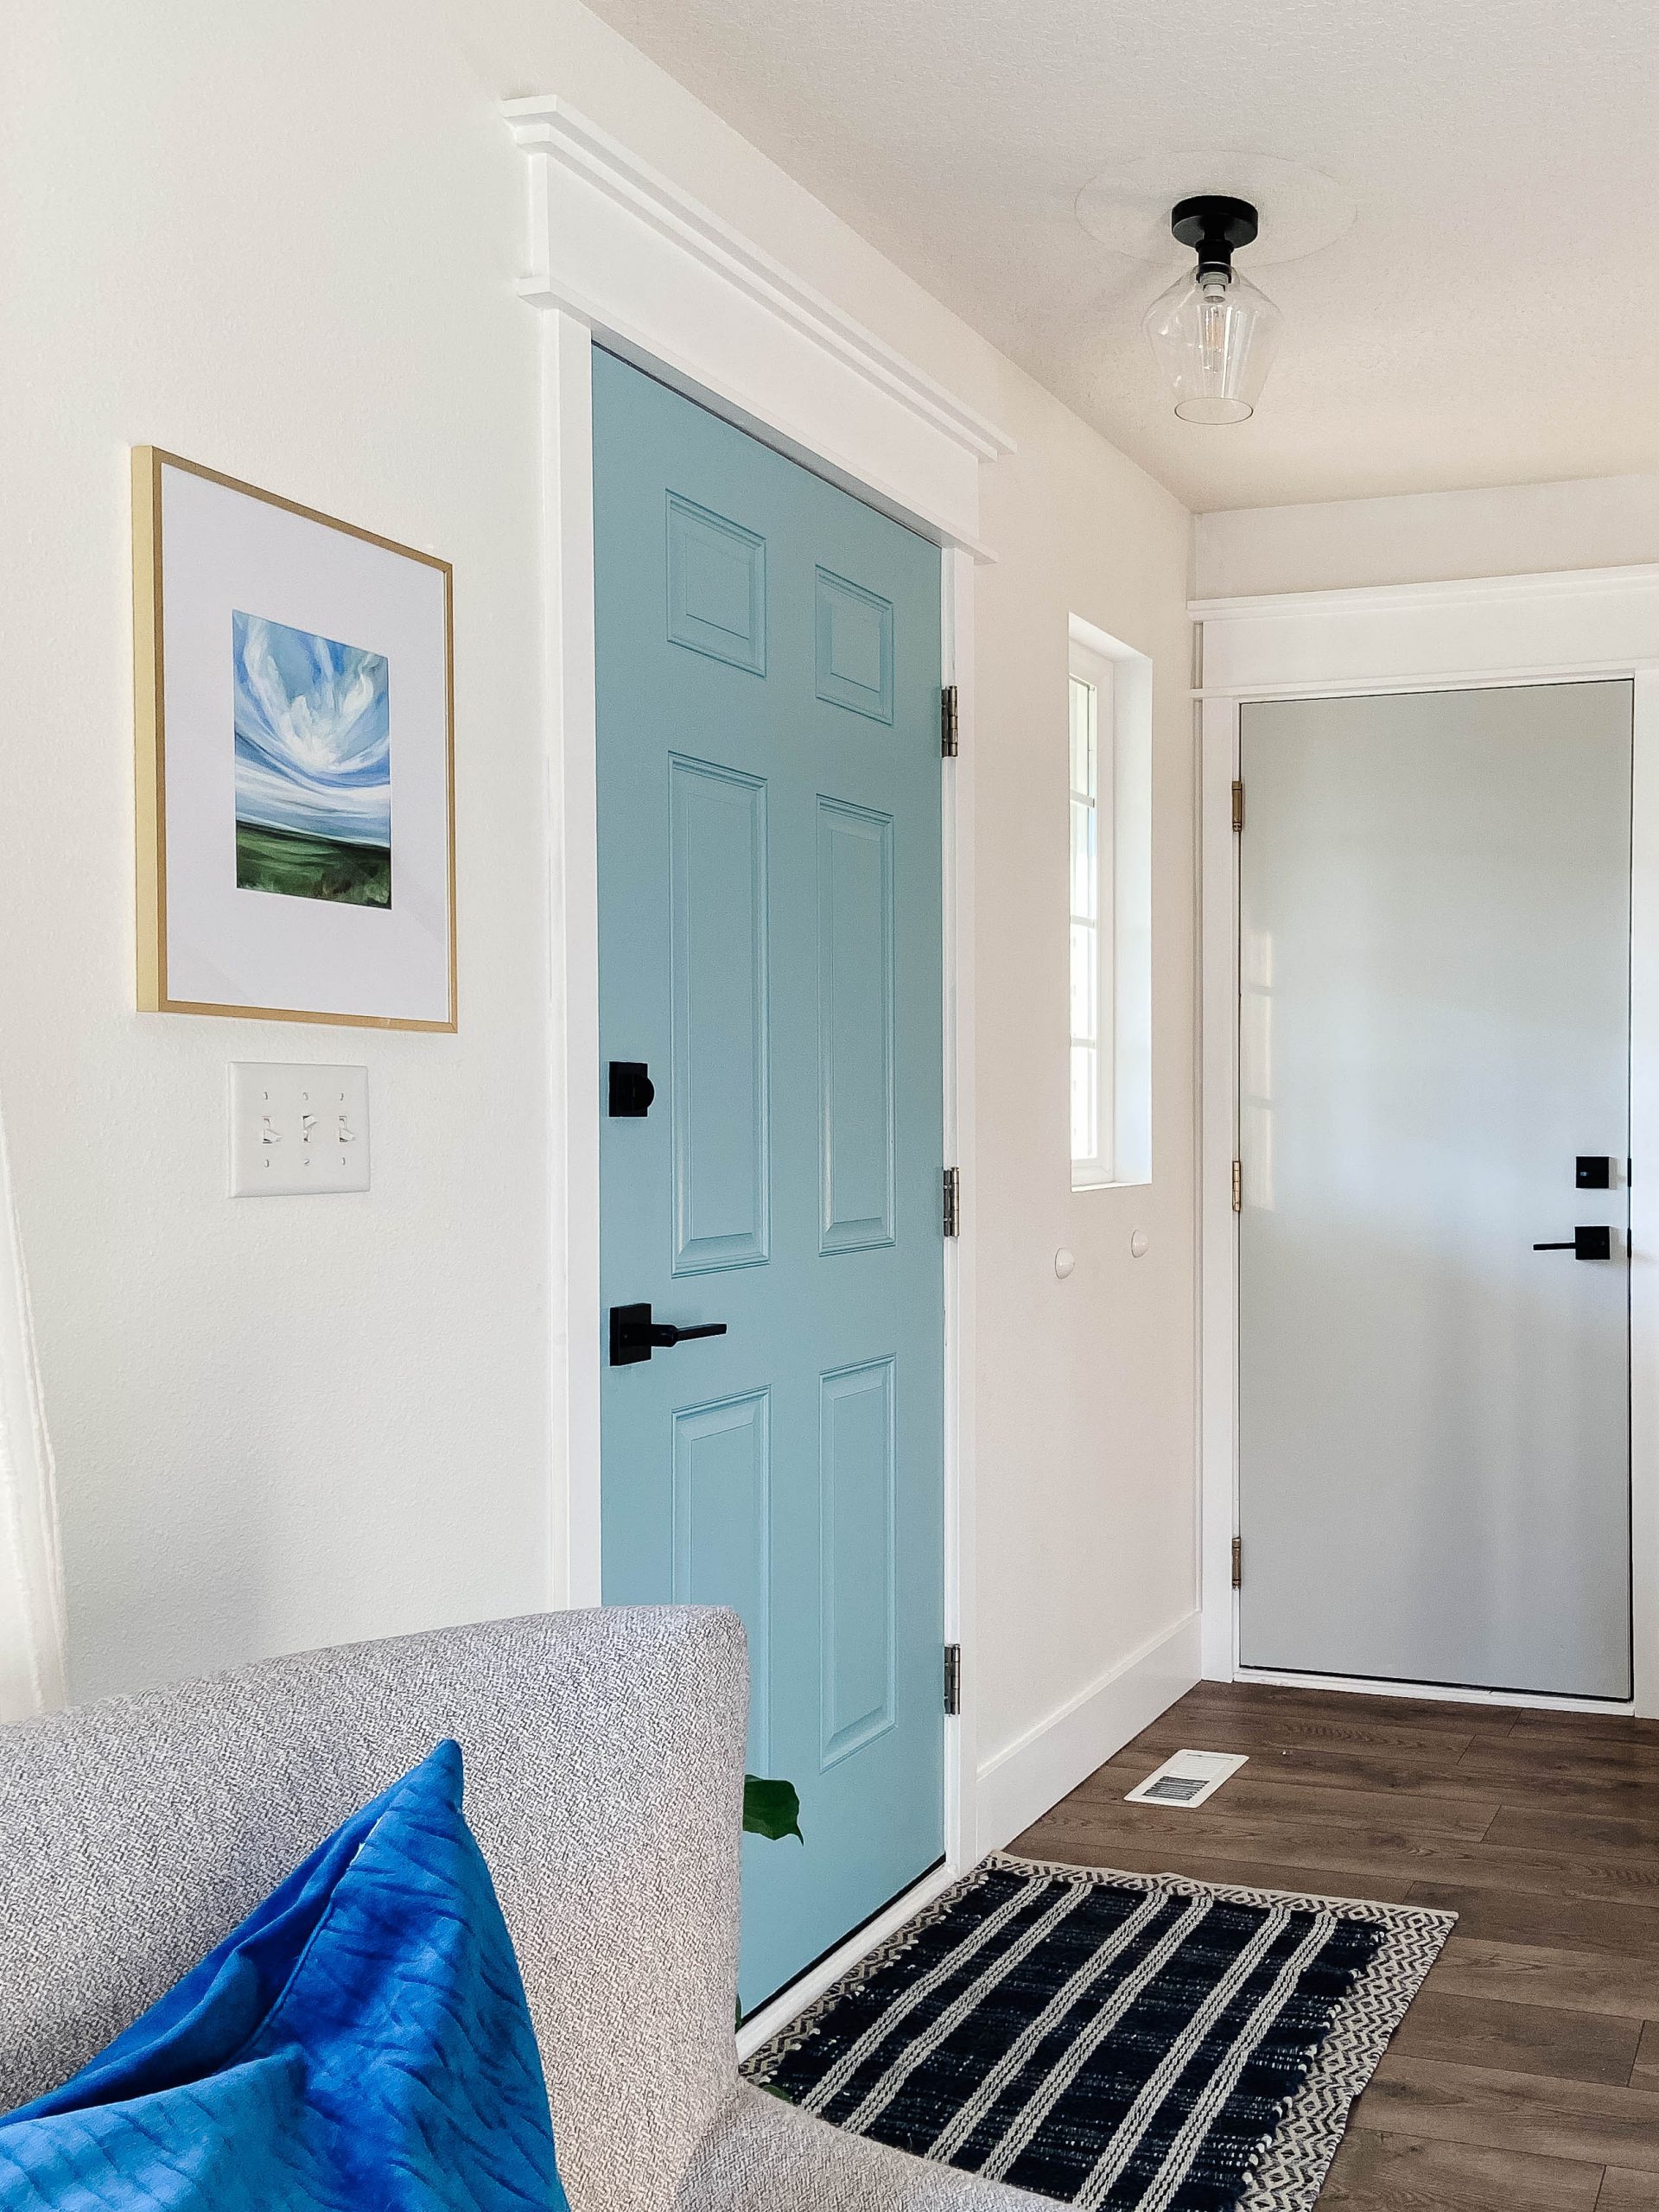
Color Psychology and Interior Design
When selecting a paint color for your interior doors, consider the impact of color psychology on your living space. Different hues can evoke various moods and atmospheres. For instance, calming blues and greens promote relaxation, while bold reds or yellows can stimulate energy and creativity. Neutral tones like grays and whites offer a timeless, sophisticated look that complements diverse design styles. Choose a color that complements your existing decor and enhances the ambiance you wish to create in each room.
Maintenance and Touch-Ups
Regular maintenance is key to preserving the pristine look of your painted doors. Dust them weekly with a microfiber cloth to prevent the buildup of dirt and grime. For spot cleaning, use a mild detergent solution and a soft cloth, being careful not to scrub too harshly. Over time, if you notice minor scratches or scuffs, touch them up promptly with a small amount of the original paint, carefully blending the new paint into the old to maintain consistency.
Conclusion: Transforming Your Home One Door at a Time
A well-executed door painting project can dramatically enhance the ambiance of your living spaces. By following these comprehensive steps, you’ve not only given your interior doors a fresh lease on life but also honed your skills as a DIY enthusiast. The satisfaction derived from a job well done, coupled with the compliments of visitors, makes every stroke of the brush worthwhile. Embrace future projects with confidence, knowing that with the right approach, transforming your home can be a rewarding and enjoyable endeavor.