Installing glass shower doors can significantly enhance the look and functionality of your bathroom. While the process might seem daunting, with the right tools and a clear step-by-step guide, you can achieve a professional finish. This comprehensive guide will walk you through each phase of the installation, from preparation to final adjustments.
Understanding the Types of Glass Shower Doors
Frameless vs. Framed Glass Shower Doors
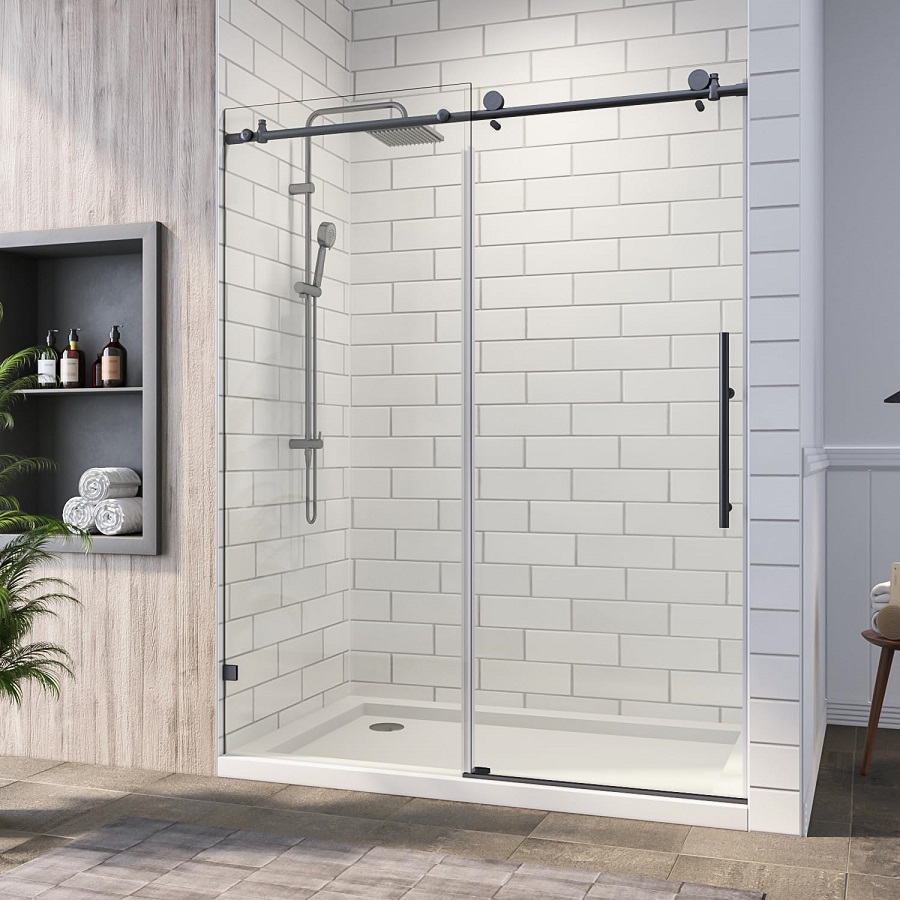
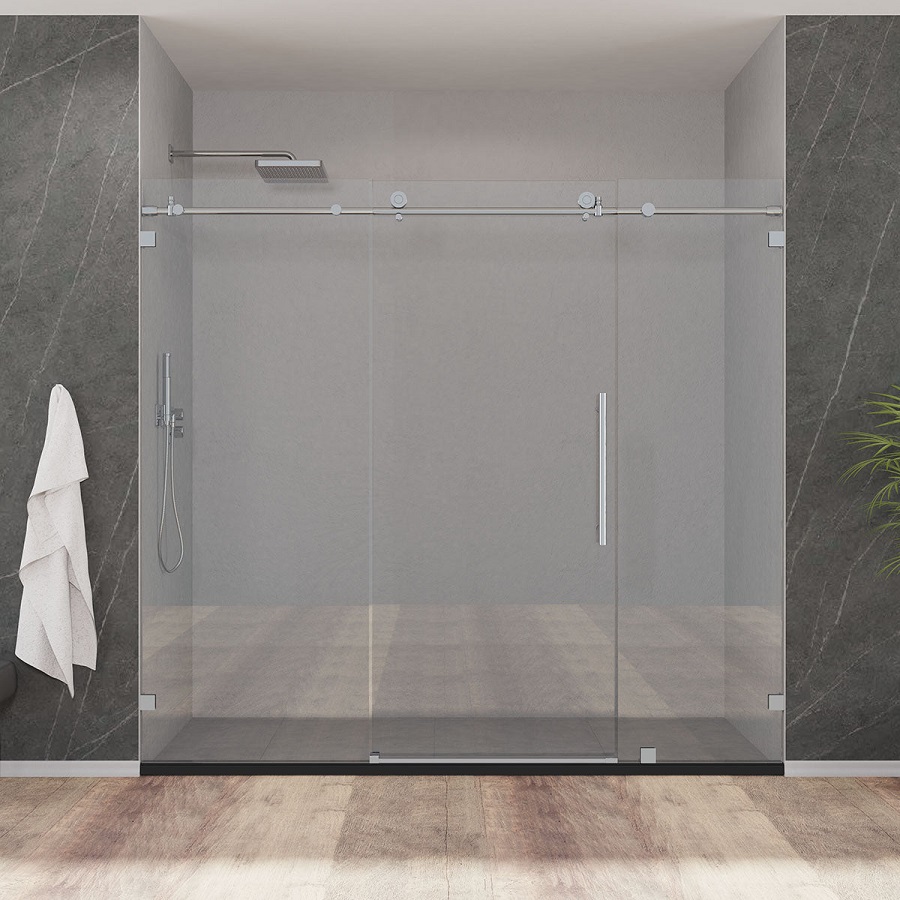
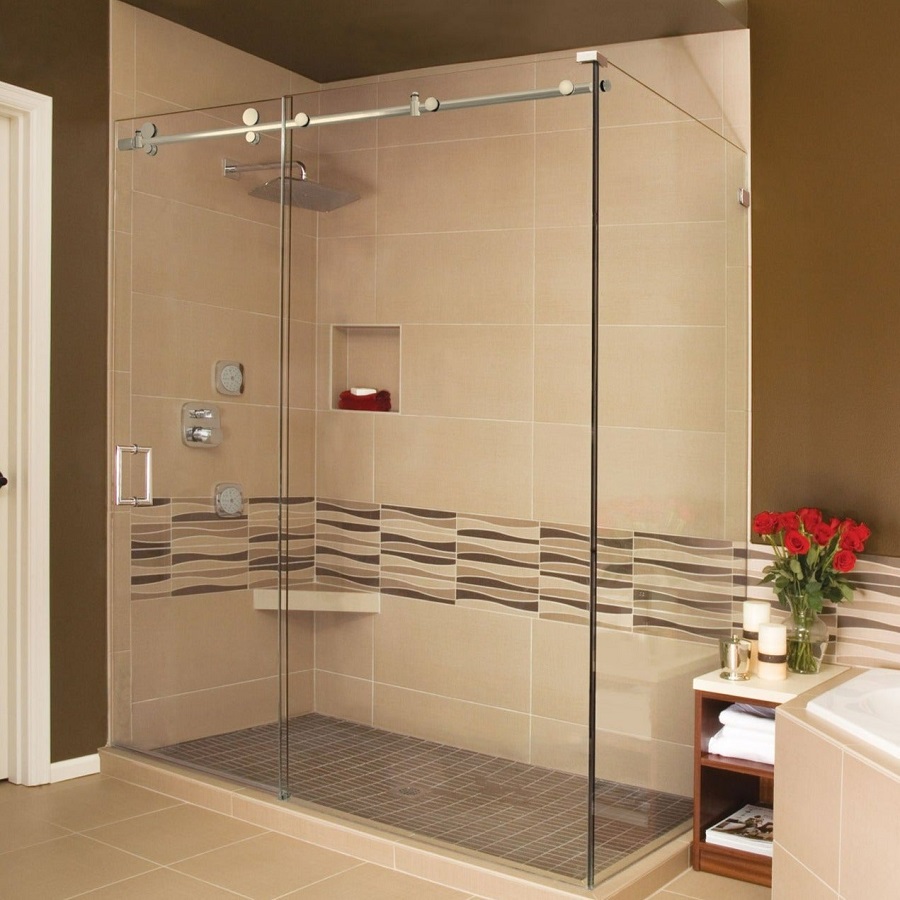
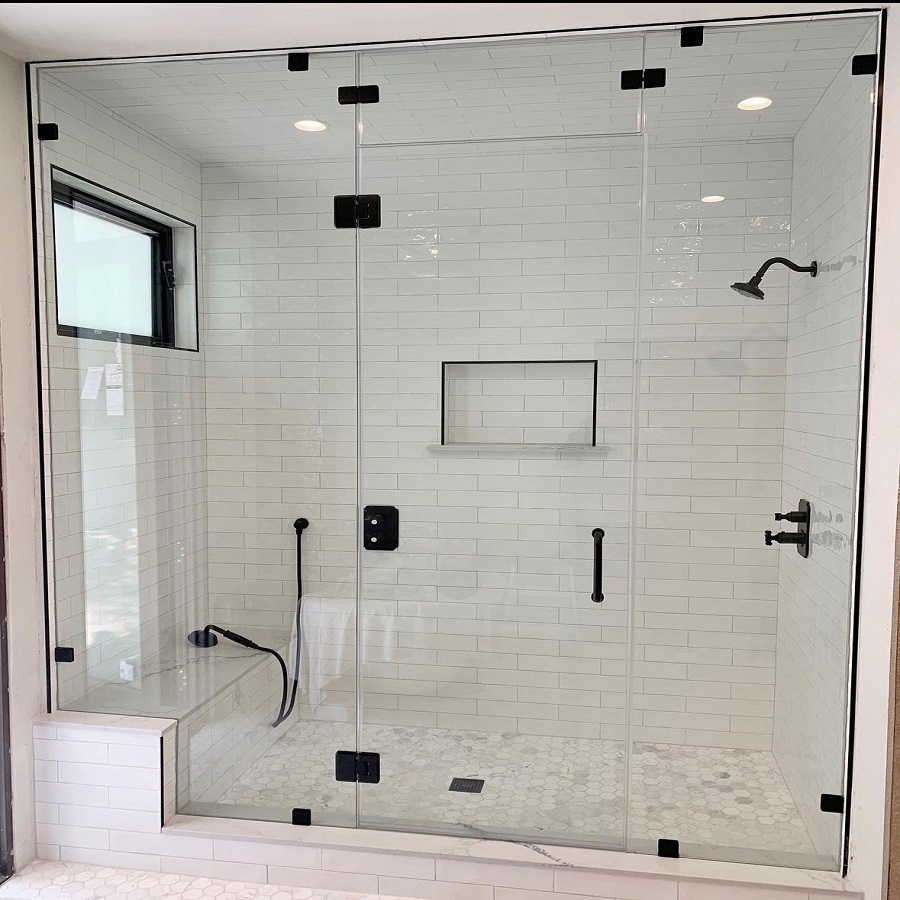
When choosing glass shower doors, it’s crucial to understand the differences between frameless and framed options. Frameless glass doors offer a modern, sleek appearance with minimal hardware and are often preferred for contemporary bathrooms. They are made from thick tempered glass and rely on minimal metal fittings for support. This design creates an open and spacious feel but can be more challenging to install due to the precision required.
Framed glass shower doors, on the other hand, come with metal frames that support the glass panels and help seal the edges. These doors are generally easier to install and more budget-friendly. The frames can be made of various materials, including aluminum or stainless steel, and can offer additional stability and protection against water leaks.
Bi-Fold, Sliding, and Hinged Doors
In addition to choosing the type of glass, you need to decide on the door style. Bi-fold doors are ideal for smaller bathrooms as they fold inwards, saving space when opening. Sliding doors are another space-saving option, where the panels glide smoothly over a track, providing easy access without requiring additional clearance. Hinged doors, or swing doors, open outward and are best suited for larger bathrooms with sufficient space.
Tools and Materials Needed
Essential Tools for Installation
Before starting the installation process, gather all the necessary tools to ensure a smooth and efficient setup. Key tools include a drill, level, measuring tape, screwdriver, silicone caulk, and a glass suction cup. The drill will be used to make holes for the hardware, while the level and measuring tape ensure that everything is aligned correctly. A screwdriver will help in securing screws and fittings, and silicone caulk is used for sealing to prevent water leaks. A glass suction cup can assist in handling and positioning the glass panels safely.
Materials Required
In addition to tools, you’ll need specific materials for the installation. These include the glass shower doors themselves, door tracks or hinges, wall anchors, screws, and rubber gaskets. The type and quantity of materials may vary depending on whether you are installing a frameless or framed system. Ensure you have all components and accessories, such as handle fittings and seal strips, before beginning the installation.
Preparing the Installation Area
Measuring and Planning
Accurate measurements are critical for a successful glass shower door installation. Begin by measuring the height and width of the shower opening to ensure the glass panels will fit properly. Use a measuring tape to take precise measurements and check them multiple times to avoid mistakes. Planning also involves determining the placement of the door tracks or hinges and ensuring that there is enough clearance for the doors to open and close smoothly.
Removing Existing Fixtures
If you are replacing old shower doors, you’ll need to remove them first. Start by taking out any existing frames, door panels, or hardware. Carefully detach the old fixtures to avoid damaging the wall or surrounding tiles. Clean the area thoroughly to remove any adhesive residue or debris left from the previous installation. This preparation will provide a clean and stable surface for the new glass shower doors.
Installing the Shower Door Frame
Securing the Frame to the Wall
The first step in installing a framed glass shower door is to secure the frame to the wall. Begin by positioning the vertical side panels of the frame and using a level to ensure they are plumb. Mark the locations for drilling holes, then drill the holes and insert wall anchors if necessary. Attach the frame to the wall using screws, ensuring that it is firmly secured and aligned correctly.
Installing the Bottom Track
Next, install the bottom track that will support the shower door. Position the track along the base of the shower opening, ensuring it is centered and level. Mark the drilling points, then drill and secure the track to the shower floor using screws or adhesive as specified in the manufacturer’s instructions. Ensure the track is stable and level, as this will affect the smooth operation of the sliding doors.
Installing Glass Panels
Handling the Glass Panels
Glass panels are heavy and delicate, so handle them with care. Use a glass suction cup to lift and maneuver the panels into position. If you are installing frameless doors, you may need additional assistance to lift and place the glass. Ensure the panels are aligned correctly with the pre-installed frame or track.
Attaching the Glass Panels
For framed doors, insert the glass panels into the frame and secure them with the provided hardware. Follow the manufacturer’s instructions for fitting the glass and attaching any rubber gaskets or seals that may be included. For sliding doors, place the glass panels into the bottom track and ensure they glide smoothly along the track. Adjust the alignment as necessary to achieve a perfect fit.
Sealing and Finishing Touches
Applying Silicone Caulk
To prevent water leaks, apply silicone caulk around the edges where the glass panels meet the walls and the base. Use a caulking gun to apply a continuous bead of caulk, smoothing it with a caulk tool or your finger for a clean finish. Allow the caulk to cure for the time specified in the manufacturer’s instructions before using the shower.
Installing Handles and Accessories
Once the caulk has dried, install any handles, towel bars, or additional accessories that come with your shower doors. Attach the handles securely, ensuring they are aligned and level. Double-check all fittings and fixtures to ensure everything is properly installed and functioning.
Final Checks and Maintenance
Testing the Door Operation
After installation, test the operation of the shower doors to ensure they open and close smoothly. Check for any gaps or misalignments and make any necessary adjustments. Verify that the doors are securely attached and that the silicone caulk has formed a watertight seal.
Regular Maintenance Tips
To keep your glass shower doors in top condition, perform regular maintenance. Clean the glass panels with a non-abrasive cleaner to remove soap scum and water spots. Check the seals and hardware periodically for any signs of wear or damage and address any issues promptly. Regular maintenance will help extend the life of your shower doors and keep them looking their best.
Conclusion
Enjoying Your New Glass Shower Doors
Installing glass shower doors can greatly enhance the functionality and aesthetic appeal of your bathroom. By following this step-by-step guide, you can ensure a successful installation process and enjoy the benefits of a modern, stylish shower enclosure. Whether you choose frameless or framed doors, proper preparation, and attention to detail will result in a professional finish that adds value to your home.
The Value of DIY Installation
While professional installation services are available, many homeowners find satisfaction in completing the project themselves. With careful planning and the right tools, DIY installation can be a rewarding experience and a cost-effective solution. Embrace the challenge and enjoy the results of your hard work with beautifully installed glass shower doors.