Building your own Shaker cabinet doors can be a rewarding DIY project that adds a personal touch to your home. Known for their clean lines and classic style, Shaker doors are not only functional but also aesthetically pleasing. This guide will walk you through the steps required to create your own Shaker cabinet doors, even if you’re a beginner.
Understanding the Shaker Style
What Makes Shaker Doors Unique?
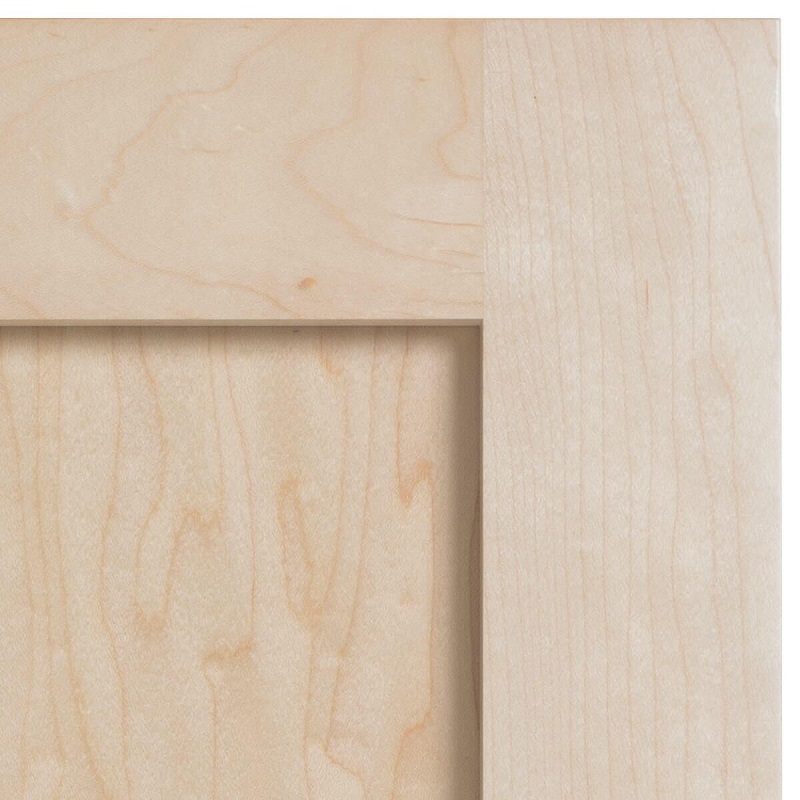
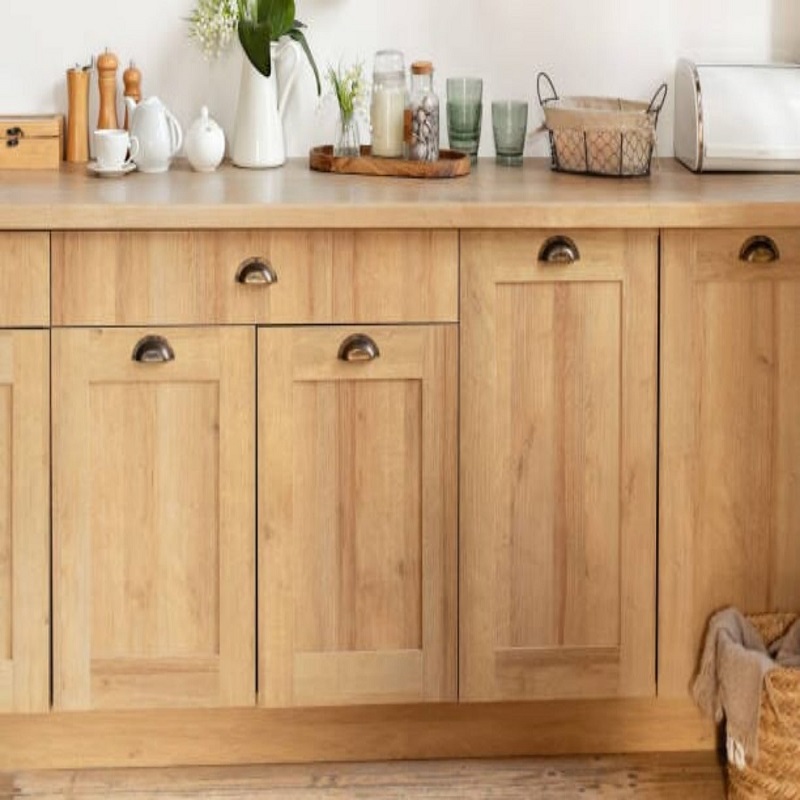
Shaker cabinet doors are characterized by their simple, straightforward design, which features a recessed center panel and a frame that creates a clean, modern look. This style originated from the Shaker community, who valued functionality and craftsmanship in their furniture design. The lack of ornate details makes Shaker doors versatile, allowing them to fit seamlessly in various home styles—from traditional to contemporary.
Benefits of Building Your Own Doors
There are several benefits to building your own Shaker cabinet doors. First, DIY projects can save you money compared to purchasing pre-made doors. Second, making your own doors allows for customization in size, wood type, and finish, ensuring that the doors will fit your specific space and design preferences. Lastly, the satisfaction that comes from completing a DIY project and enhancing your home is immeasurable.
Tools and Materials Needed
Essential Tools for the Job
Before you begin your project, gather the necessary tools. Here’s a list of what you’ll need:
- Table Saw: For cutting wood to size.
- Miter Saw: Useful for making precise angled cuts, particularly for the frame.
- Router: To create the grooves needed for the panel.
- Drill: For making pilot holes and securing screws.
- Sander: For smoothing edges and surfaces.
- Clamps: Essential for holding pieces together while the glue dries.
- Square and Measuring Tape: For accurate measurements and ensuring corners are square.
Materials You’ll Need
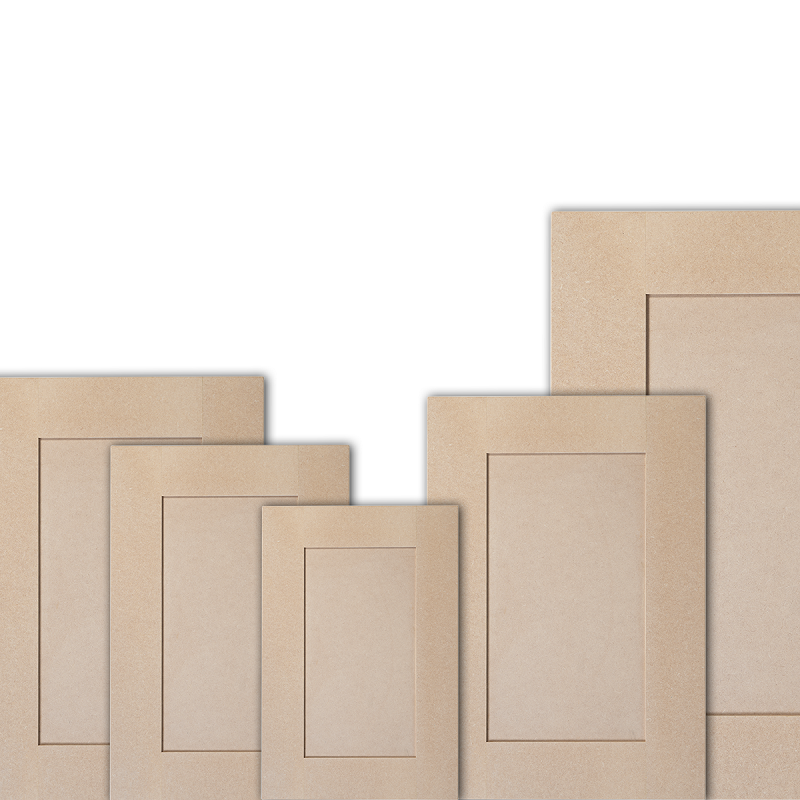
Next, gather the materials for your Shaker doors. Choose high-quality wood like poplar, maple, or oak for durability and aesthetics. You’ll need:
- Wood Boards: For the frame and center panel.
- Wood Glue: For joining pieces.
- Wood Screws: For added strength.
- Finish or Paint: To protect and enhance the look of the doors.
Measuring Your Cabinet Openings
Accurate Measurements Are Crucial
The first step in building your Shaker cabinet doors is to measure your cabinet openings accurately. Start by measuring the width and height of each opening. Be sure to measure at multiple points, as cabinets can often be uneven. Write down the smallest measurement to ensure that your doors will fit properly.
Accounting for the Door Overlay
Consider how much overlay you want for your doors. Typically, Shaker doors have a ½-inch overlay on the sides and top. This means that if your opening measures 24 inches wide and 30 inches high, you would add 1 inch to each measurement for the doors. Therefore, your final dimensions for each door should be 25 inches wide and 31 inches high.
Cutting the Wood
Preparing the Wood for Cutting
Once you have your measurements, it’s time to cut the wood. Start by selecting the right boards for your frame and center panel. You will need four pieces for the frame (two vertical and two horizontal) and one piece for the center panel.
Making the Cuts
Using a table saw, cut the frame pieces to size based on your measurements. For the center panel, the piece should be slightly smaller than the frame dimensions to allow for the recess. A good rule of thumb is to subtract ¼ inch from both the width and height of the frame pieces for the panel size.
Ensuring Precision
When cutting, always double-check your measurements before making each cut. It’s better to take your time and ensure accuracy than to rush and make mistakes. After cutting, sand the edges to remove any rough spots, which will give your doors a more polished look.
Creating the Grooves for the Panel
Understanding the Routing Process
To create the recessed panel effect of Shaker doors, you need to cut grooves into the frame pieces where the center panel will fit. This is done using a router with a straight bit.
Setting Up the Router
Adjust the depth of the router bit to about ¼ inch, which is standard for Shaker doors. Clamp the frame piece securely to your work surface, ensuring it won’t move during the routing process.
Routing the Grooves
Carefully run the router along the inner edges of the frame pieces to create the grooves. Make sure to keep the router steady to ensure even cuts. After routing, clean up any rough edges with sandpaper for a smooth finish.
Assembling the Door
Joining the Frame Pieces
Once the frame pieces and panel are prepared, it’s time to assemble the door. Begin by laying out the frame pieces in a rectangular shape. Apply wood glue to the ends of the horizontal pieces and fit them into the grooves of the vertical pieces.
Securing the Frame
After positioning the frame, use clamps to hold it together while the glue dries. This usually takes about 30 minutes to an hour. For added strength, you can also use wood screws, drilling pilot holes to prevent splitting.
Inserting the Center Panel
Once the frame is securely glued, place the center panel into the grooves. Ensure it fits snugly but can move slightly to allow for wood expansion and contraction. If necessary, use additional glue or screws to secure the panel in place.
Sanding and Finishing
Preparing for Finishing Touches
After the glue has dried completely, remove the clamps and inspect the door for any rough spots or imperfections. Sand the entire surface of the door using progressively finer grits of sandpaper, starting with a medium grit (around 120) and finishing with a fine grit (around 220).
Choosing the Right Finish
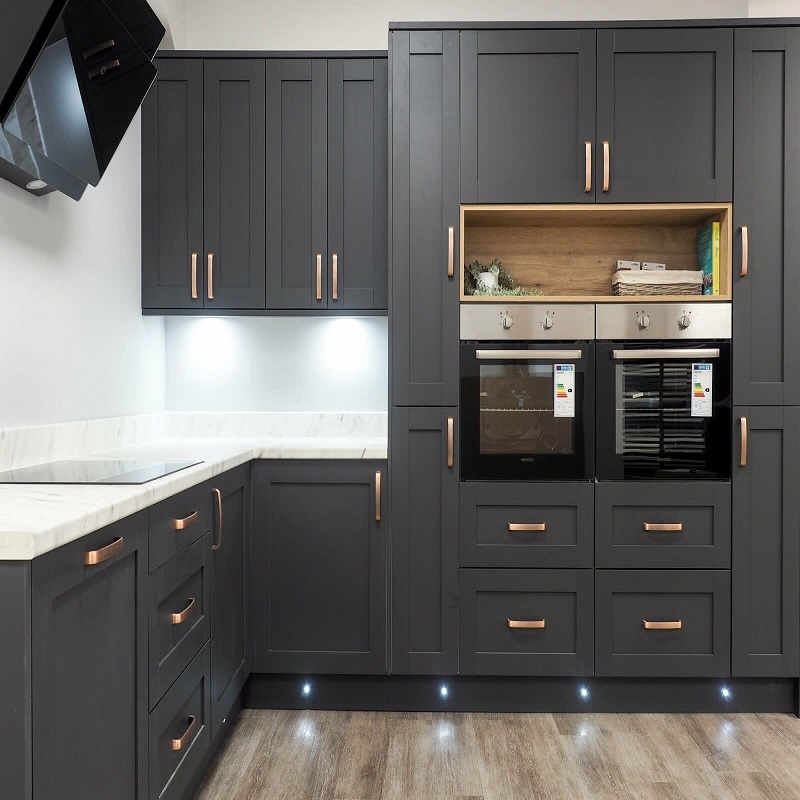
The finish you choose can dramatically affect the appearance of your Shaker doors. Options include stains, paints, or clear finishes. If you want to showcase the natural beauty of the wood, consider using a clear polyurethane or a wood stain. If you prefer a bold color, choose a high-quality paint suitable for cabinets.
Applying the Finish
Apply your chosen finish using a brush or roller, following the manufacturer’s instructions. Allow adequate drying time between coats, usually a few hours, and consider applying at least two coats for durability.
Installing Your Shaker Doors
Preparing for Installation
Once the finish has dried completely, it’s time to install your Shaker cabinet doors. Begin by attaching hinges to the doors, usually about 5 to 7 inches from the top and bottom of each door. Pre-drill pilot holes to make the installation easier and prevent wood from splitting.
Mounting the Doors
With the hinges attached, position the doors on the cabinet frames and align them properly. Use a level to ensure that the doors hang straight. Secure the hinges to the cabinet with screws, making sure they are tightly fastened.
Adjusting the Fit
After installation, check the alignment of your doors. Adjust them as needed by tightening or loosening the hinges. It’s important that the doors open and close smoothly, without any gaps or rubbing against the cabinet.
Maintenance and Care for Your Shaker Doors
Regular Cleaning Practices
To keep your Shaker cabinet doors looking great, regular maintenance is essential. Use a soft cloth and a mild detergent to clean the surface, avoiding abrasive cleaners that could scratch the finish.
Addressing Wear and Tear
Over time, you may notice some wear on the edges or surfaces of your doors. If this happens, light sanding and a touch-up coat of paint or finish can restore their original appearance. Regularly check hinges and screws to ensure they remain secure and functional.
Long-Term Care Tips
To protect the finish of your doors, avoid placing hot items directly on the surface and consider using coasters for drinks. Additionally, maintain a stable humidity level in your home to prevent wood from warping.
Conclusion: Enjoying Your Custom Shaker Cabinet Doors
Building your own Shaker cabinet doors is a fulfilling project that not only enhances the aesthetic of your home but also allows you to showcase your craftsmanship. By following this guide, you’ll have a set of custom doors that perfectly fit your cabinets and reflect your style. Enjoy the satisfaction of your hard work every time you open those doors, knowing you’ve created something beautiful and functional with your own hands. Whether you’re looking to renovate your kitchen or simply update your cabinetry, these Shaker doors will surely make a statement. Happy building!