
Preparation is Key: Materials and Tools You’ll Need
Before diving into your kitchen cabinet painting project, gathering all necessary materials and tools is crucial. This ensures a smooth and efficient process from start to finish. Here’s what you’ll need:
- Quality Paintbrush and Roller: Choose a high-quality paintbrush for precision work, and a small foam roller for smooth surfaces.
- TSP (Trisodium Phosphate): A powerful cleaner to remove grease and grime from your cabinet doors.
- Sandpaper: Various grits for sanding down surfaces to create the perfect base for primer and paint.
- Primer: An essential base coat that helps paint adhere better and provides long-lasting results.
- Paint: High-quality acrylic latex enamel paint in your chosen color for a durable finish.
- Screwdriver: To remove hardware from the cabinet doors.
- Drop Cloths: Protect your kitchen surfaces from drips and spills during the painting process.
- Painter’s Tape: To protect walls and other areas you don’t want to paint.
Gather these items before starting, and you’ll be well on your way to a beautifully updated kitchen.

Removing Cabinet Doors and Hardware
Before starting the painting process, it’s essential to remove cabinet doors and hardware. This step not only makes the painting easier but also ensures a thorough and even application of paint. Here’s what to do:
- Label Each Door: Use a piece of tape to mark each door and its corresponding location in the kitchen. This will make reinstallation much simpler.
- Unscrew Hinges: With your screwdriver, carefully remove the hinges from each door. Place screws and hardware in a safe container to avoid losing them.
- Detach Handles and Knobs: Remove any handles or knobs from the cabinet doors. If you plan to reuse them, clean and store them properly.
- Set Up a Work Area: Arrange a space in your home or garage where you can lay out the doors to paint. Cover this area with drop cloths to prevent messes.
By carefully removing your cabinet doors and hardware, you’re setting the stage for a seamless painting experience.
Cleaning and Degreasing: The Crucial First Step
Before painting your cabinet doors, cleaning and degreasing are vital. Start by mixing TSP with water following package directions. Use gloves to protect your skin. Apply the solution with a sponge, focusing on areas with tough stains. Rinse the doors with clean water and let them dry. This step ensures your paint adheres well and lasts longer.
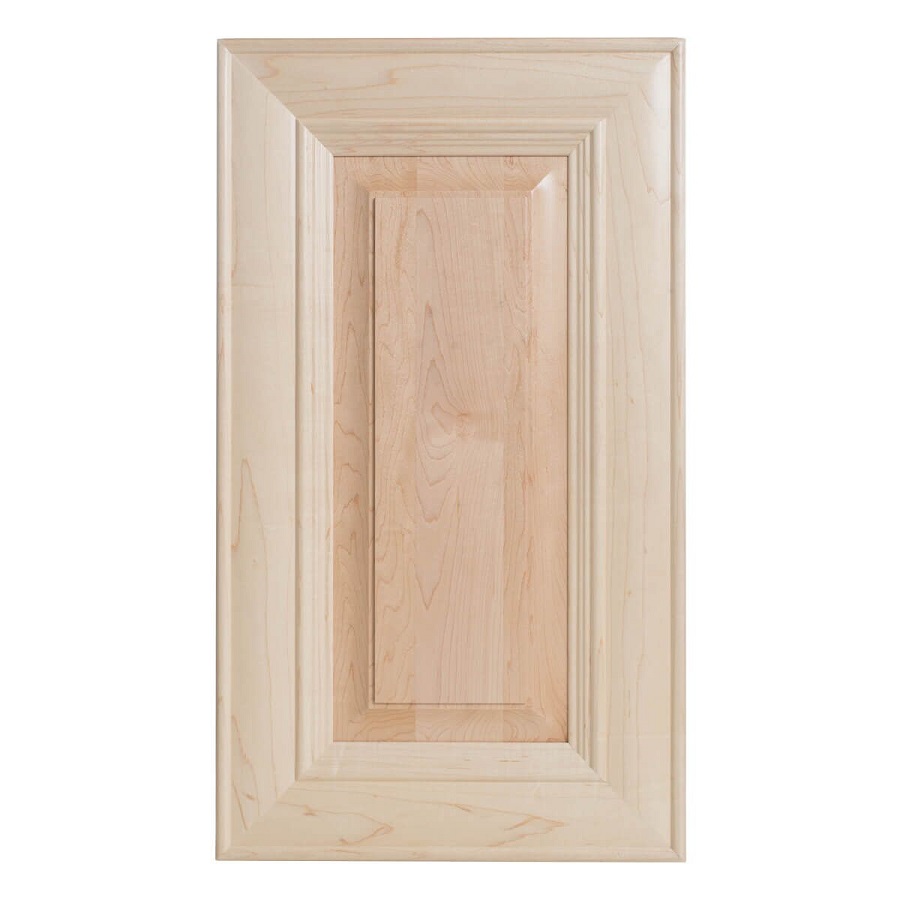
Sanding the Doors: Creating a Smooth Surface
To achieve a perfect paint job, sanding your cabinet doors is essential. Begin with medium-grit sandpaper to remove old finish and imperfections. Sand evenly, applying gentle pressure. Next, use fine-grit sandpaper for a smooth touch. Wipe doors clean with a damp cloth to remove dust. This preparation creates a prime surface for primer to adhere, ensuring a sleek finish when painted.
Applying Primer: The Foundation for Paint
Before painting, apply a coat of primer to each cabinet door. Primer creates a smooth base and helps paint stick better. Let the primer dry as per instructions on the can. Use a high-quality primer that matches the type of paint you plan to use. For example, if you’re using an acrylic latex enamel paint, an acrylic primer is ideal. Make sure to apply primer in a well-ventilated area. Use a brush for edges and detailed areas and a roller for flat surfaces. A good primer coat prevents peeling and chipping, ensuring your paint job lasts longer.
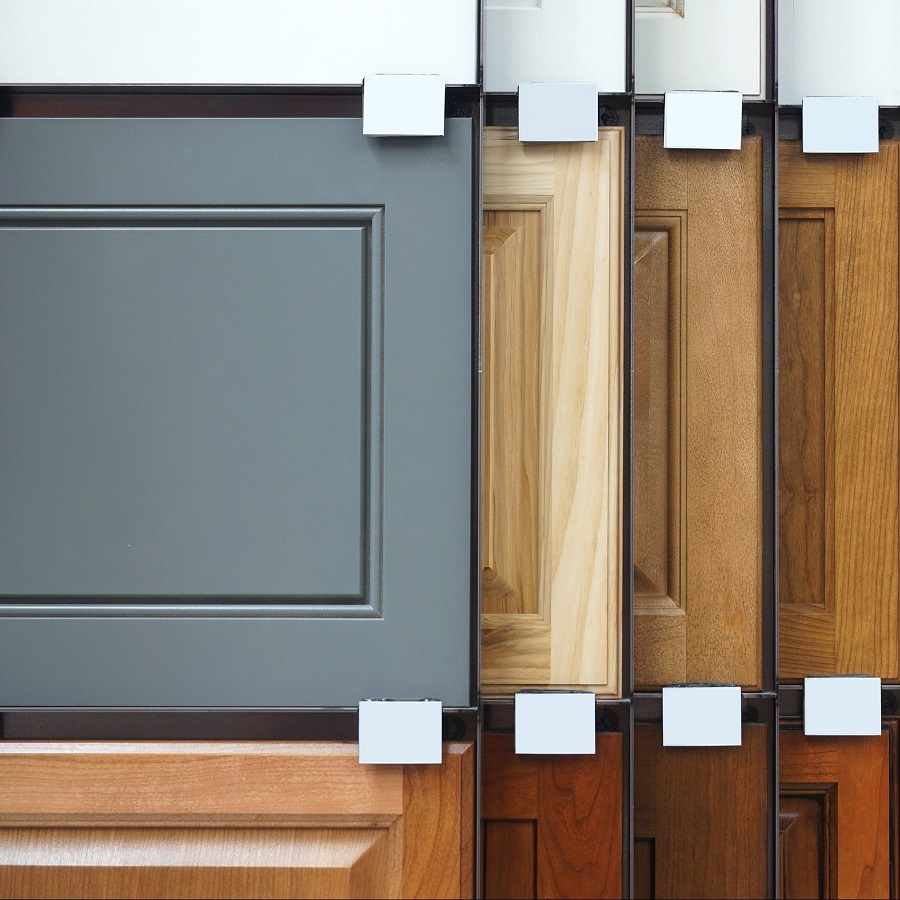
Choosing the Right Paint for Your Cabinets
Selecting the perfect paint for your kitchen cabinets is crucial for durability and the overall look. Here are steps to ensure you choose the right one:
- Type of Paint: Opt for acrylic latex enamel paint for a hard, durable finish.
- Finish: A satin finish is recommended as it provides a smooth look and is easy to clean.
- Color Choice: Decide on a color that complements your kitchen’s decor and your personal style.
- Quality: Invest in high-quality paint to avoid frequent touch-ups and ensure long-lasting results.
Keep in mind that the paint you choose will transform the look of your kitchen, so take the time to select a color and finish that you’ll be happy with for years to come.
The Painting Process: Techniques for a Flawless Finish
The painting process is crucial for achieving a flawless finish on your kitchen cabinet doors. Here’s how to ensure a professional look:
- Apply Paint Evenly: Using a high-quality brush, start with the edges and details of the door. For larger, flat areas, switch to a foam roller for an even coat.
- Thin Coats Are Key: It’s better to apply several thin coats rather than one thick one. This avoids drips and provides a smoother finish.
- Dry Completely: Allow the paint to dry entirely between coats. Check the paint can for the recommended drying time.
- Light Sanding Between Coats: For an ultra-smooth finish, lightly sand the doors with fine-grit sandpaper between coats. Wipe away dust before applying the next coat.
- Final Inspection: Once the final coat is dry, inspect your doors for any missed spots or potential improvements.
By carefully following these steps, you’ll give your cabinet doors a new lease on life with a beautiful, durable finish.
Reattaching Doors and Adding the Finishing Touches
Once your cabinet doors are dry and looking refreshed with their new coat of paint, it’s time to reattach them to your cabinets. This final step is straightforward but crucial for the finished look of your kitchen makeover. Here are the steps you should follow to ensure your cabinet doors are reinstalled properly:
- Align Hinges: Start by aligning the hinges with the pre-drilled holes in the cabinet frame. Use a screwdriver to secure the hinges in place, making sure they’re tight and the doors hang evenly.
- Adjust Doors: After attaching the doors, check for proper alignment and make any necessary adjustments to ensure they open and close smoothly.
- Reattach Hardware: Once the doors are aligned, reattach the handles or knobs. New hardware can significantly enhance the overall appearance of your cabinets, so consider updating them if needed.
- Clean Up: Remove any painter’s tape or protective covers you used during the painting process. Clean the area to remove dust and debris.
With these final touches, your kitchen cabinets should look as good as new, giving your kitchen a bright and updated appearance.
Maintenance Tips: Keeping Your Cabinet Doors Looking New
To keep your newly painted cabinet doors looking their best, here are some maintenance tips:
- Regular Cleaning: Gently clean the cabinet doors with a soft cloth and non-abrasive cleaner to maintain their shine and prevent dirt buildup.
- Immediate Spill Cleanup: Wipe up spills and stains immediately to avoid damaging the paint.
- Avoid Excessive Moisture: Prolonged exposure to moisture can harm the paint finish, so make sure to keep the cabinet doors dry.
- Touch Ups: If you notice any chips or wear over time, touch them up with the same paint used for the original job.
By following these maintenance tips, you can ensure your painted cabinet doors remain in pristine condition for years to come.
Maintenance Tips: Keeping Your Cabinet Doors Looking New
To ensure your freshly painted cabinet doors stay in top condition, follow these maintenance tips:
- Regular Cleaning: Wipe down doors with a soft cloth and mild cleaner. Avoid harsh chemicals.
- Handle Spills Quickly: Clean spills immediately to prevent paint damage.
- Keep Dry: Protect doors from prolonged moisture to maintain the finish.
- Touch Ups: Fix chips or signs of wear with the original paint.
By sticking to these simple practices, your cabinet doors will look new for years.