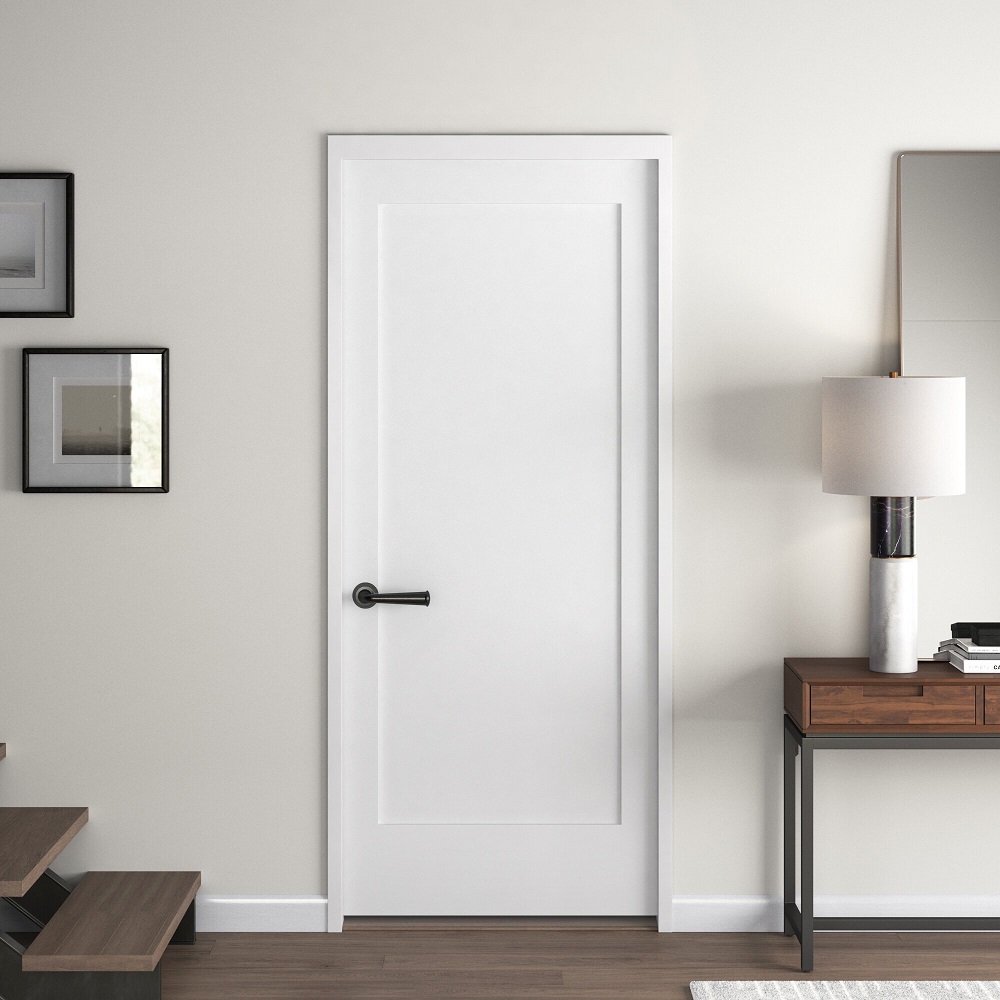
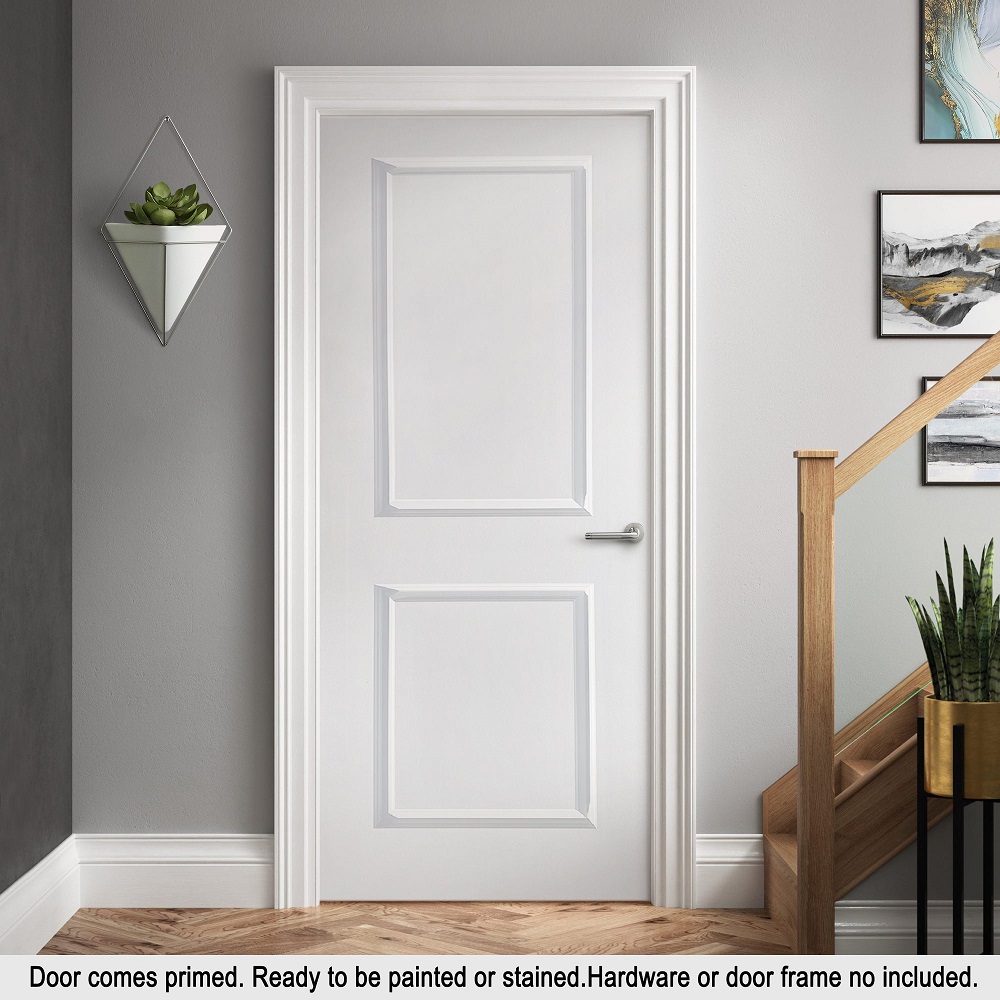
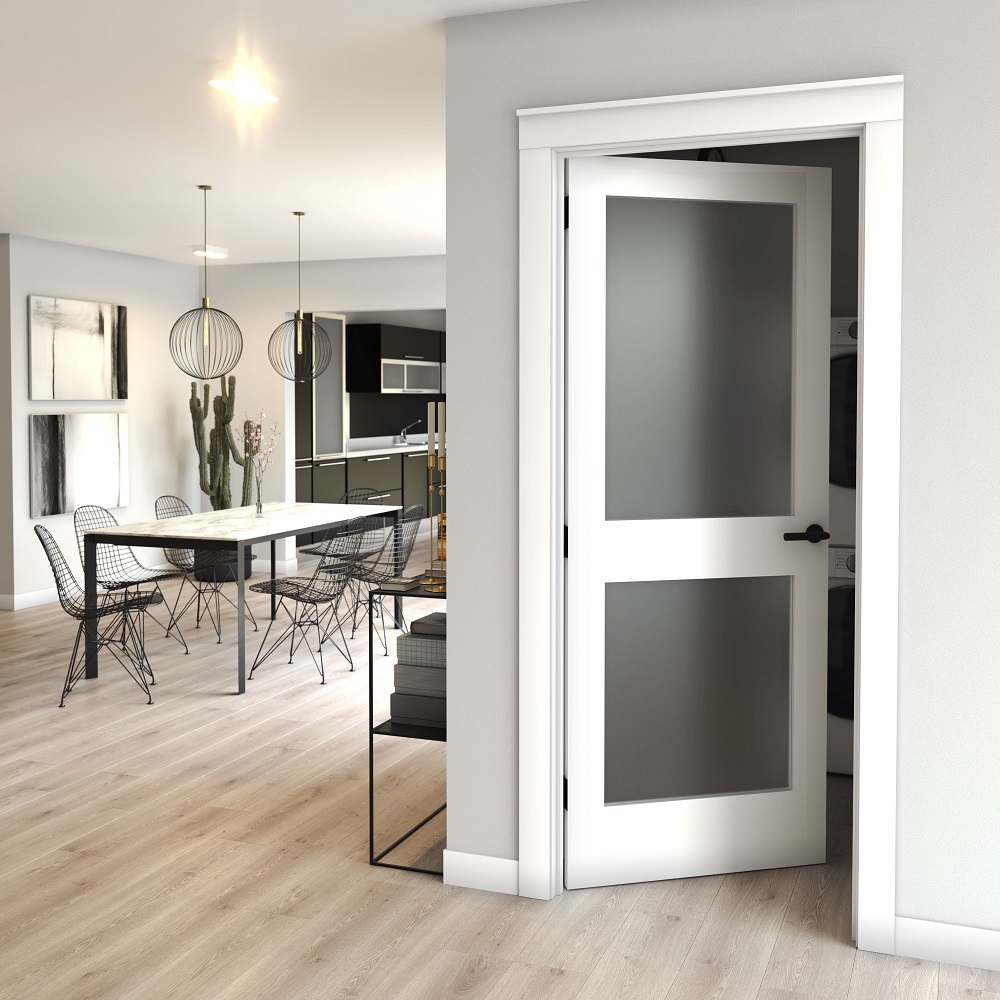
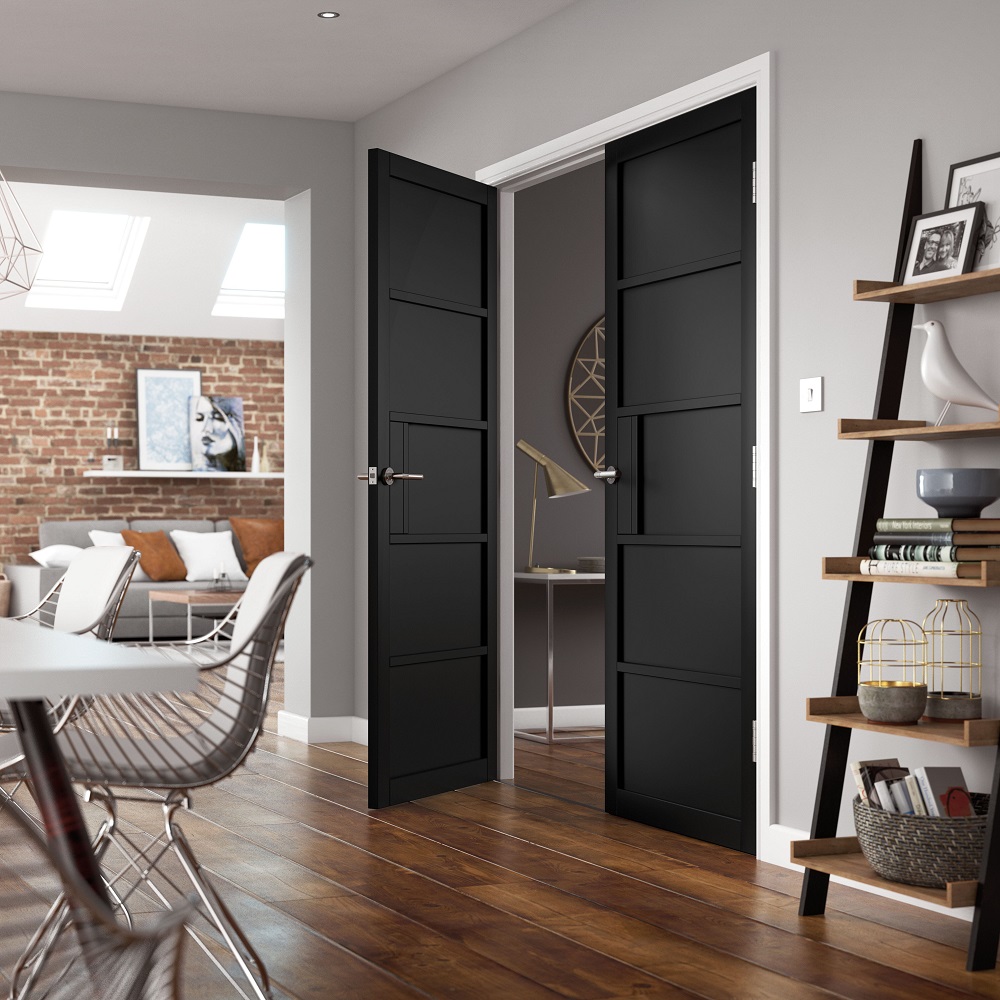
Preparing to Hang an Interior Door
When starting your project of hanging interior doors, it’s crucial to be well-prepared. This preparation ensures a smoother process and a professional-looking finish.
Tools and Materials Needed
Before you begin, gather all the necessary tools and materials to avoid any interruptions. Essential tools include:
- A level: To ensure your door hangs straight.
- Cedar shingle shims: These help in adjusting the door level.
- A hammer and finishing nails: For securing the door frame.
- Wood putty and wood sealer: To finish and protect the door.
Ensure all tools are in good working condition and that you have enough materials to complete the job.
Measuring and Selecting the Right Door
Selecting the right door involves careful measurement and understanding the space. Follow these steps:
- Measure the height and width of the existing doorway or opening.
- Consider the door swing direction and how it will affect the room layout.
- Choose a door style that matches the interior aesthetics of your home.
- Opt for a prehung door if you prefer a quicker and easier installation as it comes with a frame set.
By accurately measuring and selecting the right door, you’ll ensure that it fits well and functions smoothly in your home.

Installing a Prehung Door
When tackling the task of hanging interior doors, opting for a prehung door can simplify the process considerably. A prehung door comes already mounted in a frame. This setup helps to ensure that the door is properly aligned right from the start, reducing the complexity of the installation.
Positioning the Door in the Rough Opening
Begin by placing the prehung door into the rough opening of your wall. Center the door carefully to ensure there is an even gap on all sides. This gap is crucial for smooth opening and closing once the door is installed.
Ensuring the Door is Level and Plumb
Next, check that the door is both level and plumb in the opening. Use a level to check across the top of the door and adjust as needed with cedar shingle shims. Ensuring the door is level and plumb at this stage prevents issues with sticking or uneven gaps later on.
Securing the Jambs
Once the door is aligned, secure the jambs to the wall framing. Use a hammer and finishing nails for this purpose. Start from the top and work your way down, making sure each nail is driven firmly. This step is crucial to stabilize the door and prevent shifting or sagging.
Attaching the Door Hardware
Once you have the prehung door securely installed, the next step in hanging interior doors is attaching the door hardware. High-quality and compatible door hardware boosts both the functionality and aesthetic appeal of your door.
Selecting the Right Hardware
Choosing the right hardware for your interior door is important. Look for hardware that matches the style of your room and fits the pre-drilled holes in your door. Here’s how to select your hardware:
- Measure the diameter of the latch bore and select a doorknob that fits.
- Choose hinges that match the existing frame cutouts for uniformity.
- Opt for a lockset that complements your doors’ style and provides the desired privacy.
- Ensure all hardware finishing tie in with other metals used throughout your space.
Keep in mind that good hardware can withstand frequent use and add subtle elegance to your interiors.
Installing Hinges and Door Knob
Installing the door knob and hinges is the final step in hanging your door. Follow these straightforward tasks:
- Attach the hinges to the door if they’re not already in place. Screw them tightly onto the pre-marked areas.
- Align the door with the frame and insert the hinge pins to secure it.
- Install the door knob by inserting it into the pre-drilled hole on the door. Secure it in place according to the manufacturer’s instructions.
Ensure each component is firmly attached, and double-check their operation. Properly installed hardware ensures smooth door function and enhances security.
Finishing Touches
After installing your prehung door and attaching the hardware, it’s time for the finishing touches. These steps are essential to ensure a professional look and to protect your installation.
Attaching the Molding
Molding gives your doors a finished look and covers any gaps between the wall and the door frame. Follow these steps:
- Measure the top and sides of the door frame.
- Cut the molding to length, ensuring tight joins at the corners.
- Attach the molding using finishing nails. Hammer the nails at an angle for a secure fit.
- Use wood putty to cover nail heads for a smooth finish.
Applying Wood Putty and Sealer
Wood putty and sealer protect your doors and frame from moisture and wear:
- Apply wood putty to any nail holes or imperfections. Allow it to dry.
- Sand the putty smooth with the surface of the wood.
- Apply a wood sealer with a brush. This prevents moisture damage and enhances the door’s appearance.

Final Adjustments and Checks
Now, perform these final checks to ensure everything is perfect:
- Open and close the door several times to check smoothness.
- Inspect the alignment of the door. Make sure there are even gaps on all edges.
- Recheck the hardware. Tighten any loose screws and ensure all parts move freely.
By following these steps, your door installation will not only look great but also function well for years to come.
Tips for Replacing an Existing Door
Replacing an existing door with a new one seems daunting but is quite manageable. This part of our guide focuses on ensuring that your new doord fits seamlessly into the place of the old one. It is crucial that the installation enhances both functionality and aesthetics.
Ensuring Proper Fit
To guarantee that your new door fits perfectly, follow these simple checks:
- Measure the dimensions of the old door and the doorway to ensure compatibility.
- Check that the new door is the same size or slightly smaller than the old one. Never bigger.
- Ensure the door sits perfectly in the frame without forcing it. This prevents damage and malfunctions.
Proper measurement is key. It ensures that the new door will open and close smoothly without extra adjustments.
Alignment with Existing Frame
Aligning your door with the existing frame is also vital:
- Inspect the frame for any damages or irregularities that might affect alignment.
- Position the new door in the frame and verify that it is level and plumb. Use shims if necessary.
- Make adjustments to the placement of the hinges if the door is not aligning well with the frame.
These steps help ensure that the freshly installed door operates seamlessly without sticking or leaving gaps. Remember, taking these precautions prevents future issues and maintains your home’s aesthetic appeal.
Installing a Door in a New Partition Wall
When introducing a door into a newly built partition wall, specific guidelines are crucial to ensure a proper installation. Effectively handling this task can save both time and effort, and enhance the overall finish of your project.
Guidelines for Creating a Rough Opening
Creating the right rough opening is the first critical step. Here’s how you can ensure accuracy:
- Determine the width of the doors. Add 2 inches to the door width for the best fit.
- Calculate the height. Typically, adding about 2.5 inches to the door height allows for top space and flooring clearance.
- Check for any obstructions. Ensure the planned opening is free from electrical wiring or pipes.
- Use a sturdy framing material to outline the rough opening. This enhances durability and support.
Careful measurement and consideration of existing structures are essential. This preparation prevents future complications during the door installation process.

Steps to Install the Prehung Door
Once the rough opening is ready, you can proceed with installing the prehung door. Here are the essential steps to follow:
- Insert the prehung doors into the rough opening. Make sure it is centered and has even gaps on all sides for smooth operation.
- Check the door level and plumb using a spirit level. Adjust with shims if necessary. This step is crucial for proper door functionality.
- Secure the door frame to the wall using screws or nails, starting from the top corner to ensure stability.
- Verify the door opens and closes freely without any hindrance.
Following these steps, your door will not only look professional but also function excellently. Installing a door in a new partition wall, especially using a prehung door, simplifies the process, allowing for precision and ease of installation.
