Reasons for Removing Cabinet Doors
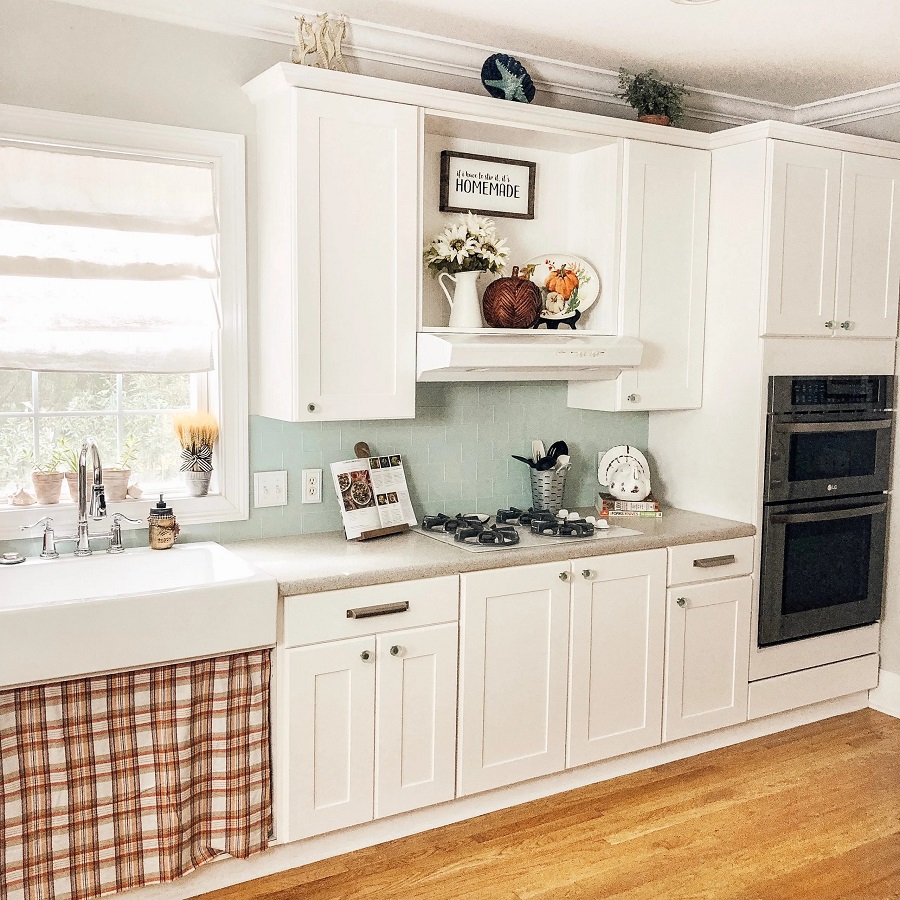
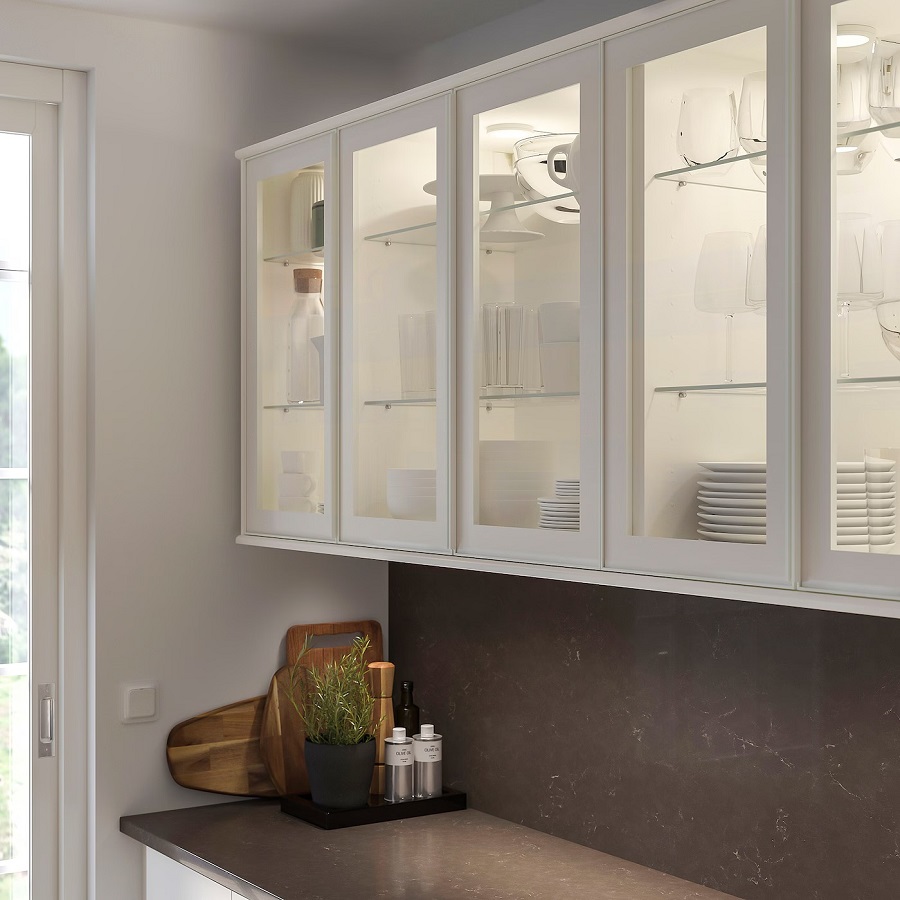
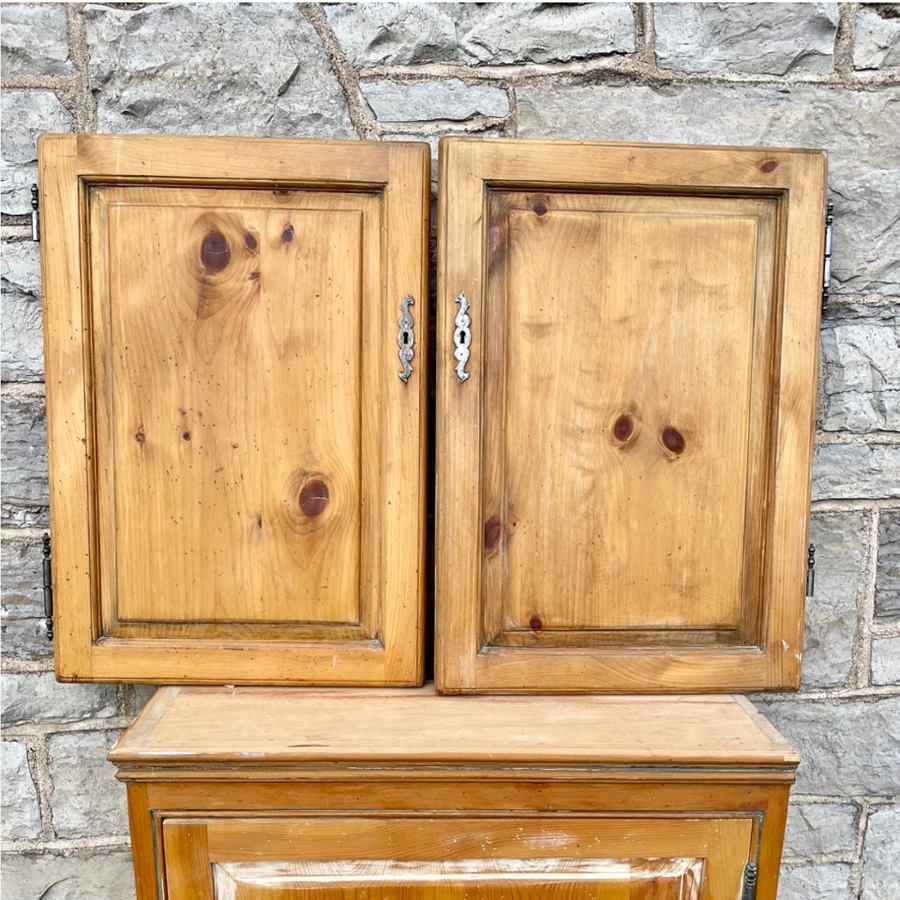
There are numerous reasons for choosing to remove cabinet doors. Some do it to refinish doors that suffer from wear or damage. This spruces up the kitchen without major renovations. Others might remove doors to create a modern, open-shelving look. This can make smaller kitchens feel more spacious. Additionally, swapping old doors for new glass-front cabinet doors is another popular reason. It can bring a fresh, elegant vibe to any kitchen space.
No matter why you decide to remove your cabinet doors, it’s crucial to do so without harming them or the cabinet structure. Using the right technique is key. Further sections will cover the essential steps on how to remove cabinet doors safely. By following these steps, you can ensure a damage-free process, leading to a successful kitchen refresh or upgrade.
Necessary Tools and Materials
To begin the process of removing cabinet doors smoothly, gather the right tools and materials first. Having everything on hand streamlines your workflow and ensures you’re prepared for each step. Here’s what you’ll need:
- Screwdriver: Choose a screwdriver that fits your cabinet’s hinge screws snugly to prevent stripping.
- Marker or labels: Mark each door and corresponding hardware for easy reassembly.
- Plastic bags: Use these to hold screws and labels together, avoiding any mix-ups.
- Tape: Secure the plastic bags to the back of the corresponding cabinet.
- Work gloves: Protect your hands while you work.
- Support partner: Enlist a helper to support the weight of cabinet doors as you remove the screws.
Consider the size and weight of your cabinet doors. If they’re heavy, make sure your support partner is ready to bear the weight. Before you start, clear the workspace to prevent any accidents. With these tools and organized approach, you’re set to remove your cabinet doors without any unwanted damage.
Safety Tips Before Starting
Before you begin the process of removing your cabinet doors, take these safety precautions to ensure a smooth and damage-free removal.
- Wear Work Gloves: Always protect your hands with gloves. It prevents cuts and scrapes.
- Clear the Area: Make sure your work area is free of clutter. This reduces the risk of tripping.
- Check Hinges: Inspect the hinge screws. Make sure they’re not rusted or stripped before you start.
- Use the Right Tools: Select the correct screwdriver size. This prevents stripping the screws.
- Secure Your Ladder: If you need to use a ladder, place it on a stable surface.
- Recruit Help: Get a friend or family member to support the doors as you unscrew them. It helps avoid accidents.
Taking these steps before you learn how to remove cabinet doors goes a long way. It ensures that both you and your cabinets stay safe during the project.
Step-by-Step Instructions
To remove cabinet doors safely and efficiently, follow these step-by-step guidelines:
- Prepare Your Tools: Gather your screwdriver, marker or labels, plastic bags, tape, and work gloves. Ensure they’re within easy reach.
- Label Everything: Use the marker to label each door and its corresponding hardware. This prevents confusion later on.
- Detach Bottom Hinge Screws: Start by unscrewing the bottom hinges. It prevents doors from hanging awkwardly which could cause damage.
- Support the Door: Have your partner hold the door firmly as you remove the remaining screws. This ensures the door doesn’t fall.
- Remove Top Hinge Screws: Once the bottom screws are out, proceed to remove the top ones. Do this gently to avoid harming the door or cabinet.
- Store Screws Safely: Place the screws in plastic bags. Label them and tape to the back of the corresponding cabinet.
- Careful Handling: Handle the removed doors with care. Avoid dragging or dropping them to prevent scratches or dents.
By following these instructions on how to remove cabinet doors, you can ensure a task completed with no damage to your cabinets or doors.
Organizing and Labeling Screws and Hinges
Proper organization and labeling of screws and hinges are crucial for a smooth removal process. Here’s how to manage this effectively:
- Group and Label: As you remove each screw, group them by their specific door and hinge. Use small, sealable plastic bags to keep them sorted.
- Mark Each Bag: Write on each bag or use a label to indicate which cabinet door and hinge they belong to. This prevents any confusion during reassembly.
- Safe Storage: Once labeled, tape each bag to the inside or back of the corresponding cabinet. This keeps them safe and easily accessible when you need to reattach the doors.
- Consistency Is Key: Make sure all bags are labeled in the same way. This standardized approach helps anyone assisting you to easily understand the system.
By following these steps, you ensure that every screw and hinge is accounted for, which simplifies the reinstallation process. This organization is vital for a hassle-free cabinet door removal and installation.
Handling Heavy Cabinet Doors
When removing heavier cabinet doors, extra care is necessary to prevent injury and damage. Here are key points to remember:
- Enlist Help: Always have someone strong assist you. This ensures safety for both people and property.
- Use Proper Technique: Your helper should support the door’s weight from below. They can prevent the door from swaying.
- Work Slowly: Take your time when unscrewing and lifting the doors. Rushing increases the risk of accidents.
- Protect Floors: Lay down a soft blanket or cardboard where you’ll place the doors. This avoids scratches on your floors.
- Lift Correctly: When moving doors, bend your knees and lift with your legs. This helps avoid back strain.
- Secure Doors: Once removed, lean the doors against a wall. Keep them out of walkways to prevent them from being knocked over.
Dealing with heavy cabinet doors might seem challenging. With these tips, you can manage them smoothly and keep your removal process safe and damage-free.
Measuring for Replacement Doors
Once you have removed your cabinet doors, you might be considering replacements. Whether it’s for an updated look or simply due to wear and tear, correct measurements are critical.
- Measure the Cabinet Opening: Start by measuring the width and height of the cabinet opening where the door will be installed. Write down these dimensions.
- Account for Overlap: Generally, cabinet doors overlap the opening. Usually, this is about 1/2 inch on all sides. Include this overlap in your measurements.
- Double-Check Measurements: After the initial measurements, check them again. This avoids sizing mistakes which can be costly.
- Consider the Hinge Type: The type of hinge you plan to use affects door size. Check the manufacturer’s specifications for hinge allowances.
- Note the Door Style: Different door styles may require different measurements. For example, slab doors versus raised panel doors.
- Consult with Suppliers: Suppliers can often provide guidance on measurements. Share your dimensions with them before purchasing.
By taking accurate measurements and considering these points, you’ll be ready for new cabinet doors that fit flawlessly. Your kitchen’s functionality and appearance will be all the better for it.
Finishing Touches and Cleanup
After you remove the cabinet doors, it’s important to wrap up the project neatly. Start by cleaning up your workspace. Wipe down the cabinet frames to remove dust and debris. This prepares the area for new doors, paint, or just to keep it tidy with open shelving.
Gather all tools and materials you used during the removal. Store them away safely, ready for future projects. Check the area for any loose screws or hardware, and put them back in their labeled bags.
If you had to use a ladder, fold it and store it in a secure place. Sweep or vacuum the floor to catch any fallen particles that could scratch the area later.
Finally, look over the cabinet boxes for any marks or damages. If you find any, assess how to fix them. Sometimes, a simple touch-up with paint or filler can make them as good as new.
With everything finished, step back and admire your work. Whether you’re prepping for new doors or embracing open shelves, your kitchen now has a fresh perspective. Remember to keep your labeled screw bags handy for when you install new doors or need to make adjustments.