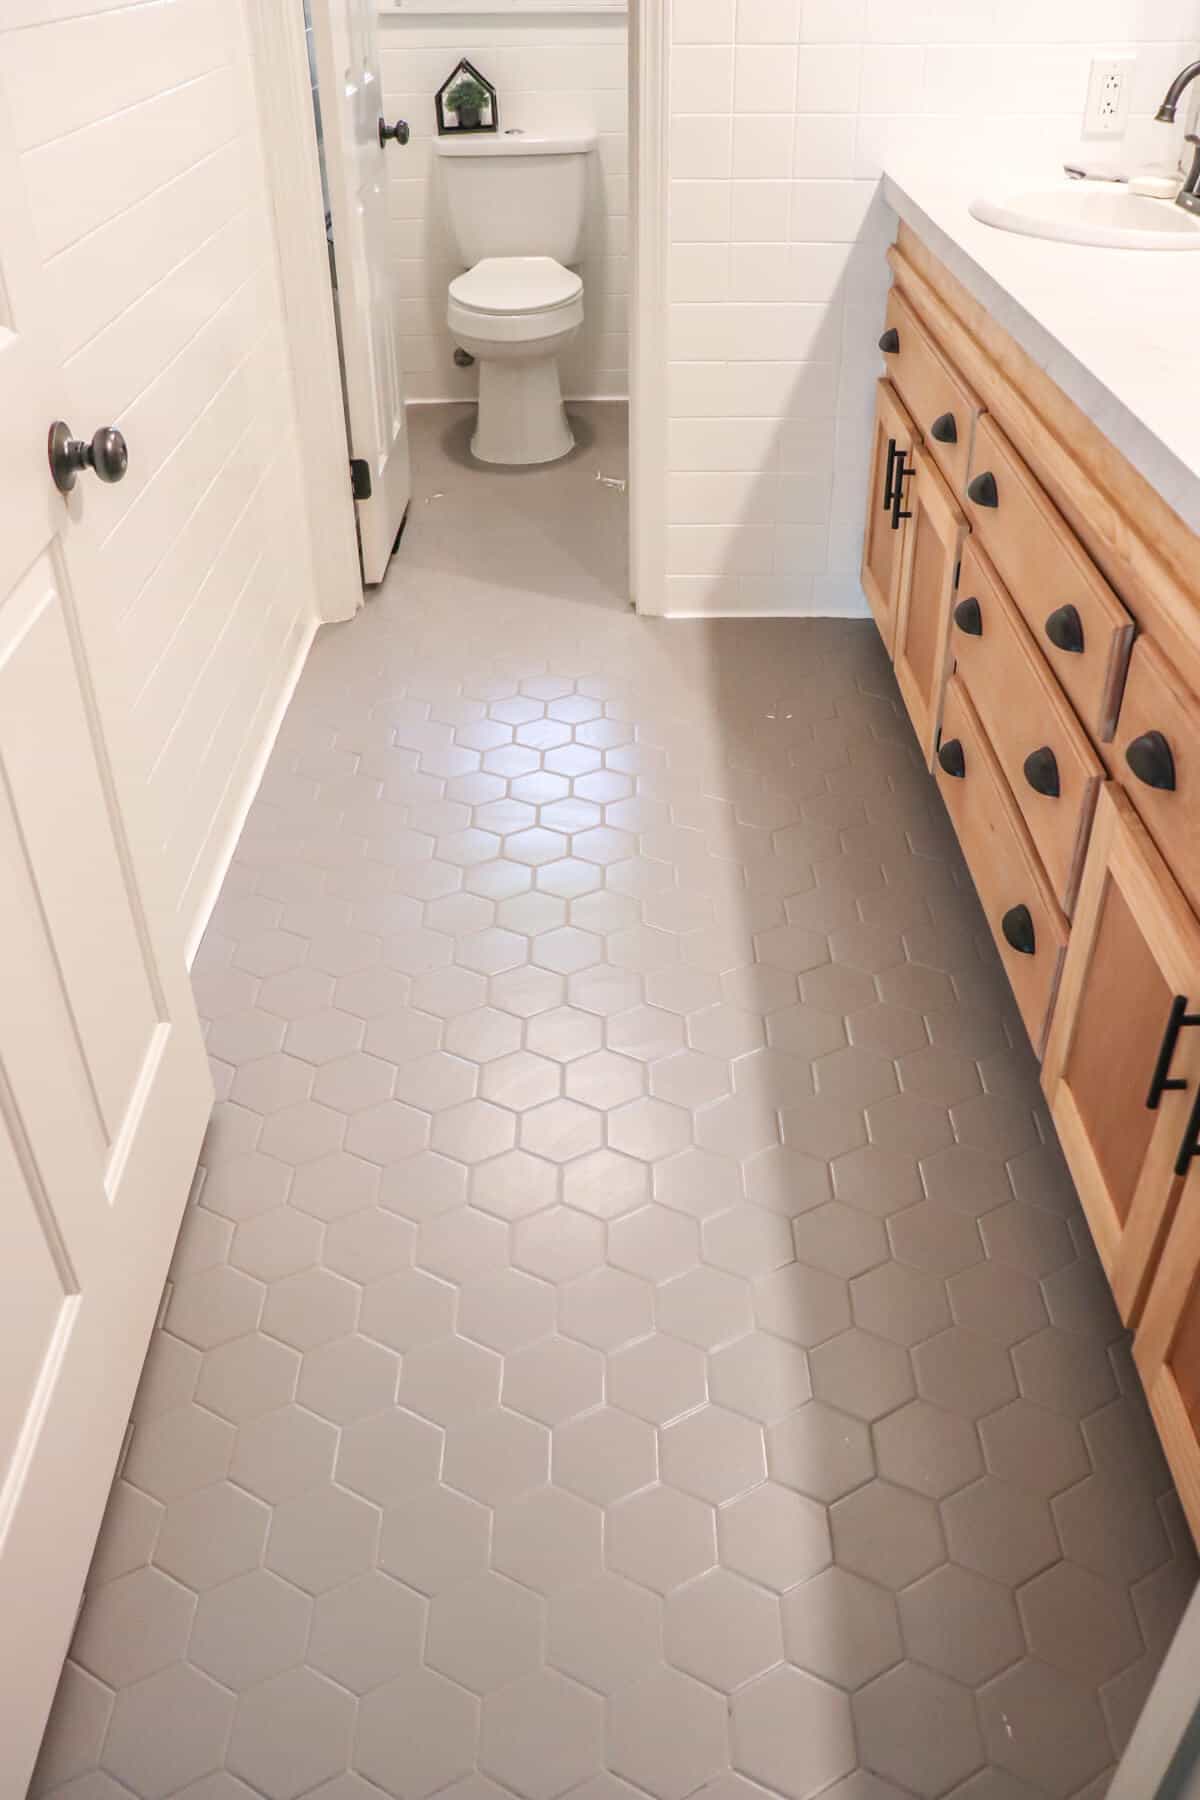
Transforming your home doesn’t always require a complete overhaul or a professional designer. Sometimes, a simple change like painting your floor tiles can breathe new life into your space. Whether you’re looking to update your kitchen, bathroom, or any other room with tiled flooring, this guide will walk you through the process of creatively painting your floor tiles, turning them into a masterpiece that reflects your personal style.

Assessing Your Tiles: The Preliminary Step
Before you embark on your tile painting journey, it’s crucial to assess the condition of your tiles. Not all tiles are suitable for painting. Look for cracks, chips, or loose tiles. Repairing these issues beforehand ensures a smooth painting process and a durable finish. Additionally, consider the type of tile you have. Ceramic and porcelain tiles are ideal candidates for painting, while others, like natural stone, might require specific paints and treatments.
Choosing the Right Paint: A Critical Decision
The choice of paint is pivotal in the success of your project. Epoxy-based or latex paints are highly recommended for tile painting due to their durability and resistance to moisture. However, for areas subjected to high moisture levels, such as bathrooms, consider using a mold-resistant paint to prevent future issues. Selecting the right primer is equally important. An adhesion-promoting primer will ensure that your paint adheres properly to the tile, creating a lasting finish.

Design and Planning: Unleashing Creativity
Once you’ve selected your paint, it’s time to plan your design. This step is where you can get creative. Consider using stencils to create patterns, geometric designs, or even a faux tile look. Alternatively, if you prefer a minimalist approach, choosing a bold or subtle color can dramatically alter the room’s ambiance. Sketching your design or using digital tools can help visualize the outcome and assist in planning the project’s scope.
Preparing the Surface: The Key to Perfection
Preparation is critical for achieving a flawless finish. Start by thoroughly cleaning the tiles with a degreaser to remove any grease, dirt, or soap scum. Next, sand the tiles lightly with fine-grit sandpaper. This step helps to roughen the surface, improving paint adhesion. Wipe down the tiles with a damp cloth to remove dust from sanding, and allow them to dry completely. Applying painter’s tape around edges and any areas you wish to protect ensures clean lines and a professional-looking result.

Applying Primer and Paint: The Transformation Begins
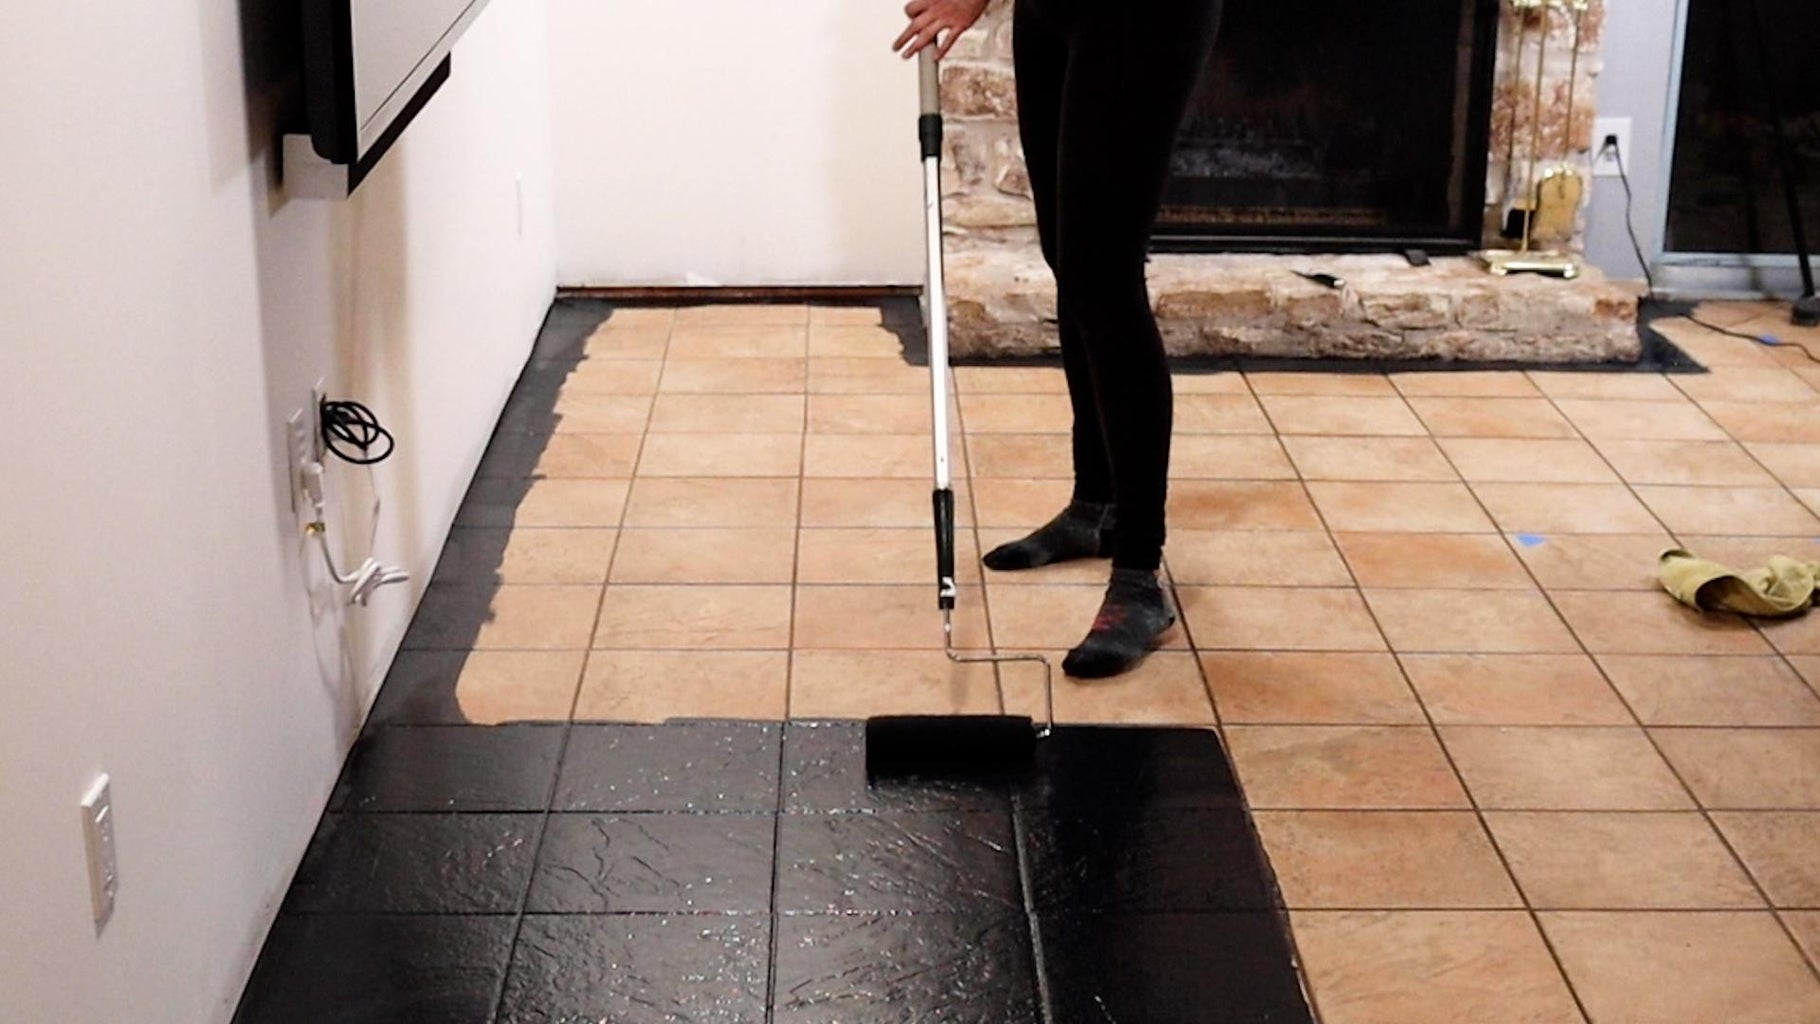
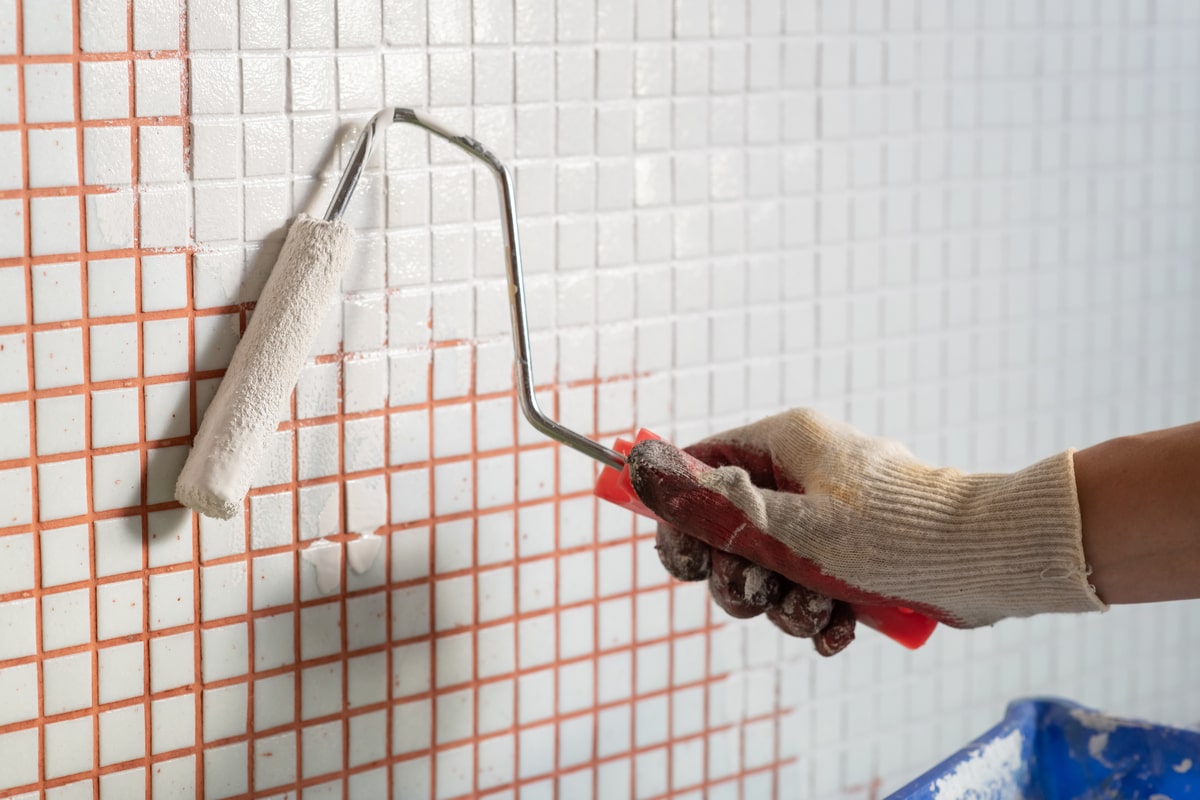
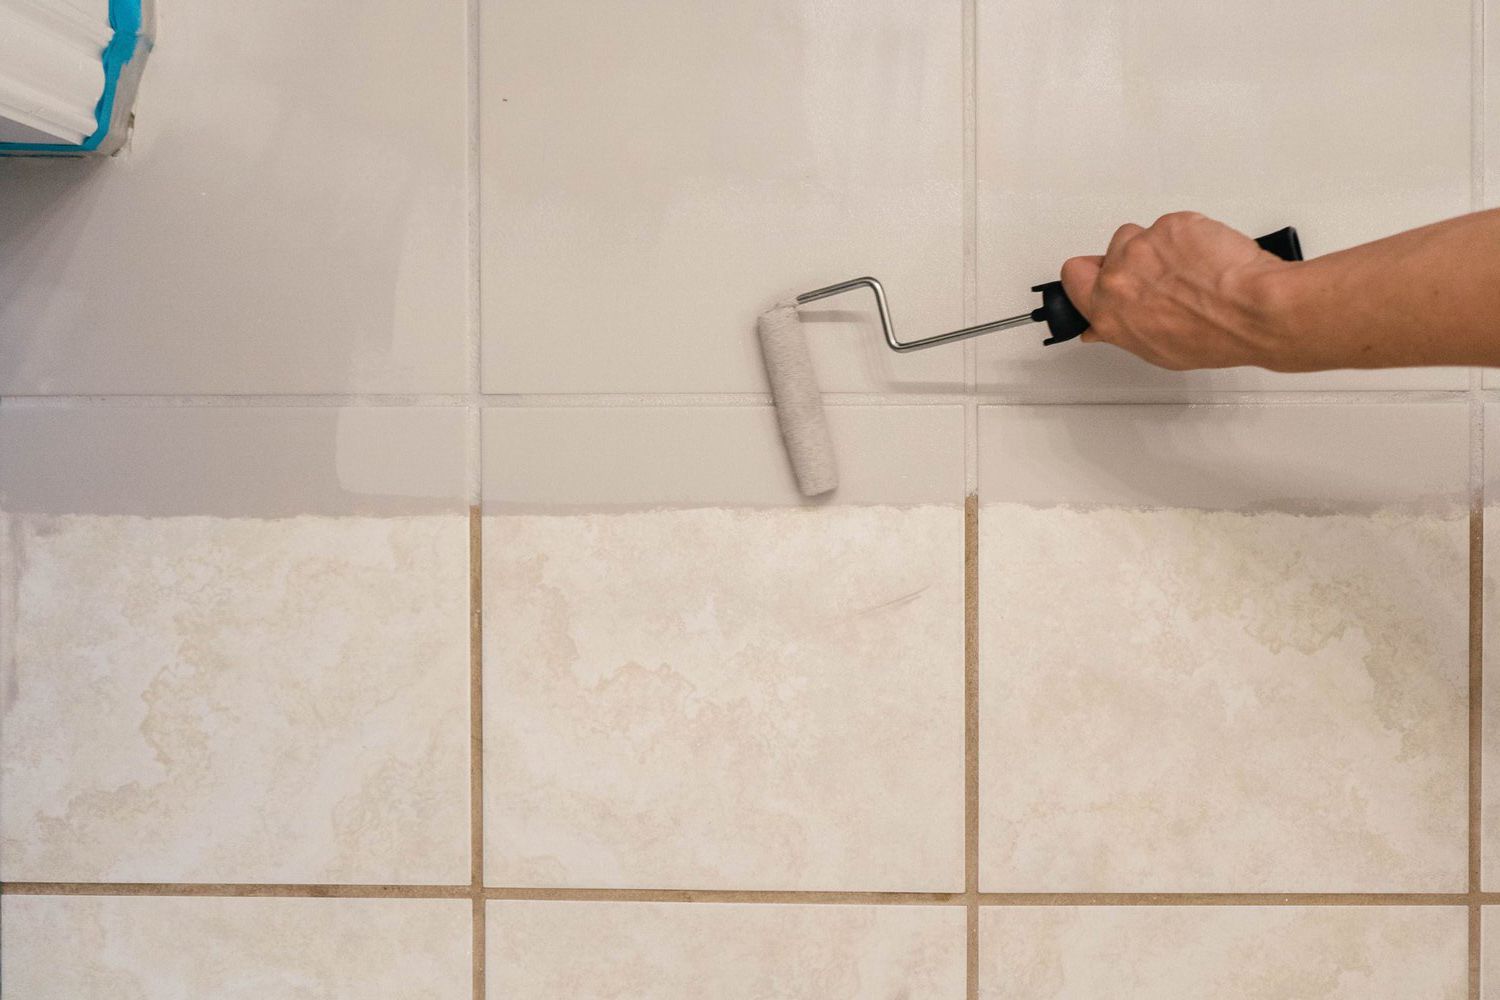
With your tiles prepped and ready, apply a coat of primer using a roller or brush designed for smooth surfaces. Allow the primer to dry fully, following the manufacturer’s recommendations. Once the primer is set, you can start applying your chosen paint. For best results, use a small foam roller to apply the paint in thin, even coats. Depending on the paint type and the desired opacity, multiple coats may be necessary. Allow ample drying time between coats as specified by the paint manufacturer.
Sealing the Deal: Ensuring Durability
After your final paint coat has dried completely, applying a sealant is crucial to protect your newly painted tiles from wear and tear. A water-based polyurethane sealant is ideal for most tile floors, providing a durable, clear finish that won’t yellow over time. Apply the sealant with a clean brush or roller, taking care to cover the entire surface evenly. Depending on the product, you may need to apply several coats. Allow the sealant to cure fully before walking on the floor or replacing furniture.

Maintenance and Care: Preserving Your Masterpiece
Your beautifully painted tiles will last longer with proper care and maintenance. Avoid using harsh chemicals or abrasive cleaners, which can damage the paint and sealant. Instead, opt for mild, pH-neutral cleaners and soft cloths or mops. Placing rugs or mats in high-traffic areas can also help protect the surface from wear.
Embracing Color and Pattern: The Artistic Touch
Experimenting with Color
When it comes to painting your floor tiles, the world is your oyster in terms of color selection. This is your opportunity to infuse personality and warmth into your space. Consider the room’s existing color scheme and how your floor can complement or contrast it for visual interest. For a harmonious look, use shades within the same color family. For a bold statement, opt for contrasting colors that pop. Remember, lighter colors can make a room feel larger and more airy, while darker colors tend to create a cozy, intimate atmosphere.

Playing with Patterns
Patterns add depth and character to your floors. From simple checks to intricate Moroccan designs, the pattern you choose can significantly influence the room’s overall aesthetic. If you’re new to DIY projects, you might want to start with straightforward patterns like stripes or chevrons, which are easier to tape off and paint. More complex patterns might require stencils or freehand painting for those feeling adventurous. When selecting a pattern, consider the scale; large patterns can make a bold statement in spacious rooms, while smaller patterns are better suited to compact spaces.
The Finishing Touches: Attention to Detail
Grout Lines: The Forgotten Element
While focusing on your tiles, don’t overlook the grout lines. Painting your grout can either blend it into the design or highlight it for added dimension. If your design is intricate, keeping the grout lines neutral might be best to avoid visual clutter. However, for simpler tile designs, painting the grout lines in a contrasting color can add an unexpected pop of interest.
Accessories and Decor: Complementing Your New Floor
After your painted tiles have fully dried and cured, it’s time to bring the room together with accessories and decor. Choose rugs, curtains, and decorative elements that complement your new floor. This is an excellent opportunity to introduce textures and patterns that enhance your newly painted tiles. Remember, the goal is to create a cohesive look that reflects your personal style and ties the room together.
Conclusion: A New Beginning
Painting your floor tiles is an affordable and creative way to transform any room in your home. By following these steps, you can achieve a stunning, durable finish that reflects your unique style and enhances your living space. Remember, the key to a successful tile painting project lies in preparation, choosing the right materials, and allowing adequate drying time between steps. With a little effort and creativity, you can create a space that you’ll love for years to come.
