Introduction: Mastering the Art of Cutting Drop Ceiling Tiles
Drop ceilings, also known as suspended ceilings, are a popular choice for many homes and offices due to their ability to conceal ductwork, pipes, and wiring while still allowing easy access for repairs or modifications. A key aspect of installing or modifying a drop ceiling is the ability to cut the ceiling tiles accurately and cleanly. This guide will provide you with comprehensive instructions and tips to cut drop ceiling tiles like a professional, ensuring a perfect fit and a polished look for your ceiling.

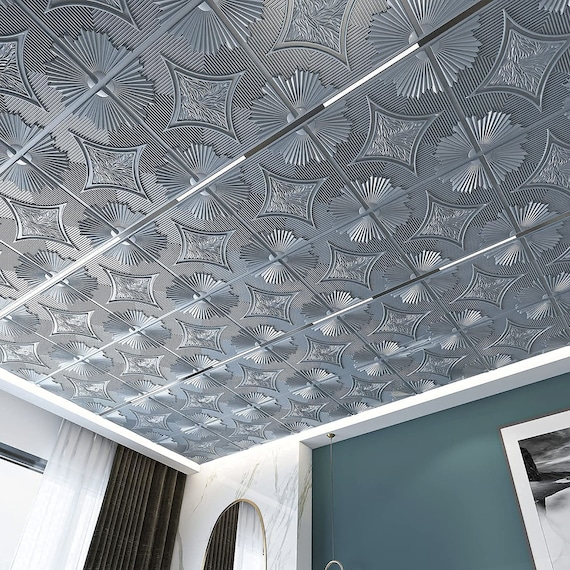
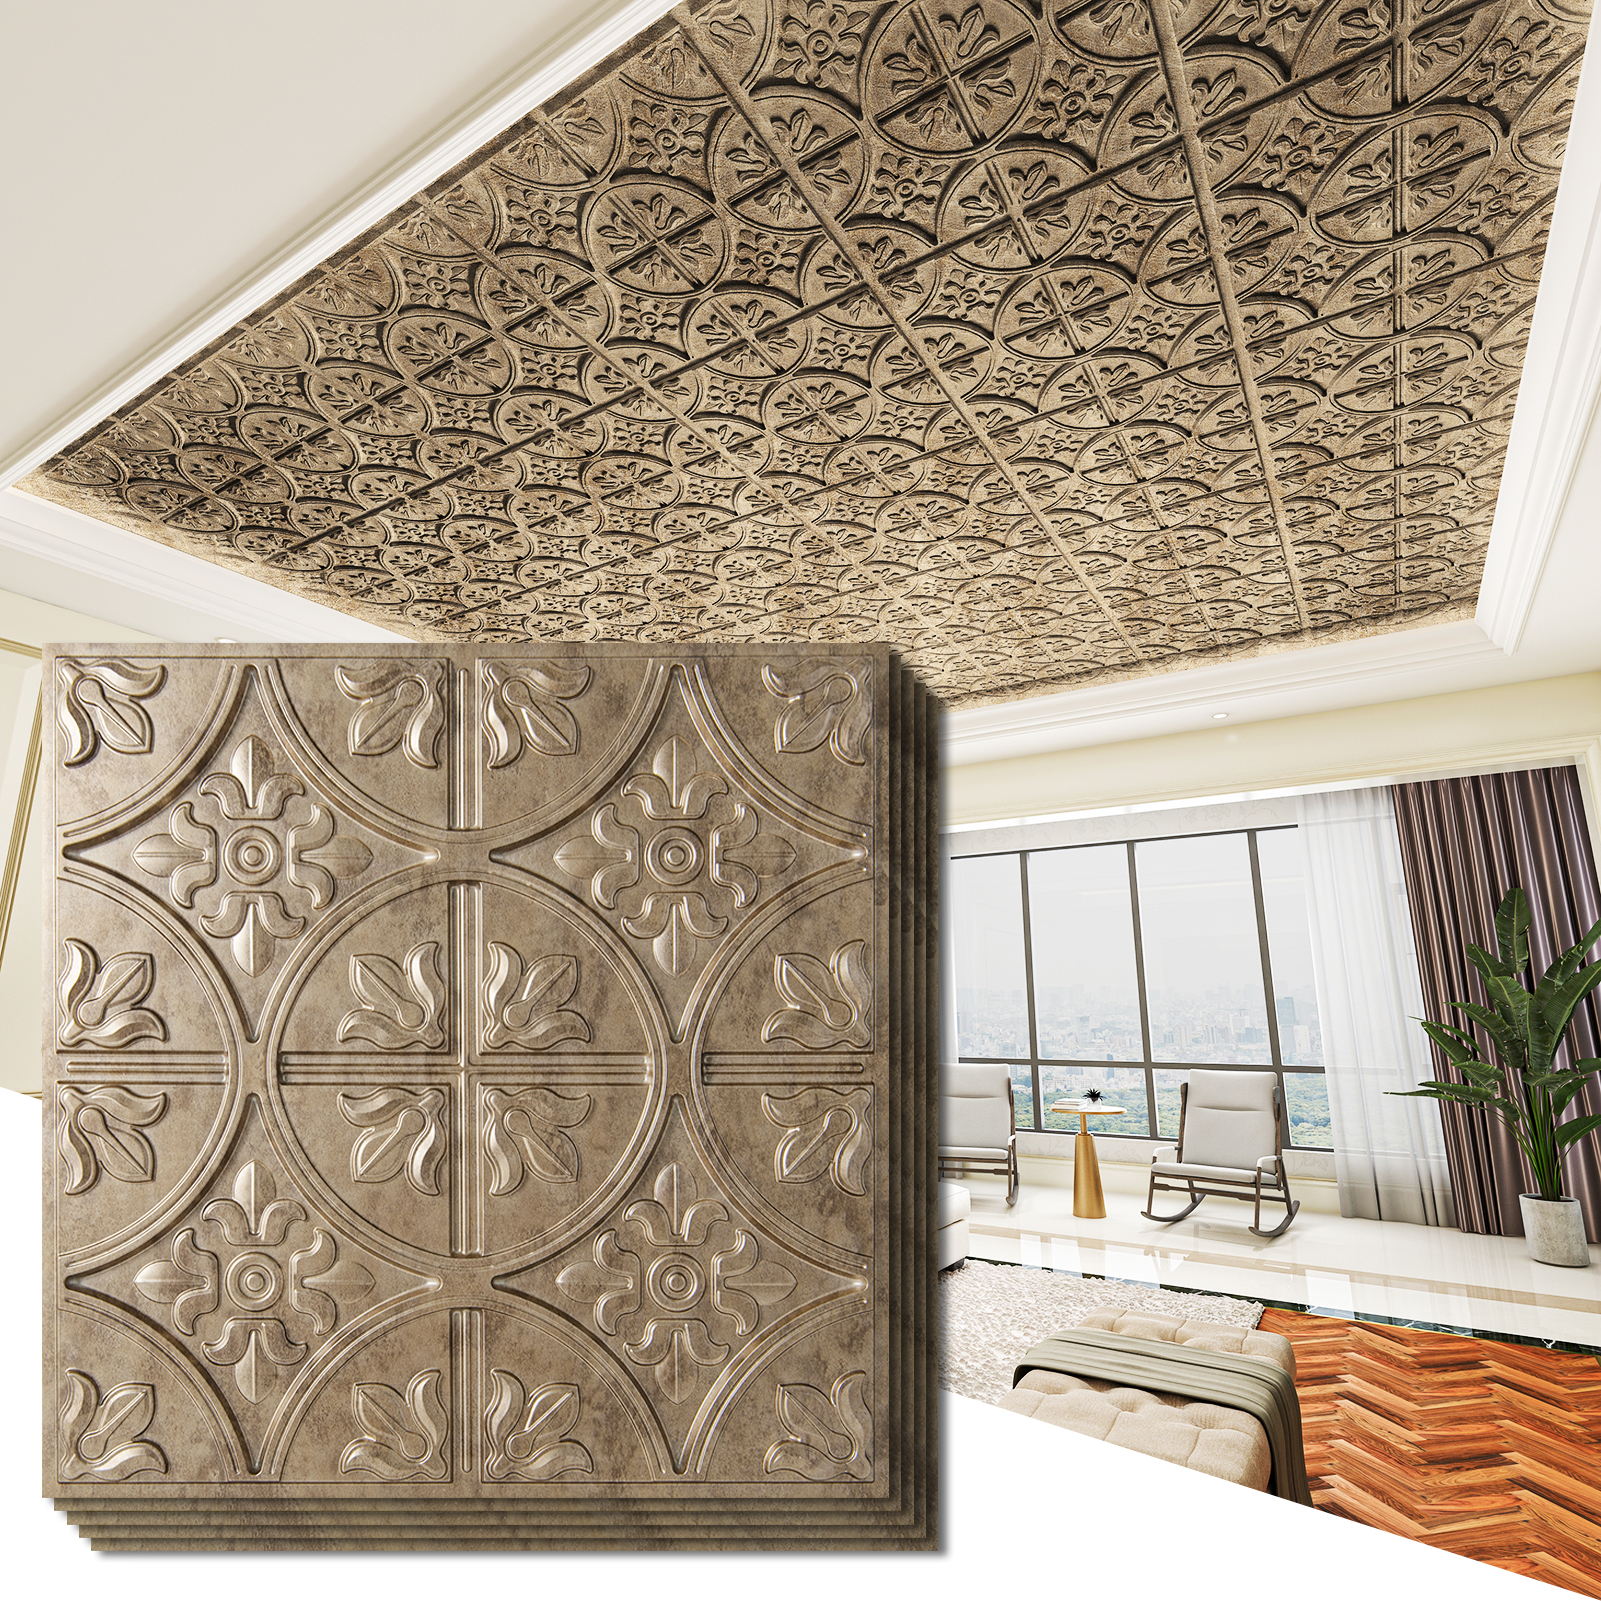
Understanding Drop Ceiling Tiles
Before diving into the cutting process, it’s essential to understand the materials you’re working with. Drop ceiling tiles are typically made from lightweight materials such as fiberboard, mineral fiber, or fiberglass. These materials offer sound absorption and resistance to fire, moisture, and mold. Knowing the type of tile you’re dealing with will help you choose the right tools and techniques for cutting.
Preparing Your Workspace
Safety First
Cutting ceiling tiles can produce dust and small particles, so it’s important to prioritize safety. Wear protective eyewear, a dust mask, and gloves to protect yourself. Additionally, work in a well-ventilated area to minimize inhalation of any particles.

Setting Up
Choose a clean, flat surface to work on, such as a workbench or a large table. Cover the surface with a drop cloth or old newspapers to catch any mess and make cleanup easier. Ensure you have ample lighting to see your work clearly.
Essential Tools for Cutting Ceiling Tiles
Having the right tools at your disposal is crucial for achieving clean, precise cuts. You’ll need:
- A sharp utility knife or a specialty ceiling tile cutter for scoring and cutting.
- A T-square or straightedge for making straight lines.
- A measuring tape for accurate measurements.
- A pencil or chalk for marking cutting lines.
- Sandpaper or a fine file for smoothing rough edges after cutting.

Measuring and Marking Your Tiles
Accuracy is key when measuring and marking your tiles for cutting. Measure the space where the tile will be placed, and then transfer these measurements to your tile. Use a pencil or chalk to mark the cutting line on the tile, employing a T-square or straightedge to ensure the line is straight and accurate. Double-check your measurements before proceeding to cut.
Cutting Techniques for Precision and Cleanliness
Straight Cuts
For straight cuts, align your straightedge or T-square along the cutting line. Using a sharp utility knife, score the tile along the line with firm, steady pressure. Depending on the thickness of the tile, you may need to score the line multiple times. Once scored, snap the tile along the line. For thicker tiles, you may need to cut through the tile completely with the knife.

Curved and Irregular Cuts
Curved or irregular cuts require a more freehand approach. Draw the desired shape on the tile, then carefully use the utility knife to follow the outline. Take your time and work slowly to maintain control and accuracy. For intricate cuts or small circles, consider using a keyhole saw.
Finishing Touches: Smoothing and Fitting
After cutting your tile, use sandpaper or a fine file to smooth any rough edges, ensuring the tile fits perfectly into place without snagging on the grid system. Test fit the tile in its designated spot, making any minor adjustments as needed for a snug fit.
Tips for Professional Results
- Always use a sharp blade in your utility knife to achieve clean cuts and reduce the risk of tearing the tile.
- Practice cutting on a spare piece of tile to get a feel for the material and the required pressure.
- For complex cuts or shapes, create a cardboard template to trace onto the tile for greater accuracy.
- Be patient and take your time with each cut to avoid mistakes and wasted materials.
Advanced Cutting Techniques and Problem-Solving
When installing drop ceiling tiles, you’ll often need to cut tiles to accommodate vents, lights, or other fixtures. This process requires precise measurements and careful cutting to ensure the tile fits perfectly around the obstruction.
- Measuring for Obstructions: Measure the location and dimensions of the obstruction from the nearest wall to the center of the obstruction. Transfer these measurements to the tile, making sure to account for the grid system’s placement.
- Cutting for Fixtures: For circular cuts, such as those needed for lighting fixtures, use a compass to draw the circle on the tile based on your measurements. For square or rectangular obstructions, use a straightedge to mark the cutting lines. Drill a hole inside the area to be cut out to start your cut, then use a jigsaw or keyhole saw to follow the markings.
Dealing with Challenging Materials
While most drop ceiling tiles are made from relatively easy-to-cut materials, some tiles may be made of harder substances like metal or PVC. Cutting these materials requires specialized tools:
- Metal Tiles: Use tin snips or a nibbler for cutting metal ceiling tiles. Work slowly to ensure clean cuts and wear gloves to protect against sharp edges.
- PVC Tiles: A fine-toothed saw or a rotary tool with a cutting bit is ideal for PVC tiles. These tools allow for precision and can handle the material’s flexibility.
Maintenance and Longevity: Keeping Your Ceiling Tiles Looking New
Cleaning and Care
Over time, ceiling tiles can accumulate dust, stains, and odors. To keep your tiles looking fresh:
- Dusting: Use a soft brush or vacuum with a brush attachment to gently remove dust from the surface of the tiles.
- Stain Removal: For water stains, a mixture of bleach and water applied with a sponge can be effective. Ensure the room is well-ventilated and wear protective gloves.
- Deep Cleaning: Some tiles can be removed and cleaned with mild detergent and water. Check the manufacturer’s guidelines to ensure your tiles are water-safe.
Conclusion: Elevating Your DIY Skills
Cutting drop ceiling tiles like a pro requires patience, precision, and the right tools. By following this handy guide, you can ensure that your drop ceiling installation or modification project looks polished and professional. Remember to prioritize safety, measure carefully, and refine your cutting technique for the best results. With practice, you’ll find that cutting ceiling tiles becomes a straightforward and satisfying part of your DIY repertoire.