Introduction: The Appeal of Custom-Made Cabinet Doors
Building your own cabinet doors is a rewarding project that can significantly enhance the appearance and functionality of your cabinets. Whether you’re renovating your kitchen, sprucing up your bathroom, or revamping an old piece of furniture, custom-made cabinet doors provide a personal touch that store-bought options simply cannot match. They allow you to choose materials, styles, and finishes that perfectly complement your design vision, ensuring a cohesive look throughout your space. Moreover, crafting your own cabinet doors gives you the satisfaction of creating something unique and tailored to your exact specifications, making your home truly one-of-a-kind.
Planning and Measurements: The Blueprint for Success
The first step in building custom cabinet doors is meticulous planning and accurate measurements. Begin by assessing the existing cabinets and deciding on the style and type of doors you want to create. Measure the openings of your cabinets carefully, noting the height, width, and depth. It’s crucial to double-check these measurements, as accuracy is paramount to ensure a perfect fit. Decide whether you want inset, partial overlay, or full overlay doors, as each style requires different measurements and installation techniques. Take into account any hardware you plan to use, such as hinges and handles, and ensure they complement your design. Sketch out your plans, detailing the dimensions and design elements, to serve as a blueprint during the building process.
Selecting Materials: Choose Wisely for Quality and Durability
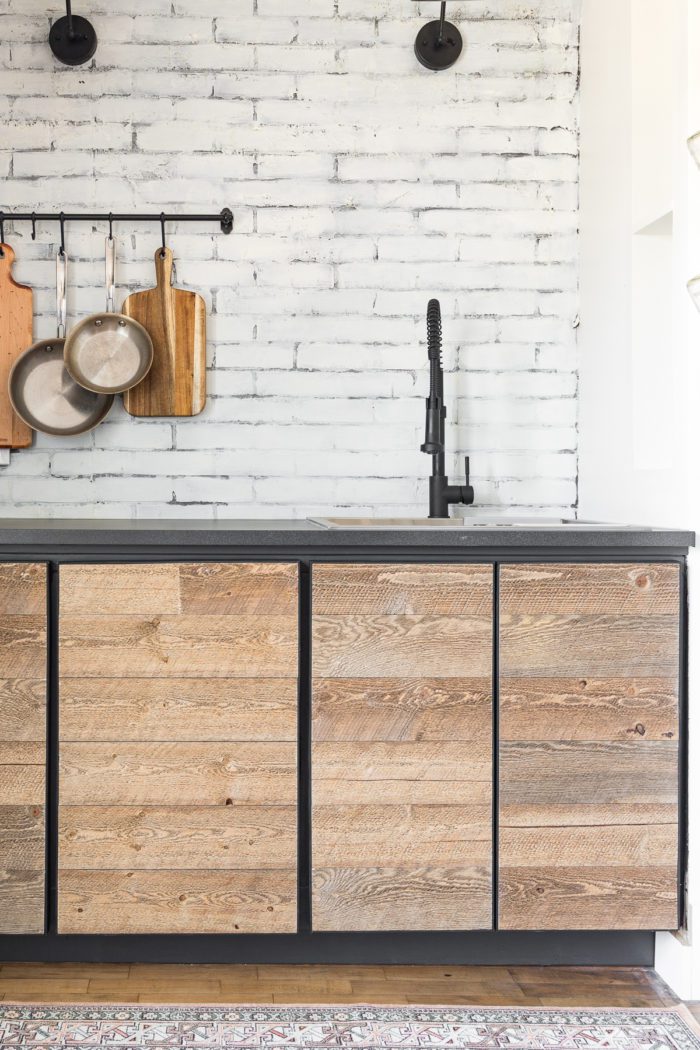
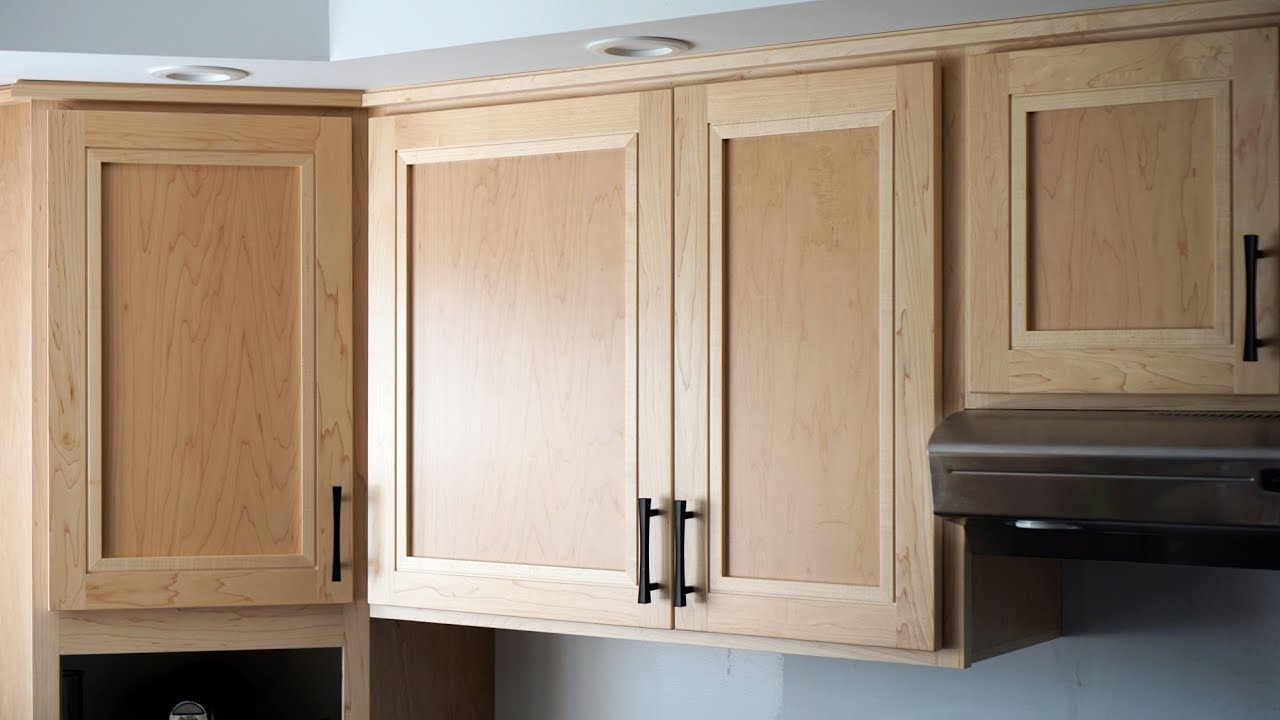
Choosing the right materials is essential for building sturdy and attractive cabinet doors. Solid wood is a popular choice due to its durability and timeless appeal. Species like oak, maple, cherry, and birch offer different grain patterns and colors, allowing you to select one that matches your aesthetic preferences. Plywood is another viable option, especially for flat panel doors, as it is stable and cost-effective. For a more modern look, MDF (Medium Density Fiberboard) can be used, particularly if you plan to paint the doors. Consider the environment where the cabinets will be installed; for example, in humid areas like bathrooms, moisture-resistant materials are advisable. Whatever material you choose, ensure it is of high quality to withstand daily use and maintain its beauty over time.
Cutting and Shaping: Bringing Your Plans to Life
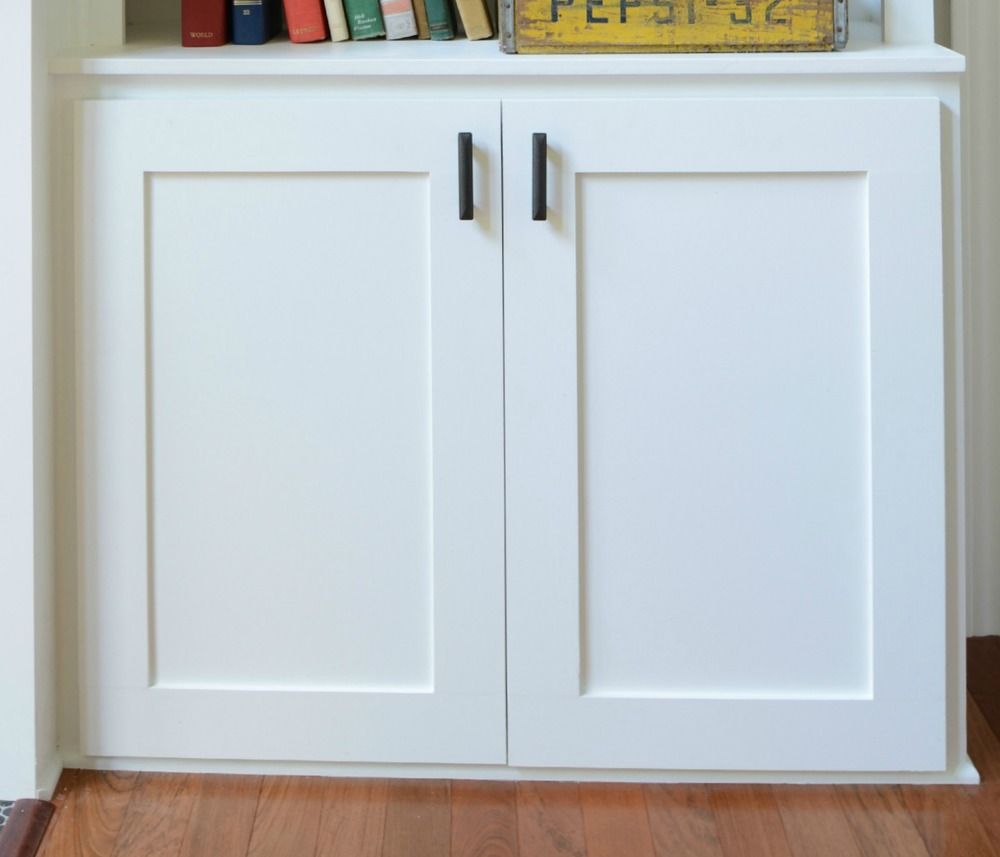
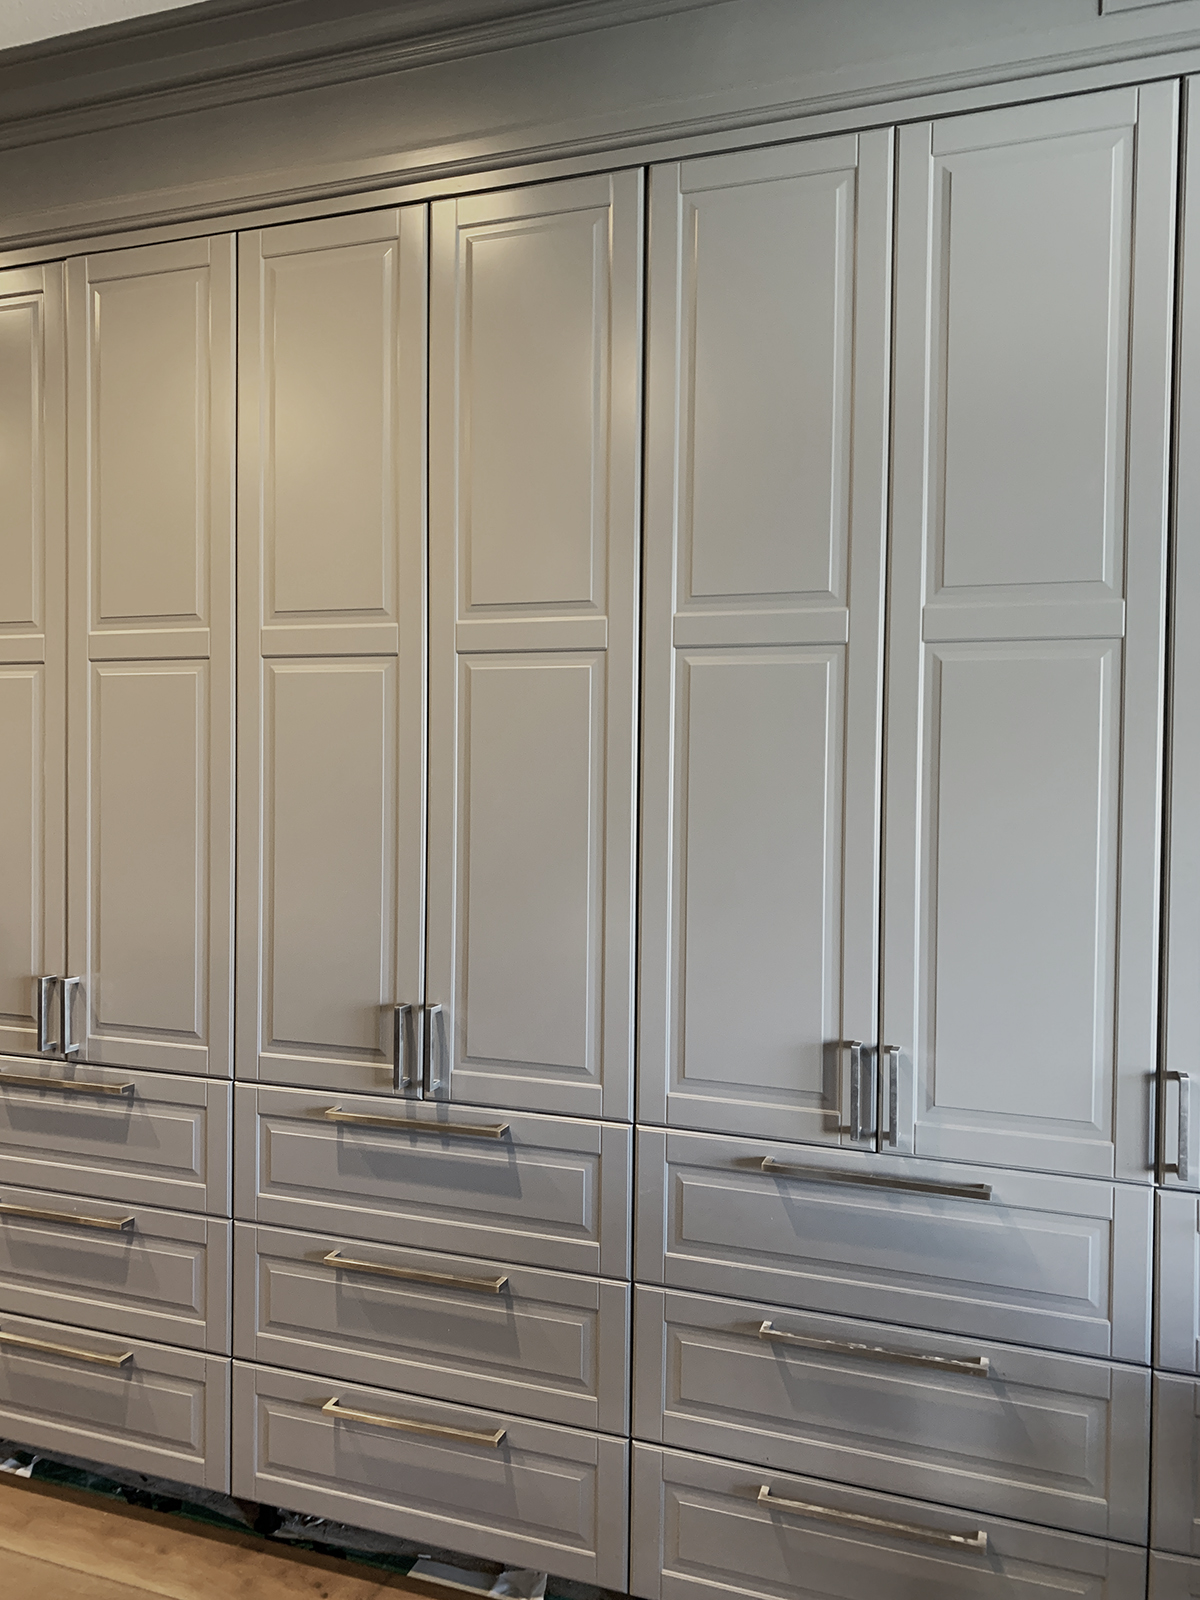
With your materials selected, it’s time to cut and shape the components of your cabinet doors. Start by cutting the stiles (vertical pieces) and rails (horizontal pieces) to size using a table saw or miter saw. Precision is key, so take your time to ensure all cuts are straight and accurate. If you’re making raised panel doors, you’ll need to cut the central panel to size and then shape the edges using a router. Shaker-style doors, which are simpler and modern, involve cutting a flat panel that fits into grooves cut into the stiles and rails. Sand all pieces thoroughly to remove any rough edges and prepare the surfaces for assembly. This stage is where your craftsmanship starts to shine, as precise cuts and smooth edges are crucial for a professional finish.
Assembly: Crafting a Solid Structure
Assembling your cabinet doors requires careful alignment and secure joins. Begin by arranging the stiles and rails on a flat surface, ensuring they form a perfect rectangle. Apply wood glue to the joints and use clamps to hold the pieces together while the glue dries. For added strength, consider using dowels, biscuits, or mortise and tenon joints to secure the connections. If you’re building panel doors, insert the central panel into the grooves before gluing the frame together. Ensure the panel has enough room to expand and contract with changes in humidity. Double-check the alignment and squareness of the door before leaving it to dry completely. Once the glue has set, gently sand the assembled door to eliminate any excess glue and ensure a smooth surface for finishing.
Finishing: Adding the Perfect Touch
Finishing your custom cabinet doors is an opportunity to enhance their appearance and protect the wood. Start by applying a wood conditioner if you’re using a stain, as this helps the wood absorb the stain evenly. After conditioning, apply your chosen stain or paint in thin, even coats, allowing each coat to dry thoroughly before applying the next. For a more durable finish, consider adding a clear topcoat, such as polyurethane or varnish, to protect the surface from scratches and moisture. Sand lightly between coats to achieve a smooth, professional finish. Pay attention to the edges and corners of the doors, ensuring they receive the same level of care as the flat surfaces. The finishing process is where your doors come to life, showcasing the beauty of the wood and your craftsmanship.
Installing Hinges and Hardware: Functional and Aesthetic Enhancements
Once your doors are finished and fully dried, it’s time to install the hinges and any other hardware. Choose hinges that match the style of your doors, such as concealed hinges for a modern look or decorative ones for a traditional style. Mark the positions for the hinges on both the doors and the cabinet frames, ensuring they are aligned correctly. Use a drill to make pilot holes for the screws and attach the hinges securely. If you’re installing handles or knobs, measure and mark their positions carefully to maintain symmetry. Drill holes for the hardware and attach them firmly. Properly installed hardware not only enhances the functionality of your doors but also adds to their overall aesthetic appeal.
Hanging the Doors: The Final Step
Hanging your custom-made cabinet doors is the final step in transforming your cabinets. Start by attaching the hinges to the cabinet frames, ensuring they are level and properly aligned. Have a helper hold the door in place while you attach the hinges to the door itself. Adjust the hinges if necessary to ensure the door hangs straight and opens and closes smoothly. Check the spacing around the door to ensure there are no gaps or misalignments. If needed, adjust the position of the hinges or the door until it fits perfectly. Once the doors are hung, test them to make sure they open and close without any issues. The satisfaction of seeing your custom-made doors in place is immense, as they not only improve the look of your cabinets but also reflect your hard work and craftsmanship.
Maintenance and Care: Preserving Your Handiwork
Proper maintenance and care are essential to keep your custom-made cabinet doors looking beautiful and functioning well for years to come. Regularly clean the doors with a soft cloth and mild soapy water to remove dust and grime. Avoid using harsh chemicals or abrasive cleaners, as they can damage the finish. Periodically check the hinges and hardware to ensure they remain tight and functional. If you notice any scratches or wear on the finish, lightly sand the area and apply a touch-up coat of stain or paint as needed. By taking good care of your custom cabinet doors, you preserve the effort and time you invested in creating them, ensuring they continue to enhance your home for years to come.
Conclusion: The Rewards of Building Custom Cabinet Doors
Building custom cabinet doors is a fulfilling project that allows you to transform your cabinets and elevate the overall look of your space. From the initial planning and measuring to the final installation and maintenance, each step requires careful attention to detail and a commitment to quality. The result is a set of beautiful, durable doors that reflect your personal style and craftsmanship. Whether you’re a seasoned woodworker or a DIY enthusiast, the process of creating custom cabinet doors offers a sense of accomplishment and pride. By following these steps and dedicating the necessary time and effort, you can achieve stunning results that enhance the functionality and aesthetics of your cabinets, making your home truly unique and personalized.