Introduction: The Power of a Fresh Coat
Drop ceiling tiles, often overlooked in interior design, possess untapped potential to transform a space. While they typically serve a functional purpose, they can also contribute significantly to the aesthetics of a room when given the right treatment. Painting drop ceiling tiles is a cost-effective way to revitalize your space, breathing new life into an otherwise mundane ceiling. In this guide, we’ll explore the process of painting drop ceiling tiles, offering tips and techniques to achieve professional results.
Preparing Your Workspace: Setting the Stage for Success
Before diving into the painting process, it’s crucial to prepare your workspace adequately. Here’s what you’ll need to do:
- Clearing the Area: Remove any furniture or objects from the room to create a clear working environment. Cover the floors with drop cloths or plastic sheeting to protect them from paint splatters.
- Cleaning the Tiles: Dust and debris can hinder paint adhesion, so thoroughly clean the drop ceiling tiles using a mild detergent solution and a sponge. Allow them to dry completely before proceeding.
- Repairing Damaged Tiles: Inspect the tiles for any cracks, chips, or stains. Repair minor damages with spackling compound or a similar filler, sanding the surface smooth once it dries. For stubborn stains, consider using a stain-blocking primer before painting.
Choosing the Right Paint: Selecting Colors and Finishes
Selecting the appropriate paint is essential for achieving the desired aesthetic and durability. Here are some considerations:
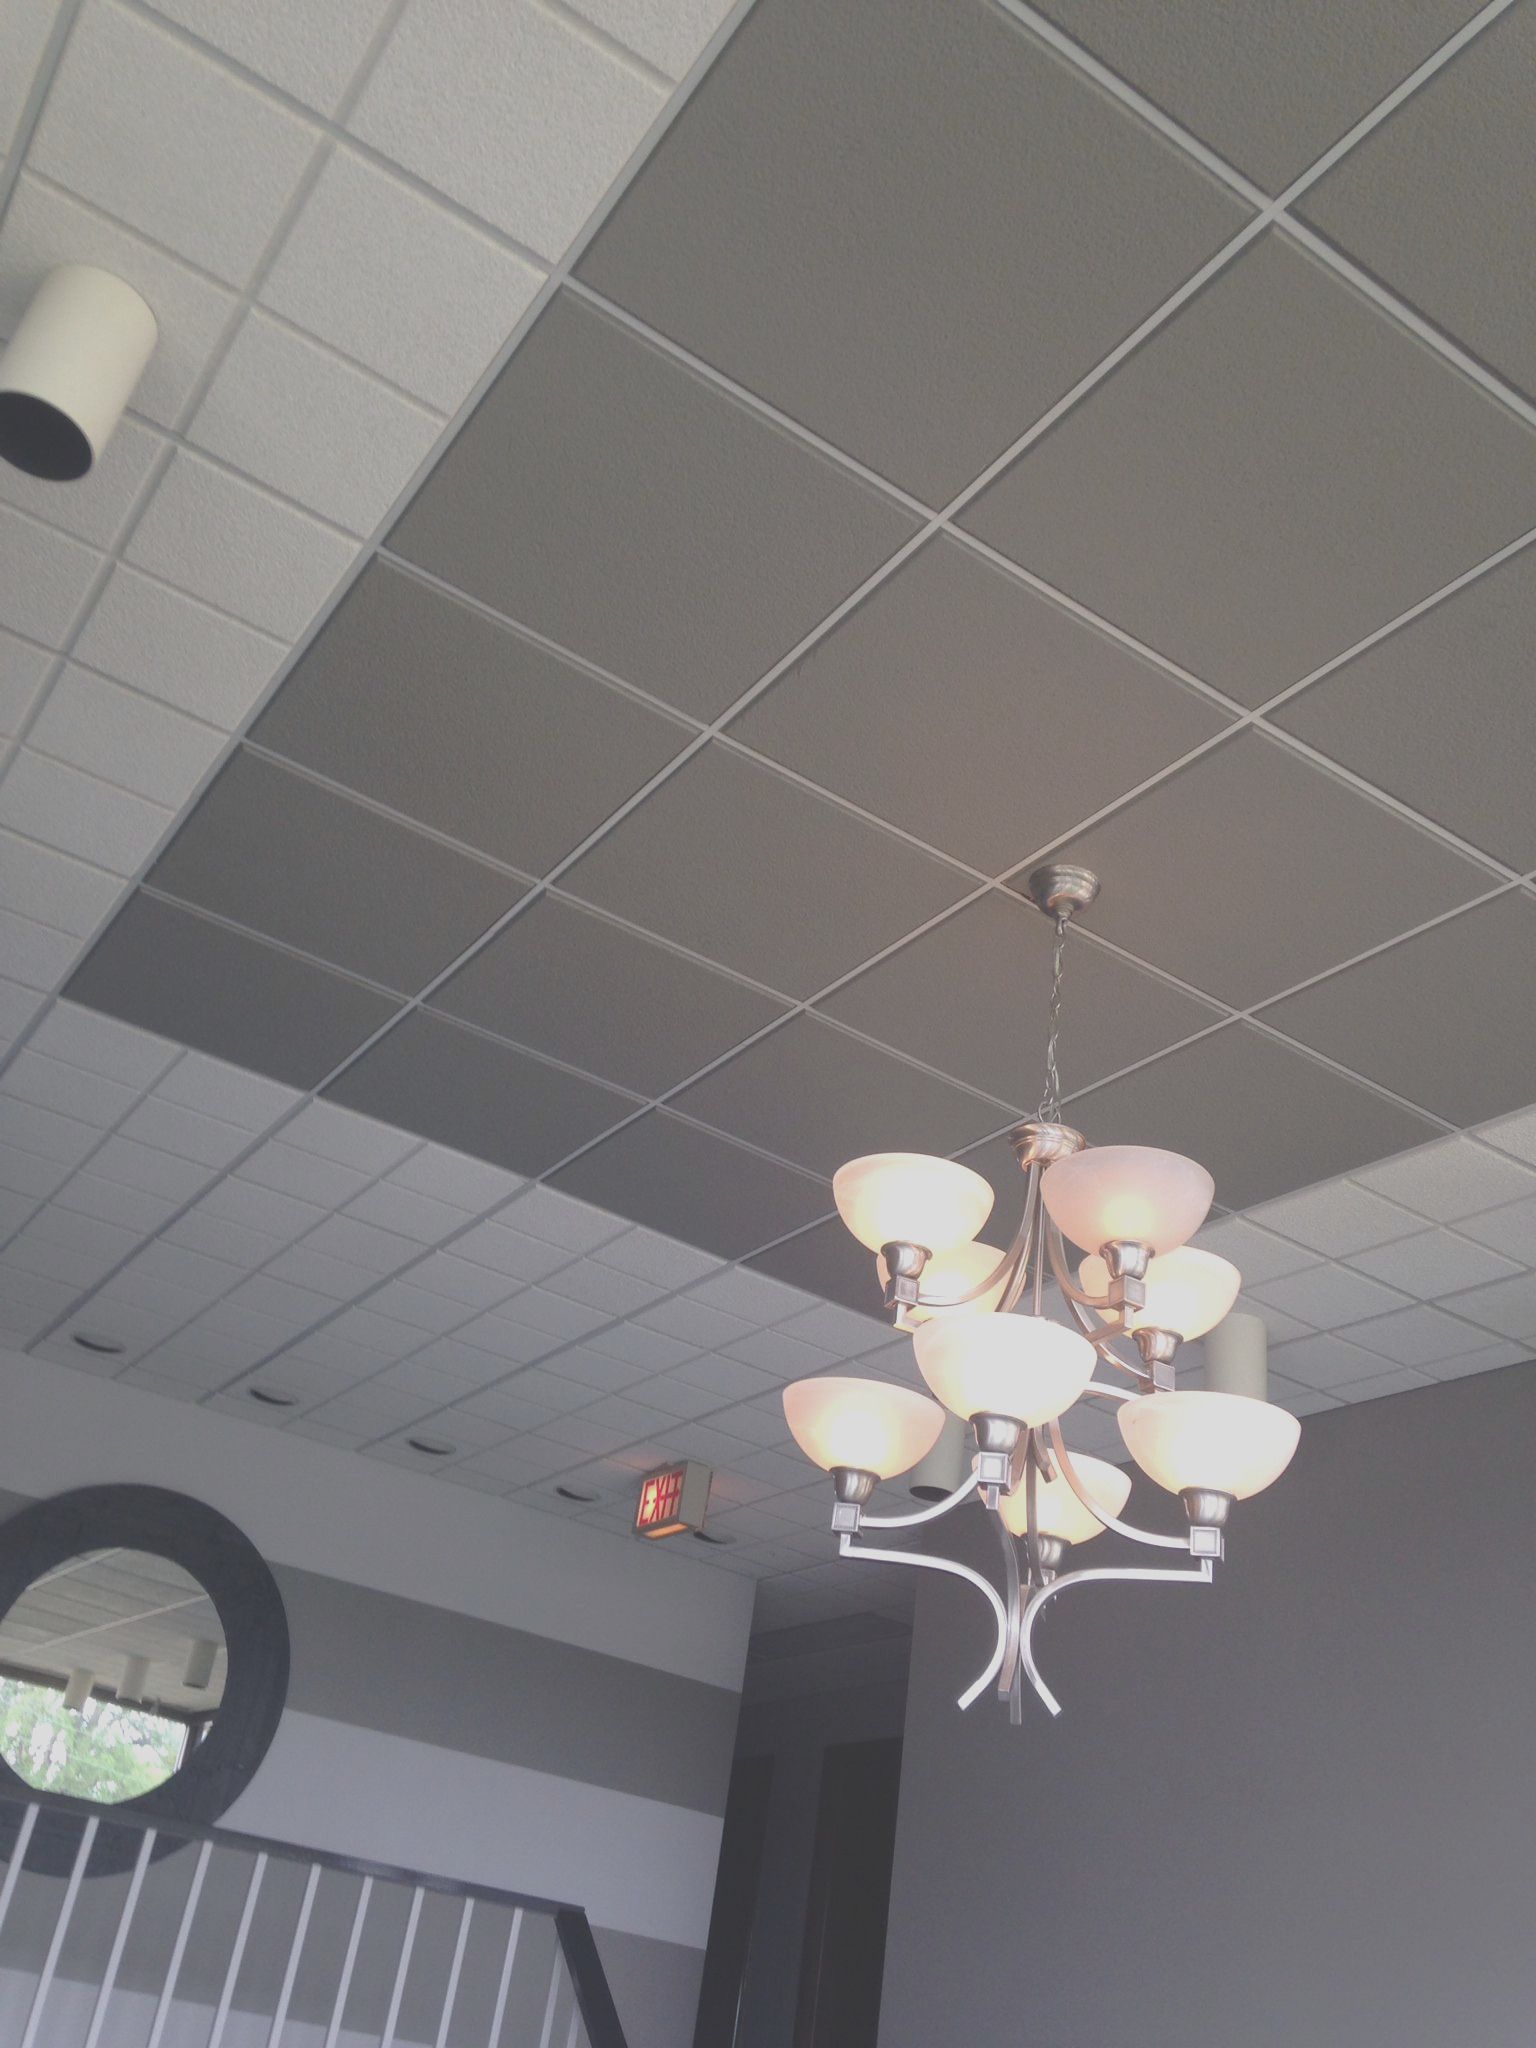
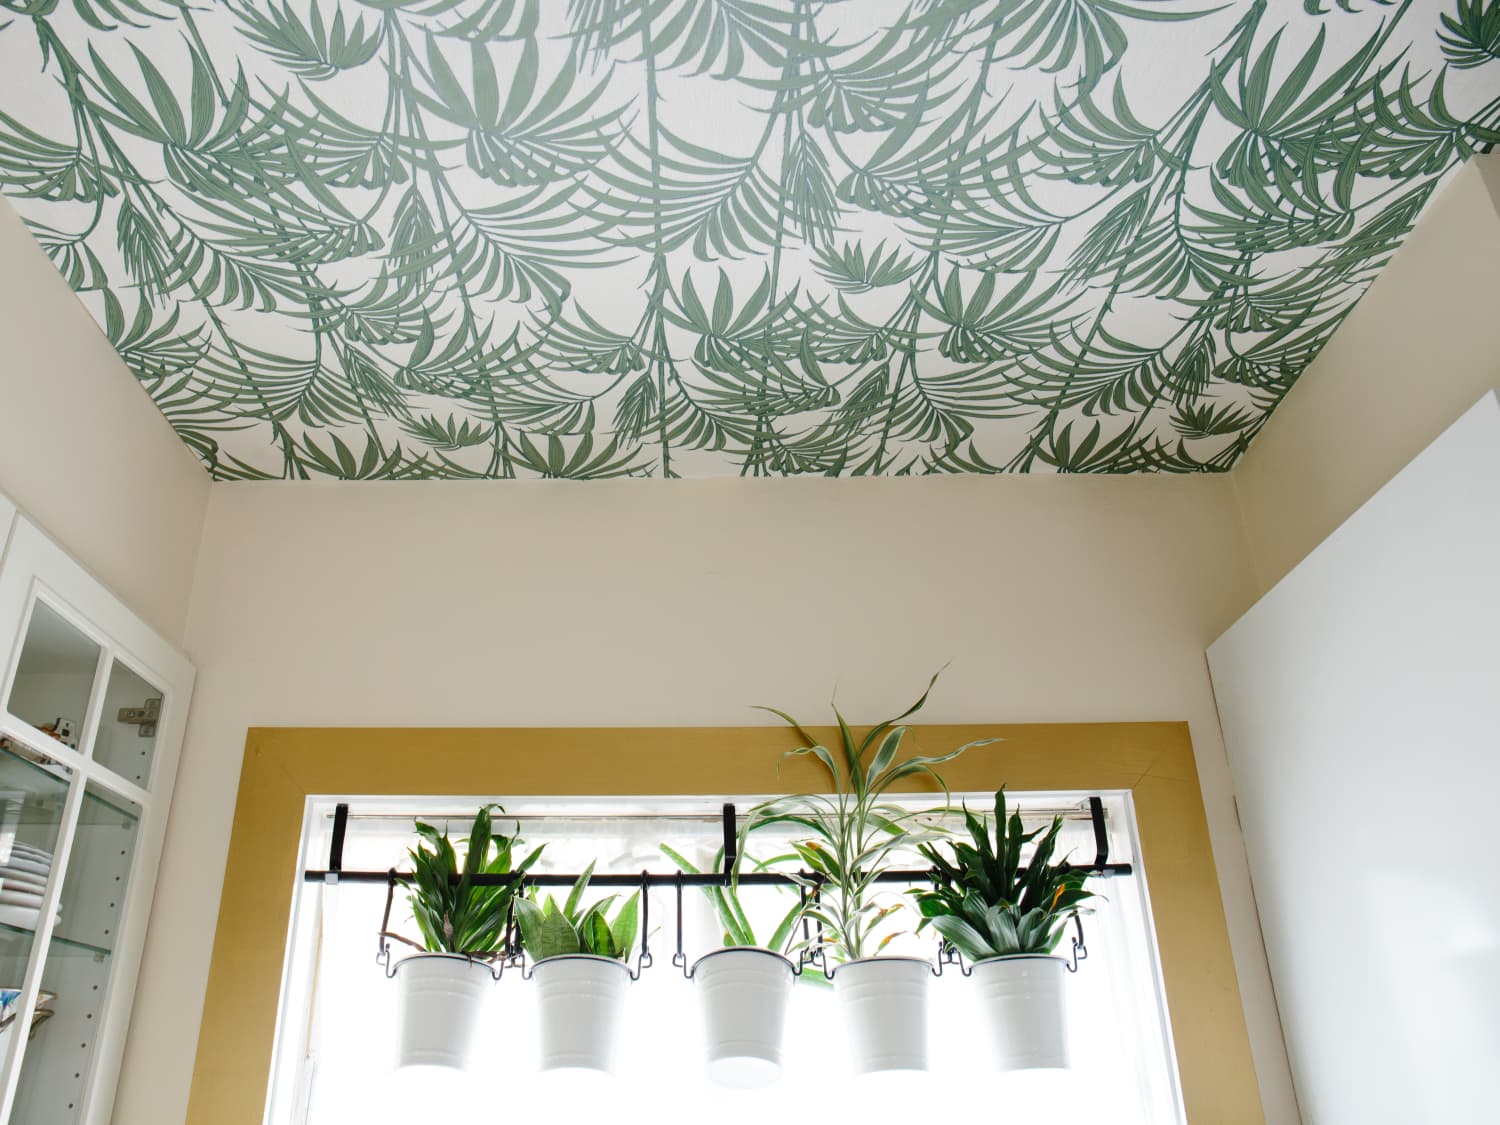
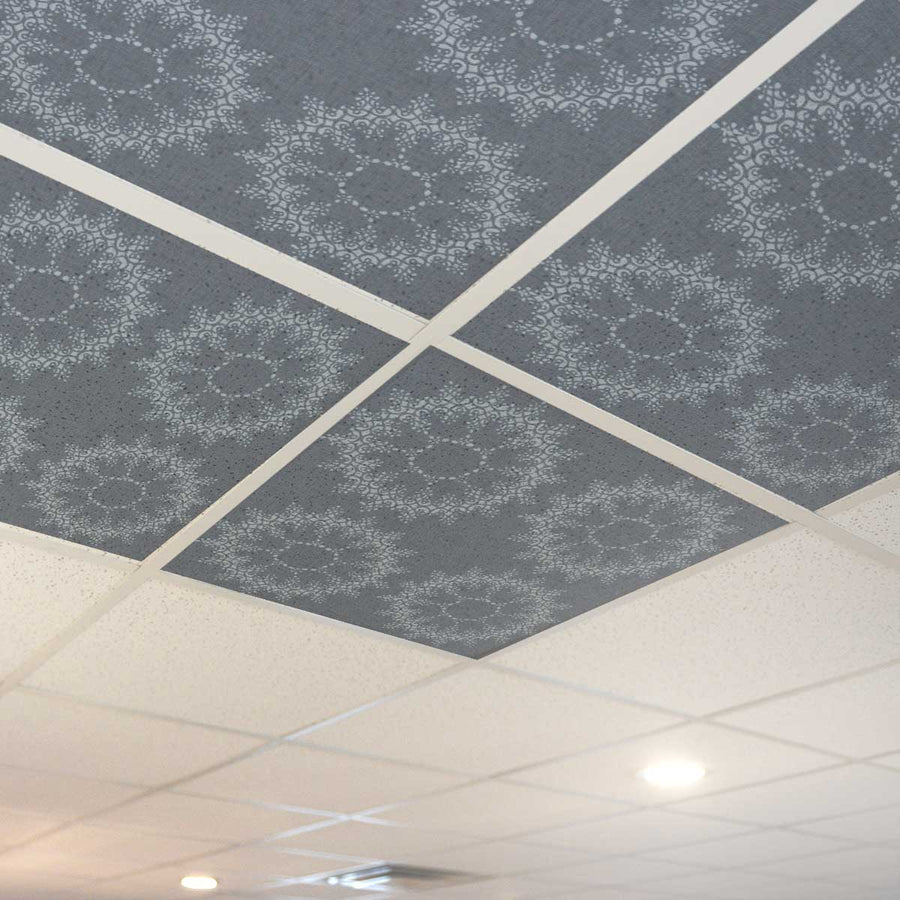
- Color Palette: Consider the overall color scheme of the room when choosing paint colors for your drop ceiling tiles. Opt for neutral tones to create a cohesive look or bold hues for a statement ceiling.
- Paint Finish: The finish of the paint can impact the appearance and maintenance of your ceiling. Matte finishes can help hide imperfections, while semi-gloss or high-gloss finishes are easier to clean and more resistant to moisture.
- Specialized Paints: Some paints are specifically formulated for use on ceiling tiles, offering enhanced adhesion and durability. Consider using these products for optimal results.
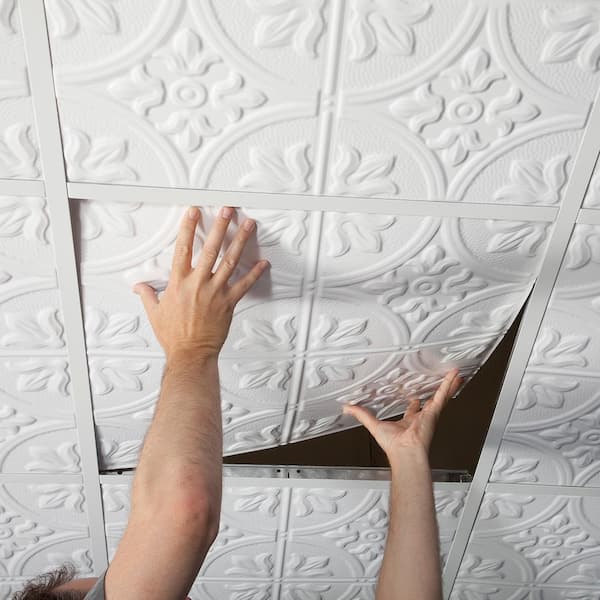
Prepping the Tiles for Painting: Priming and Taping
Proper preparation is key to achieving a flawless finish on your drop ceiling tiles. Follow these steps to prep the tiles for painting:
- Priming the Surface: Apply a coat of primer to the clean, dry tiles using a roller or paint sprayer. Primer helps the paint adhere better and ensures uniform coverage. Allow the primer to dry completely before proceeding.
- Taping Off Edges: Use painter’s tape to mask off any edges or trim surrounding the drop ceiling tiles. This will help create clean lines and prevent paint from getting onto adjacent surfaces.
- Creating a Work Plan: Plan your painting strategy to ensure efficient coverage and minimize interruptions. Start from one corner of the room and work your way across, painting one tile at a time in a systematic manner.
Applying the Paint: Techniques for Success
Now comes the exciting part – applying the paint to your drop ceiling tiles. Follow these techniques for professional results:
- Using a Roller: A high-quality roller is ideal for painting large areas quickly and efficiently. Start by applying paint in a “W” or “M” pattern to ensure even coverage, then use long, smooth strokes to fill in the gaps.
- Spray Painting: For a smoother finish and faster application, consider using a paint sprayer. Adjust the spray pattern and pressure to control the amount of paint being applied, and maintain a consistent distance from the tiles to avoid uneven coverage.
- Working in Sections: To prevent the paint from drying too quickly and creating visible overlap marks, work in small sections at a time, blending each section seamlessly into the next.

Finishing Touches: Sealing and Cleanup
Once you’ve finished painting your drop ceiling tiles, it’s time to add the final touches and clean up any mess:
- Sealing the Paint: Allow the paint to dry completely before applying a clear coat sealer to protect the finish and enhance durability. Choose a sealer specifically designed for use on painted surfaces for optimal results.
- Removing Painter’s Tape: Carefully remove the painter’s tape from the edges of the tiles while the paint is still slightly tacky to avoid peeling or chipping.
- Cleaning Up: Dispose of any used paint cans, brushes, or rollers responsibly, and remove drop cloths or plastic sheeting from the floor. Wipe down any surfaces that may have been splattered with paint using a damp cloth.
Maintaining Your Painted Drop Ceiling Tiles: Long-Term Care
After investing time and effort into painting your drop ceiling tiles, it’s essential to maintain their appearance for the long term. Here are some tips for ongoing care:
- Regular Cleaning: Keep your painted drop ceiling tiles looking fresh by regularly dusting them with a soft brush or vacuum attachment. Avoid using abrasive cleaners or scrubbing vigorously, as this could damage the paint finish.
- Addressing Stains Promptly: If you notice any stains or marks on your painted ceiling tiles, address them promptly to prevent them from becoming permanent. Use a mild detergent solution and a soft cloth to gently spot clean the affected areas.
- Avoiding Moisture Exposure: Moisture can cause paint to peel or discolor over time, so take steps to prevent excessive moisture buildup in the room. Ensure proper ventilation and address any leaks or humidity issues promptly to protect your painted ceiling tiles.
- Touching Up as Needed: Over time, your painted drop ceiling tiles may experience wear and tear, such as minor scratches or scuffs. Keep a small amount of touch-up paint on hand to address these imperfections as they arise, ensuring your ceiling maintains its pristine appearance.
- Professional Maintenance: If your painted drop ceiling tiles require more extensive maintenance or repairs, consider hiring a professional painting contractor to assess the situation and provide recommendations for restoration or touch-up work.
By implementing these maintenance practices, you can prolong the lifespan of your painted drop ceiling tiles and continue to enjoy their aesthetic benefits for years to come.
Conclusion: Transforming Your Space with Painted Drop Ceiling Tiles
Painting drop ceiling tiles offers a cost-effective and creative way to revitalize your space and elevate its aesthetic appeal. By following the tips and techniques outlined in this guide, you can achieve professional-quality results that will breathe new life into any room. So why settle for a dull and uninspired ceiling when you can unleash your creativity and transform it into a stunning focal point? With a fresh coat of paint and a little bit of effort, the possibilities are endless.