Ceiling Transformations: A Step-by-Step Guide to Installing Ceiling Tiles
Ceiling tiles offer a versatile and stylish solution for transforming the look of any room in your home. Whether you’re looking to cover up imperfections, add insulation, or enhance the aesthetic appeal of your space, installing ceiling tiles is a relatively straightforward DIY project that can yield impressive results. In this comprehensive guide, we’ll walk you through the step-by-step process of installing ceiling tiles, from preparation and planning to finishing touches and maintenance.
1. Planning and Preparation: Gathering Materials and Measuring
Before you begin installing ceiling tiles, it’s essential to plan your project carefully and gather all the necessary materials. Start by measuring the dimensions of your ceiling to determine how many tiles you’ll need. Consider factors such as the size and shape of the room, as well as any obstructions such as light fixtures or vents. Once you have your measurements, purchase enough ceiling tiles to cover the entire area, as well as adhesive, nails, or staples for installation.
2. Preparing the Surface: Cleaning and Priming
Next, prepare the surface of your ceiling for tile installation by cleaning it thoroughly and applying a coat of primer. Use a mild detergent and water to remove any dirt, dust, or grease from the ceiling, and allow it to dry completely before proceeding. Once the surface is clean and dry, apply a coat of primer to help the adhesive bond securely to the ceiling tiles. Primer also helps to seal the surface and prevent moisture damage, ensuring long-lasting durability for your ceiling tiles.
3. Marking Guidelines: Establishing a Grid
Before you start installing ceiling tiles, it’s important to establish a grid on the ceiling to guide the placement of the tiles. Use a chalk line or laser level to create a series of evenly spaced horizontal and vertical lines on the ceiling, dividing it into smaller sections. These guidelines will help ensure that your ceiling tiles are installed evenly and symmetrically, resulting in a professional-looking finish.
4. Applying Adhesive: Securing the Tiles
Once the grid lines are in place, it’s time to start installing the ceiling tiles. Apply adhesive to the back of each tile according to the manufacturer’s instructions, ensuring that the adhesive is spread evenly across the entire surface. Press the tile firmly onto the ceiling, aligning it with the grid lines and any adjacent tiles. Use a level to check that the tile is flush with the surrounding tiles and adjust as needed. Continue applying adhesive and installing tiles until the entire ceiling is covered, working one section at a time to ensure a consistent finish.
5. Nailing or Stapling: Reinforcing the Tiles
In addition to adhesive, you may choose to reinforce the ceiling tiles by nailing or stapling them in place. Use a pneumatic nail gun or staple gun to secure the tiles along the edges and corners, driving nails or staples into the ceiling joists for added stability. Be sure to space the nails or staples evenly and avoid overdriving them, as this can cause the tiles to crack or warp. Alternatively, you can use adhesive alone for installation, depending on your preference and the specific requirements of your ceiling tile product.
6. Finishing Touches: Trimming and Painting
Once all the ceiling tiles are installed, it’s time to add the finishing touches to complete the transformation. Use a utility knife to trim any excess tile material along the edges of the ceiling, ensuring a clean and professional-looking finish. If desired, you can also paint the ceiling tiles to match the decor of the room or add a decorative accent. Choose a high-quality paint that is compatible with the material of your ceiling tiles, and apply it evenly using a brush or roller. Allow the paint to dry completely before reattaching any light fixtures or other accessories.

7. Maintenance and Care: Preserving the Beauty of Your Ceiling
After your ceiling tiles are installed, it’s important to properly maintain and care for them to preserve their beauty and longevity. Regularly clean the tiles with a mild detergent and water to remove dust, dirt, and stains, taking care not to scrub too vigorously as this can damage the finish. Inspect the tiles periodically for any signs of damage or wear, such as cracks, warping, or water stains, and repair or replace them as needed to ensure the integrity of your ceiling. With proper maintenance and care, your ceiling tiles will continue to enhance the beauty of your home for years to come.
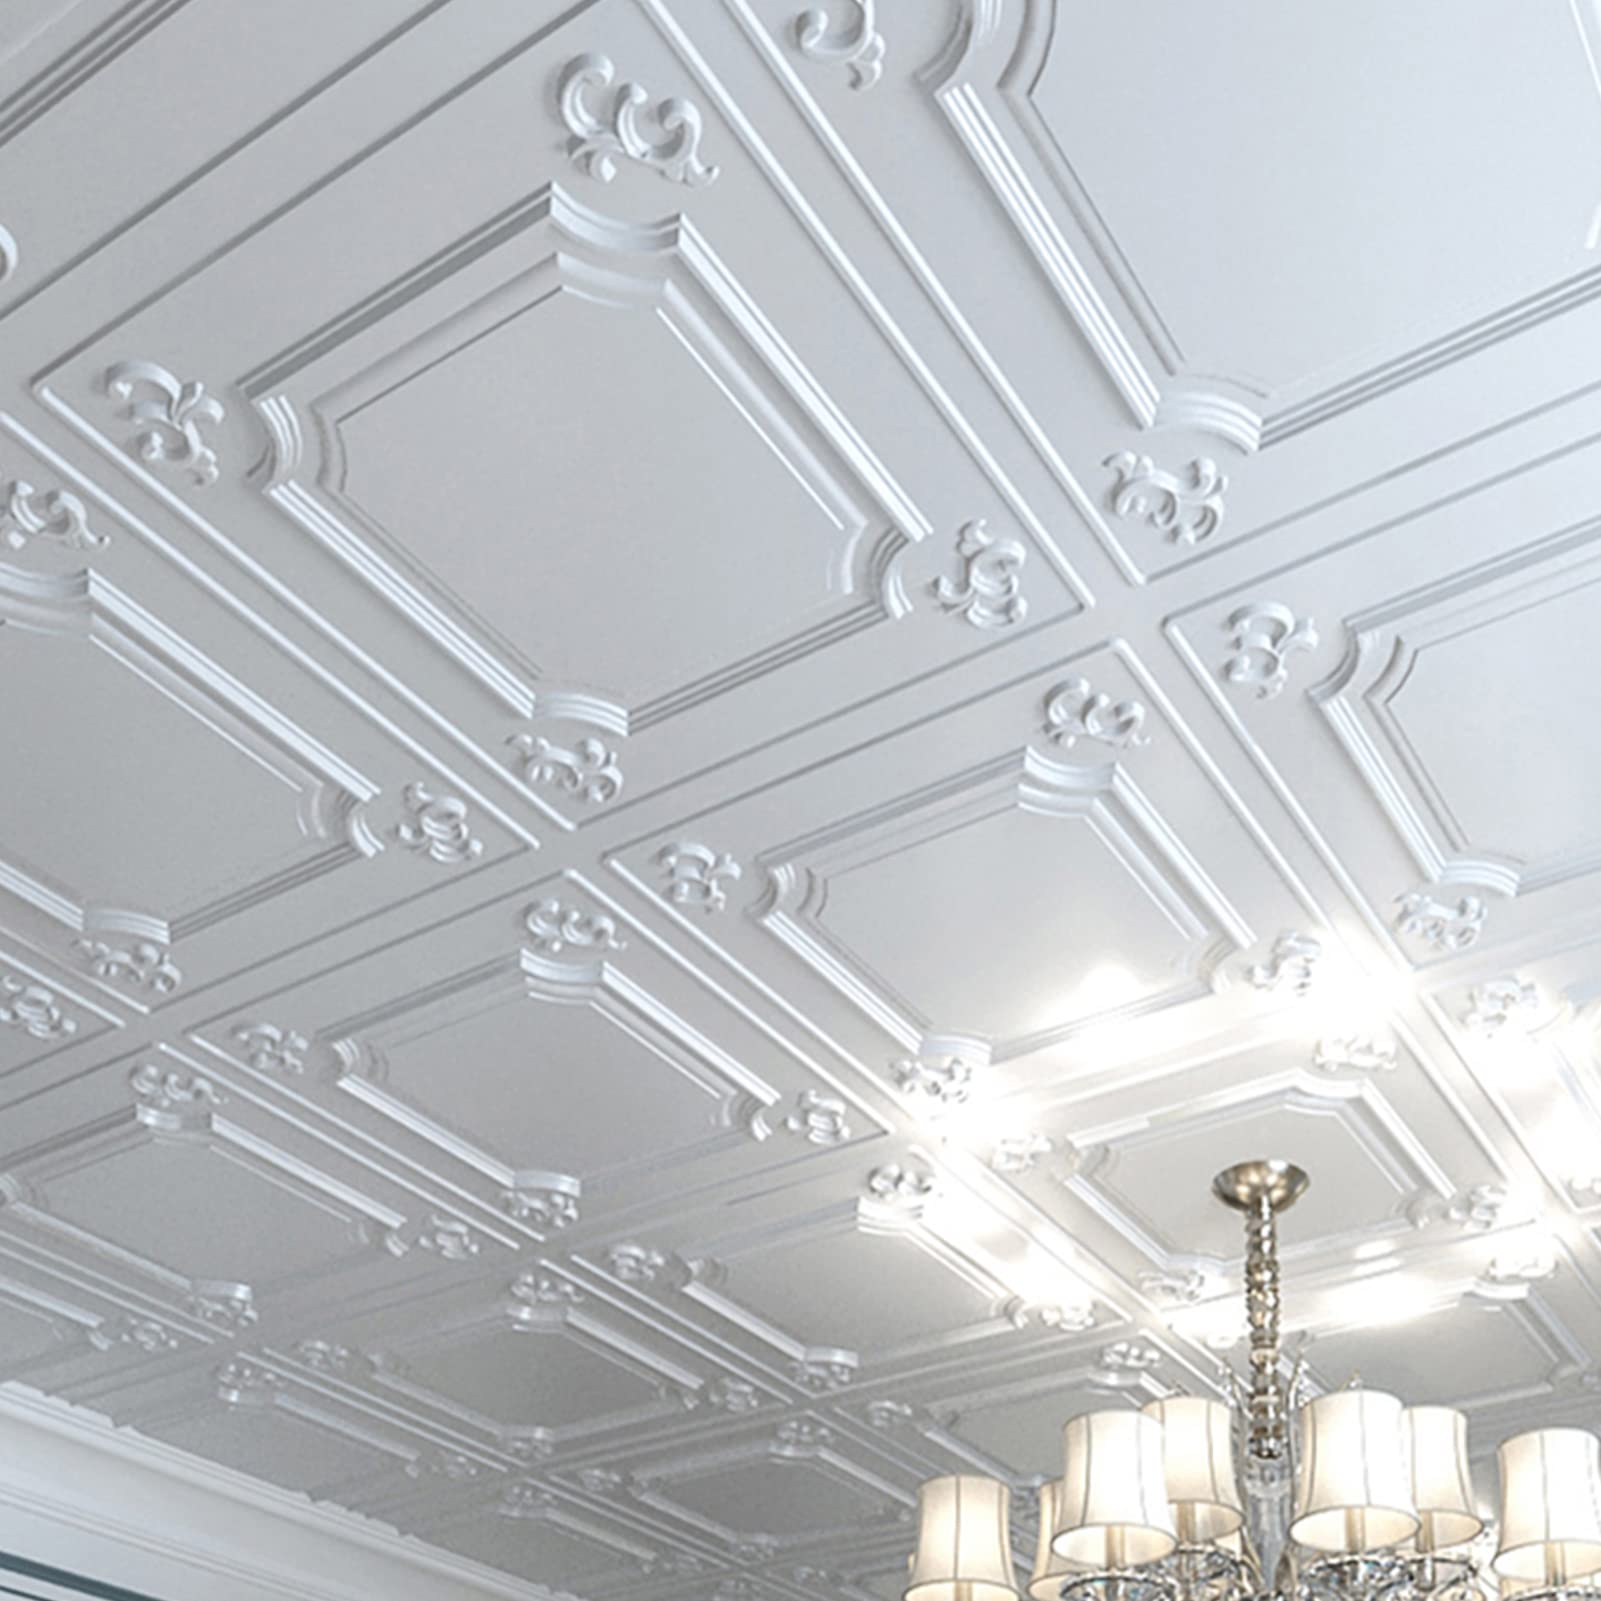
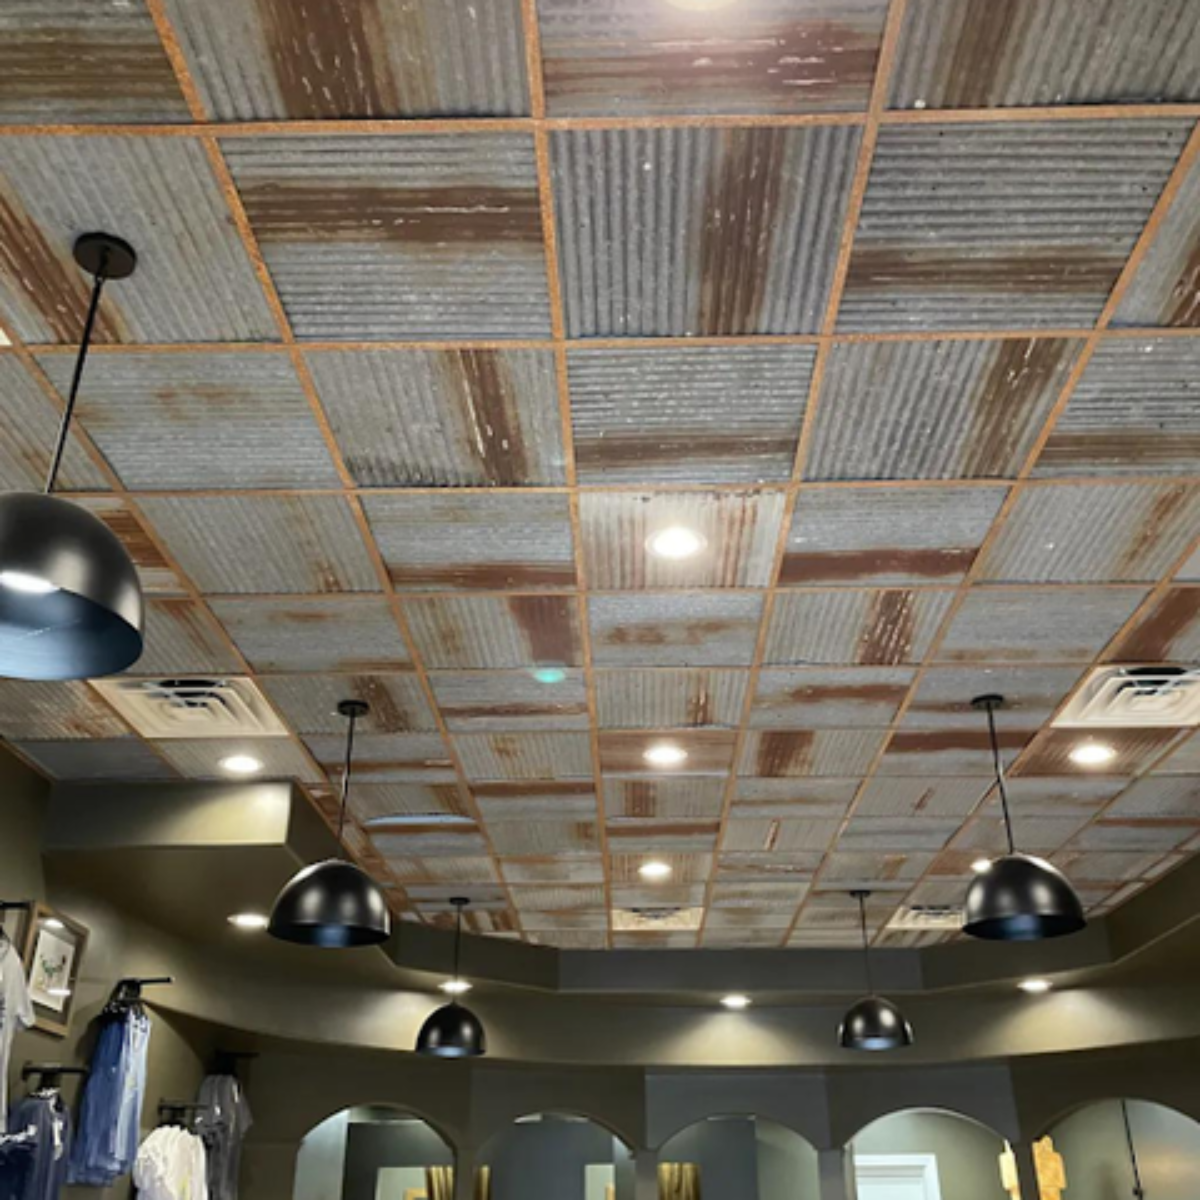
Choosing the Right Ceiling Tiles: Considerations and Options
When it comes to selecting ceiling tiles for your project, there are several factors to consider to ensure you choose the right option for your needs and preferences. Ceiling tiles come in a variety of materials, sizes, and designs, each offering unique benefits and aesthetic appeal. Some popular options include:
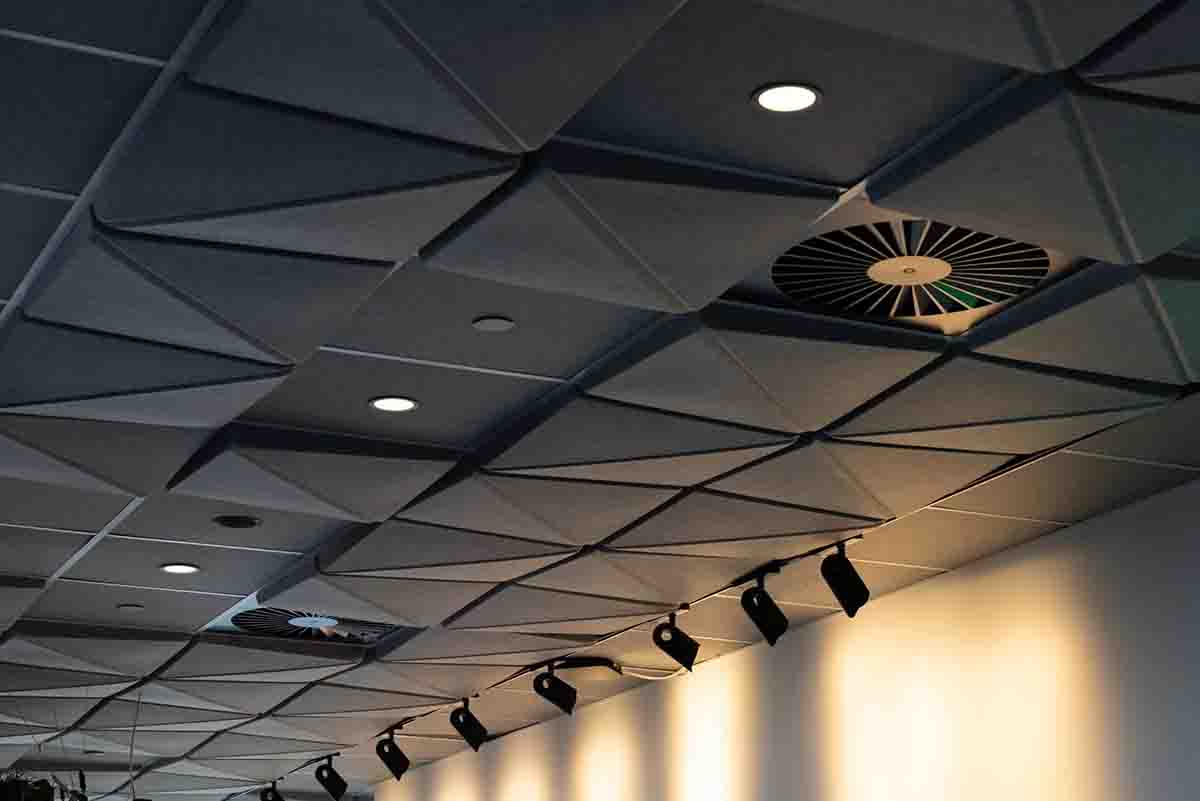
- Acoustic Tiles: Ideal for rooms where sound control is important, acoustic ceiling tiles design to absorb sound and reduce noise levels, creating a quieter and more comfortable environment. These tiles often use in offices, classrooms, and commercial spaces to improve acoustics and enhance productivity.

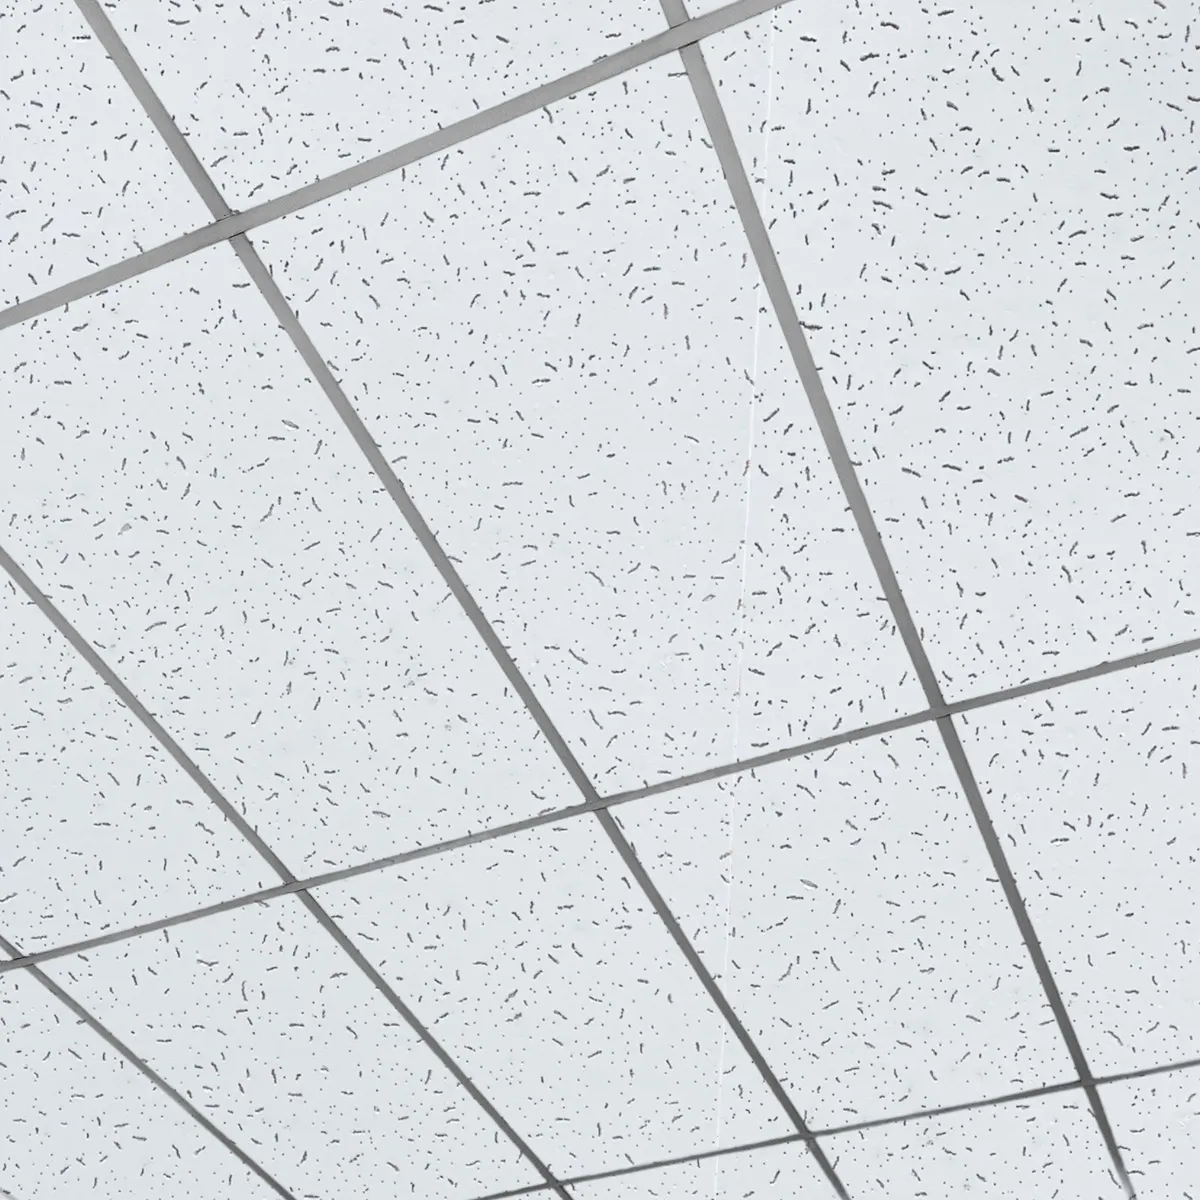
- Drop Ceiling Tiles: Also known as suspended ceiling tiles, drop ceiling tiles design to fit into a grid system suspended from the ceiling joists. These tiles are easy to install and remove, making them a popular choice for basement renovations, commercial spaces, and areas where access to the ceiling cavity need.
Conclusion: Transforming Your Space with Ceiling Tiles
In conclusion, installing ceiling tiles is a rewarding DIY project that can dramatically transform the look and feel of any room in your home. By following the step-by-step guide outlined above, you can achieve professional-quality results and enjoy the benefits of a beautiful, functional ceiling that enhances the aesthetic appeal and value of your space. Whether you’re covering up imperfections, adding insulation, or simply updating the decor, ceiling tiles offer a versatile and stylish solution for creating a customized look that reflects your personal style and taste. Consider incorporating ceiling tiles into your next home improvement project and experience the transformative power of this versatile design element.