
Introduction: Enhancing Your Home with New Drop Ceiling Tiles
Drop ceiling tiles can significantly improve the aesthetics and functionality of any room in your home. Whether you’re renovating or simply looking to refresh your space, replacing drop ceiling tiles is a relatively straightforward process. In this guide, we’ll walk you through each step, making the task manageable and achievable.
Assessing Your Current Ceiling
Before diving into replacing your drop ceiling tiles, it’s essential to assess the condition of your current ceiling. This step allows you to identify any areas that may need repair or replacement before proceeding with the installation.
Gather Your Materials and Tools
To ensure a smooth replacement process, gather all the necessary materials and tools beforehand. This step helps prevent interruptions and ensures you have everything you need within reach as you work through each stage of the project.
Preparing the Workspace
Preparing the workspace is crucial for a successful drop ceiling tile replacement. By taking the time to clear the area and protect surrounding surfaces, you can minimize mess and streamline the installation process.
Removing Old Tiles Safely
Before installing new drop ceiling tiles, you’ll need to remove the existing ones safely. This step involves careful handling to prevent damage to the tiles and underlying structure while ensuring your safety throughout the process.
Inspecting the Ceiling Frame
Once the old tiles are removed, take the opportunity to inspect the ceiling frame for any signs of damage or wear. Addressing any issues at this stage will help maintain the structural integrity of your ceiling and ensure a secure installation for the new tiles.
Measuring and Cutting New Tiles
Accurate measurements are crucial when replacing drop ceiling tiles to ensure a precise fit. Take careful measurements of the ceiling grid and any necessary adjustments before cutting the new tiles to size.
Installing New Tiles
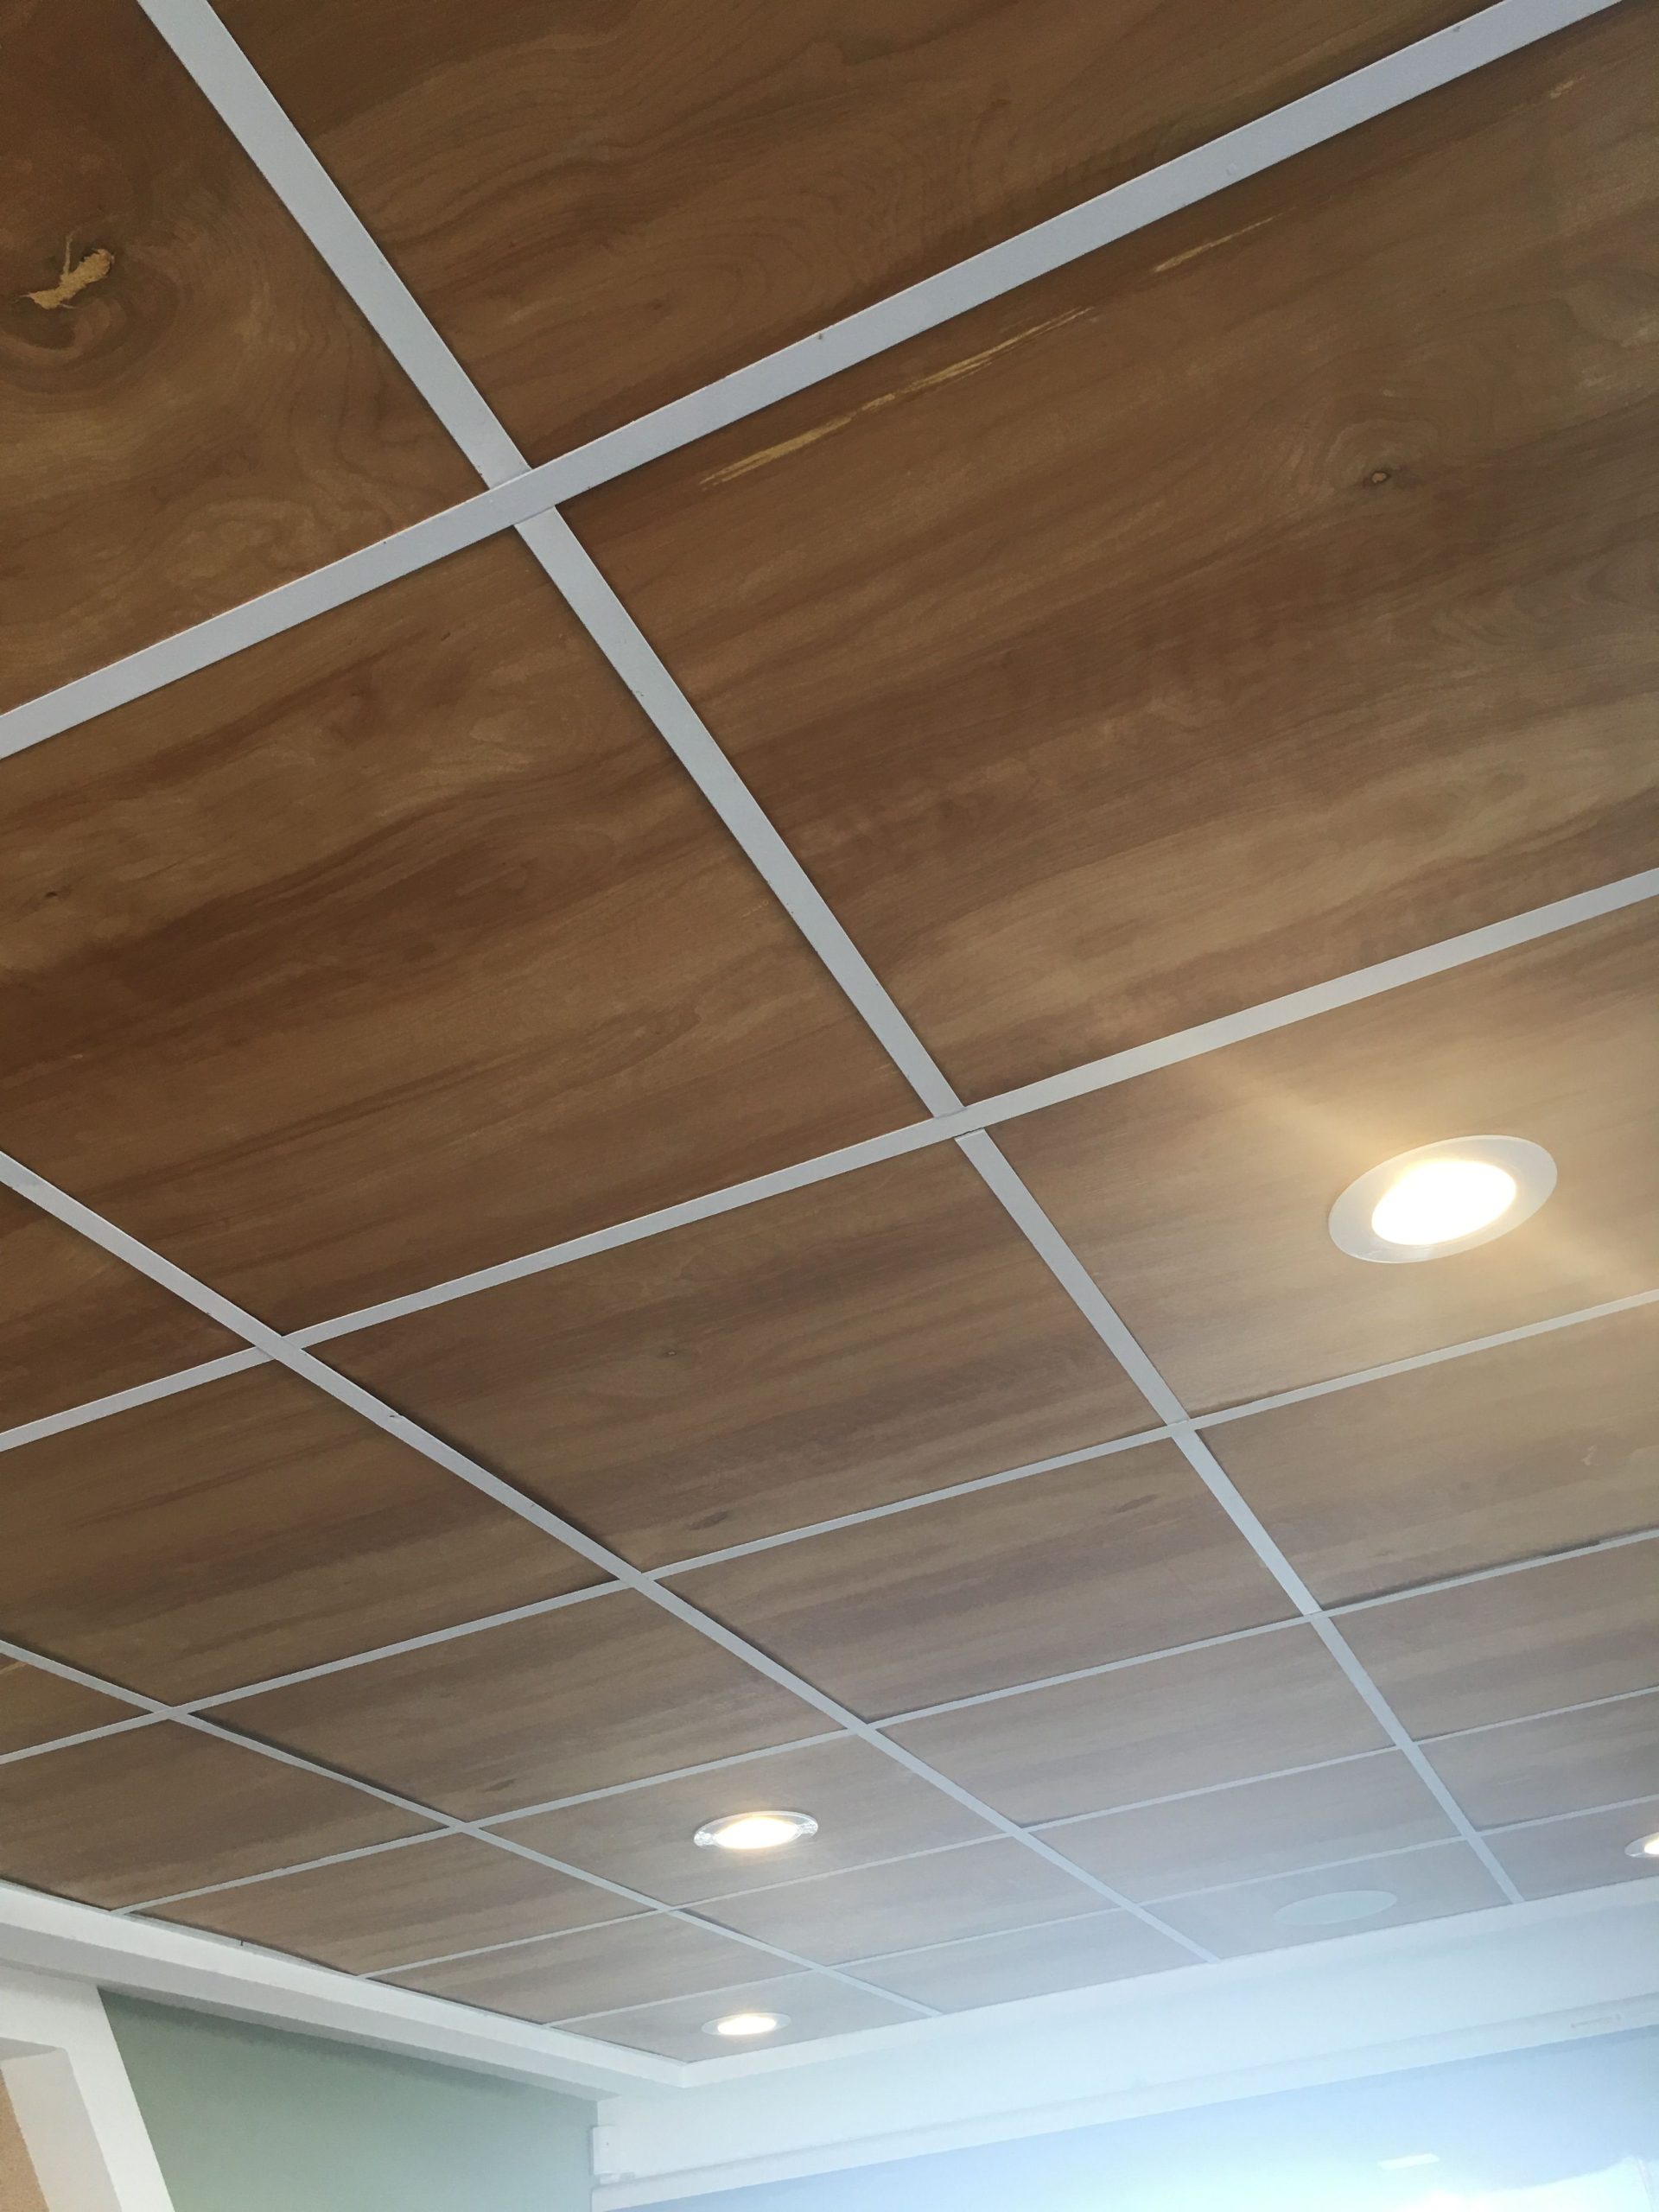
With the prep work complete, it’s time to install the new drop ceiling tiles. This step involves carefully placing each tile into the grid system, ensuring a snug fit and alignment with surrounding tiles for a seamless finish.
Securing the Tiles in Place
Once all the new tiles are in position, secure them firmly within the ceiling grid. This step helps prevent shifting or sagging over time, ensuring the longevity and stability of your newly installed drop ceiling tiles.
Finishing Touches and Cleanup
With the installation complete, take a moment to inspect the ceiling for any remaining imperfections and make any necessary adjustments. Once satisfied with the results, clean up the workspace, removing any debris or leftover materials to reveal your refreshed drop ceiling in all its glory.
Maintaining Your Drop Ceiling
After completing the replacement of your drop ceiling tiles, it’s essential to establish a maintenance routine to preserve their appearance and functionality. Regular cleaning is key to keeping your ceiling looking its best, removing dust, dirt, and any potential stains that may accumulate over time.
Using a soft-bristled brush or a vacuum with a brush attachment, gently remove surface debris from the tiles and grid. Avoid using harsh chemicals or abrasive cleaners, as these can damage the tiles’ finish or the grid’s paint.
For more stubborn stains or marks, a mild detergent solution and a soft cloth can be used to spot clean individual tiles. Be sure to test any cleaning solution in an inconspicuous area first to ensure it doesn’t cause damage or discoloration.
Additionally, keep an eye out for any signs of damage or wear, such as sagging tiles or rusting grid components. Addressing these issues promptly can prevent further damage and prolong the lifespan of your drop ceiling.
By incorporating regular maintenance into your home care routine, you can preserve the beauty and functionality of your drop ceiling for years to come, ensuring it continues to enhance your living space for the long term.
Conclusion: Enjoying Your Updated Space
Replacing drop ceiling tiles may seem like a daunting task, but with the right approach and guidance, it can be a rewarding project that enhances the beauty and functionality of your home. By following these easy steps, you can confidently tackle the task, transforming your space and enjoying the results for years to come.