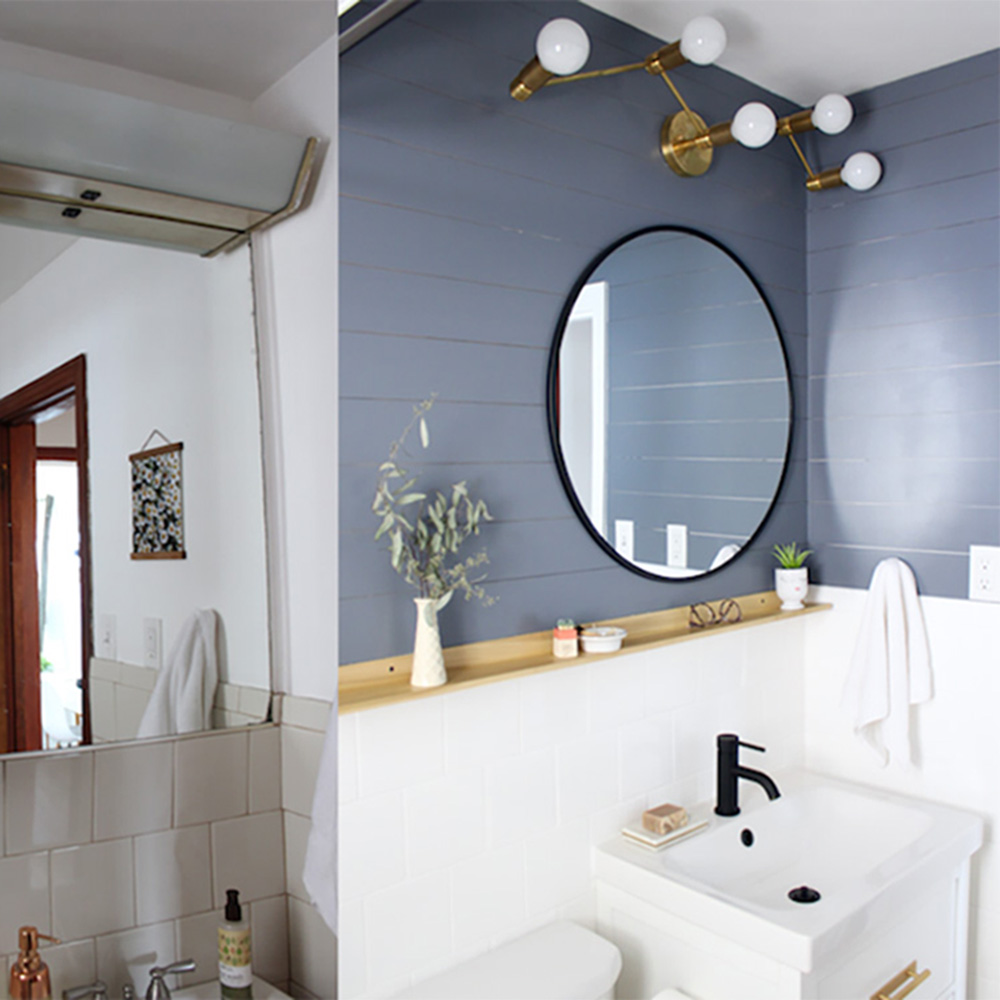
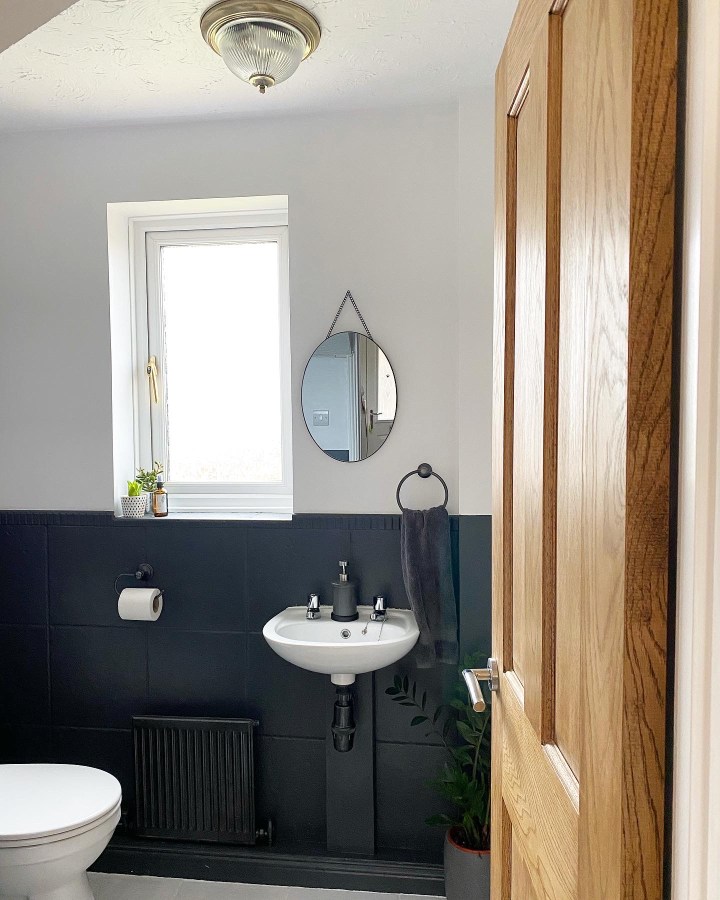
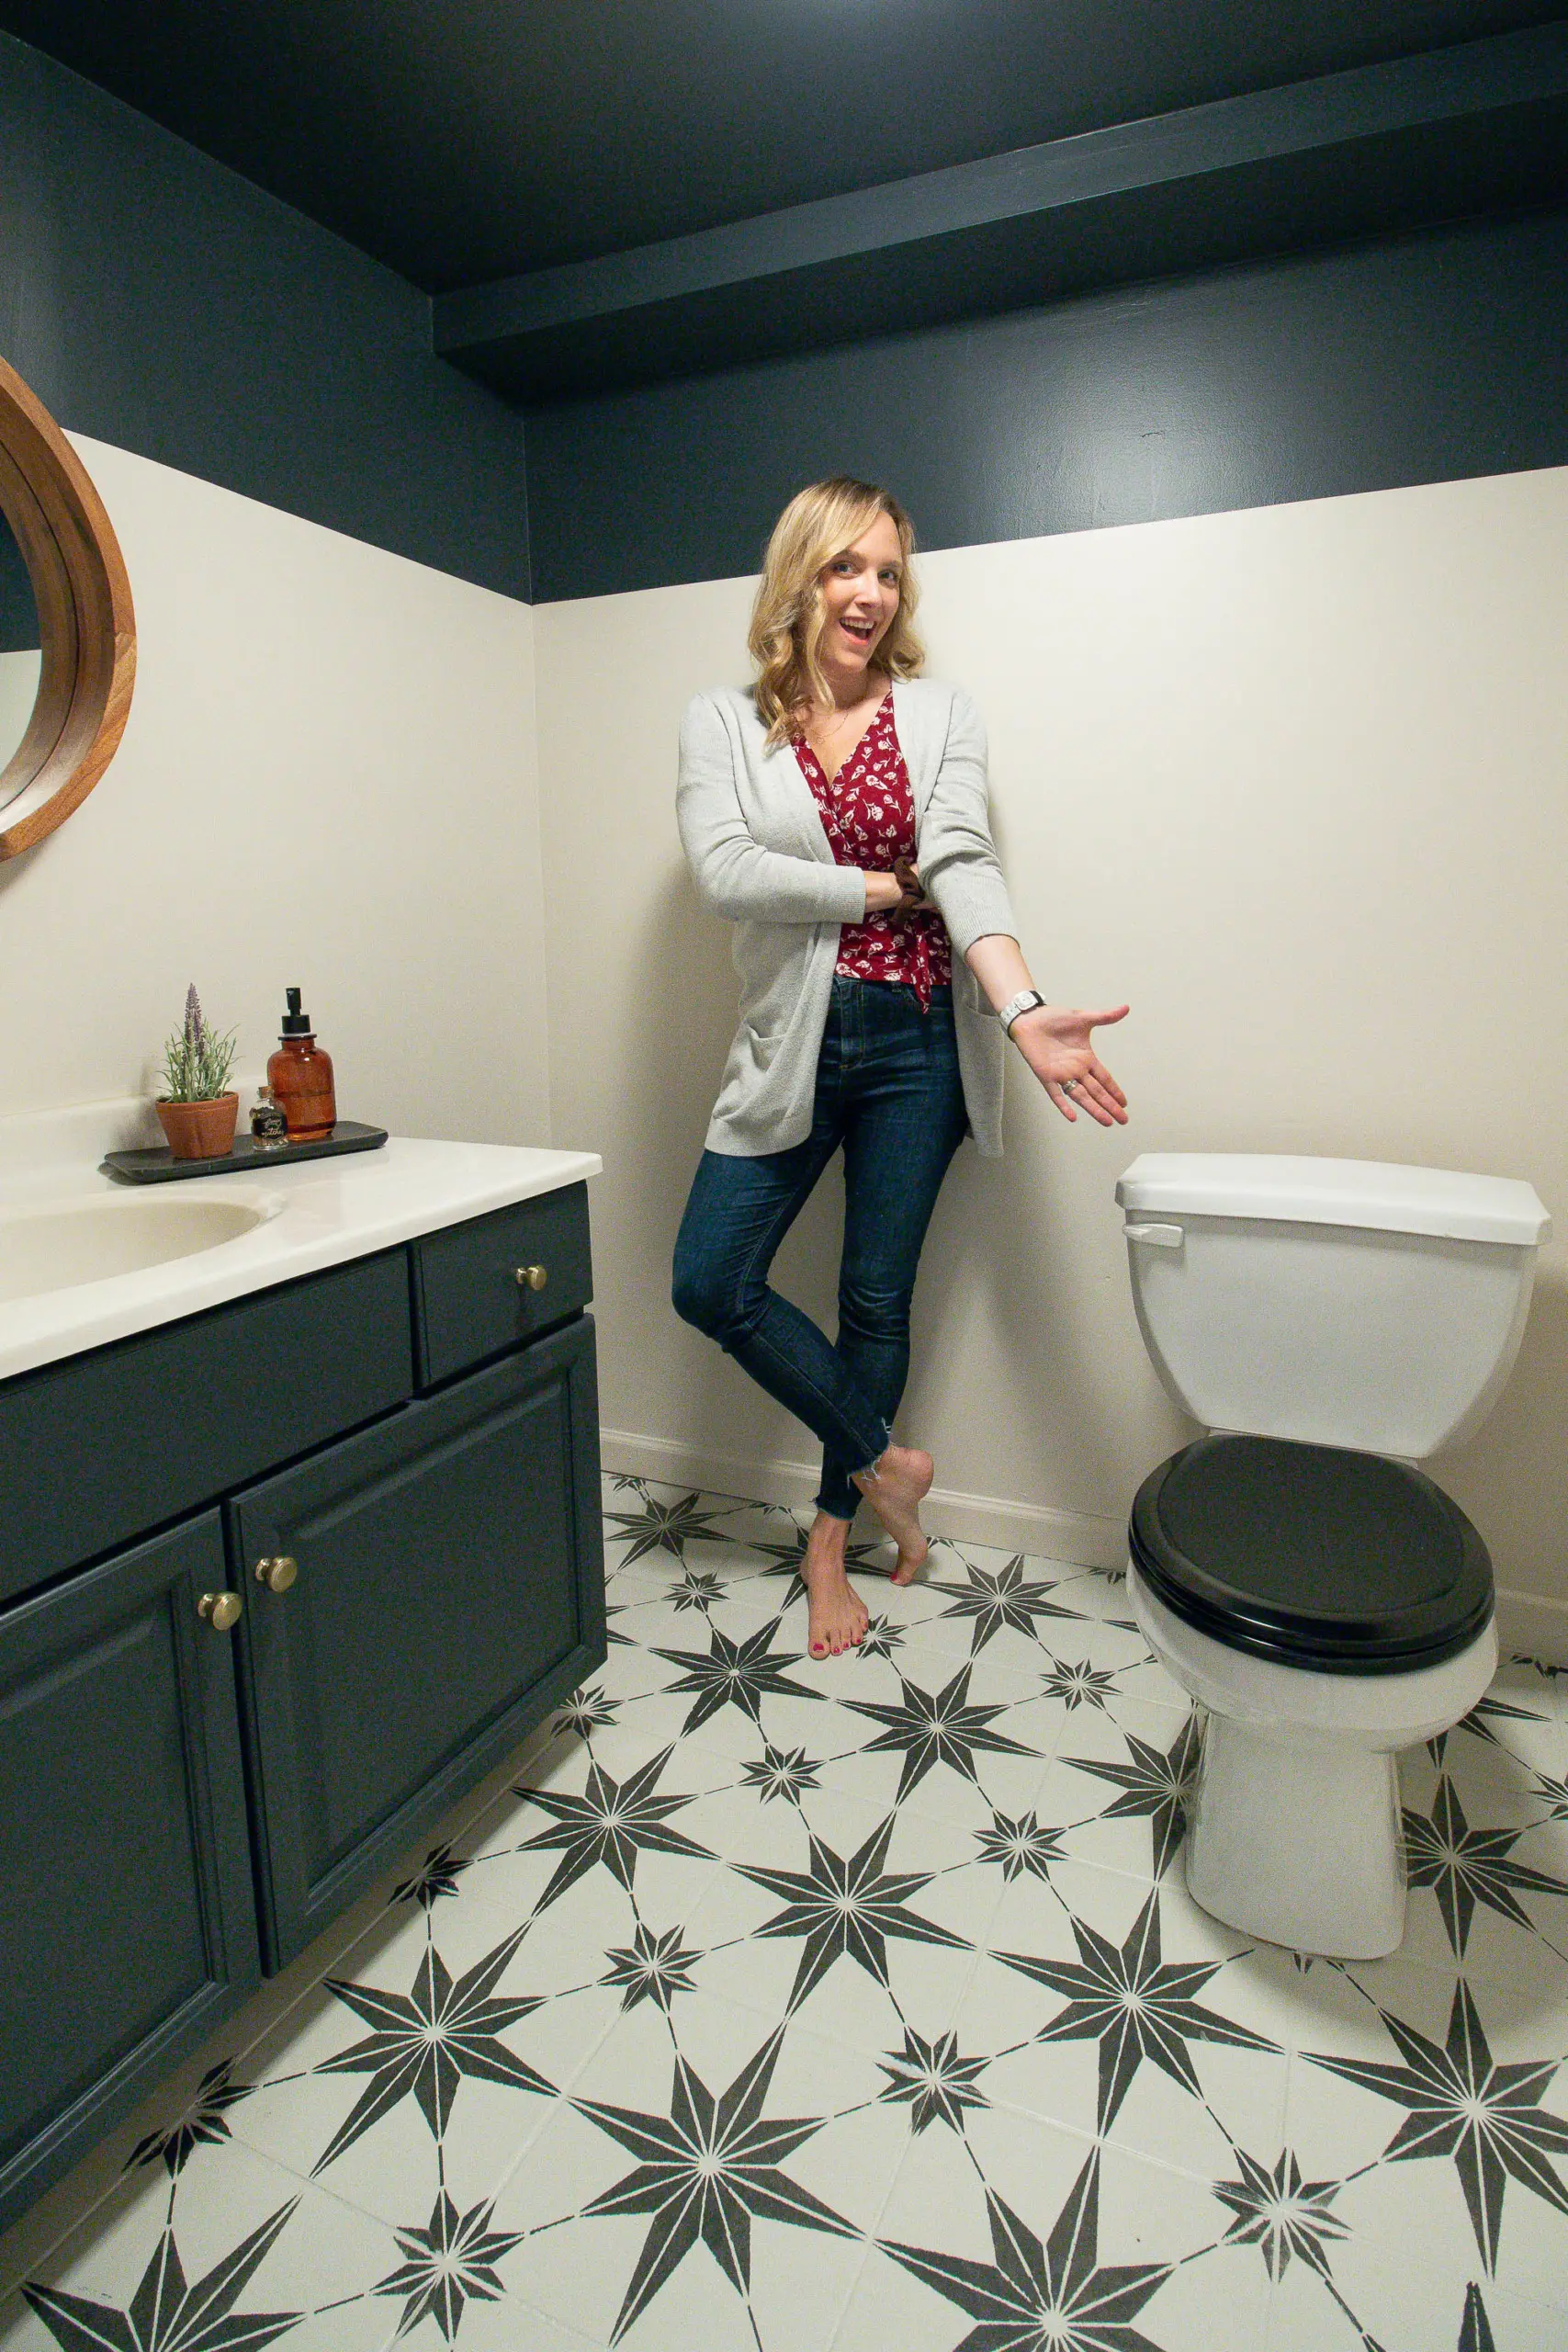
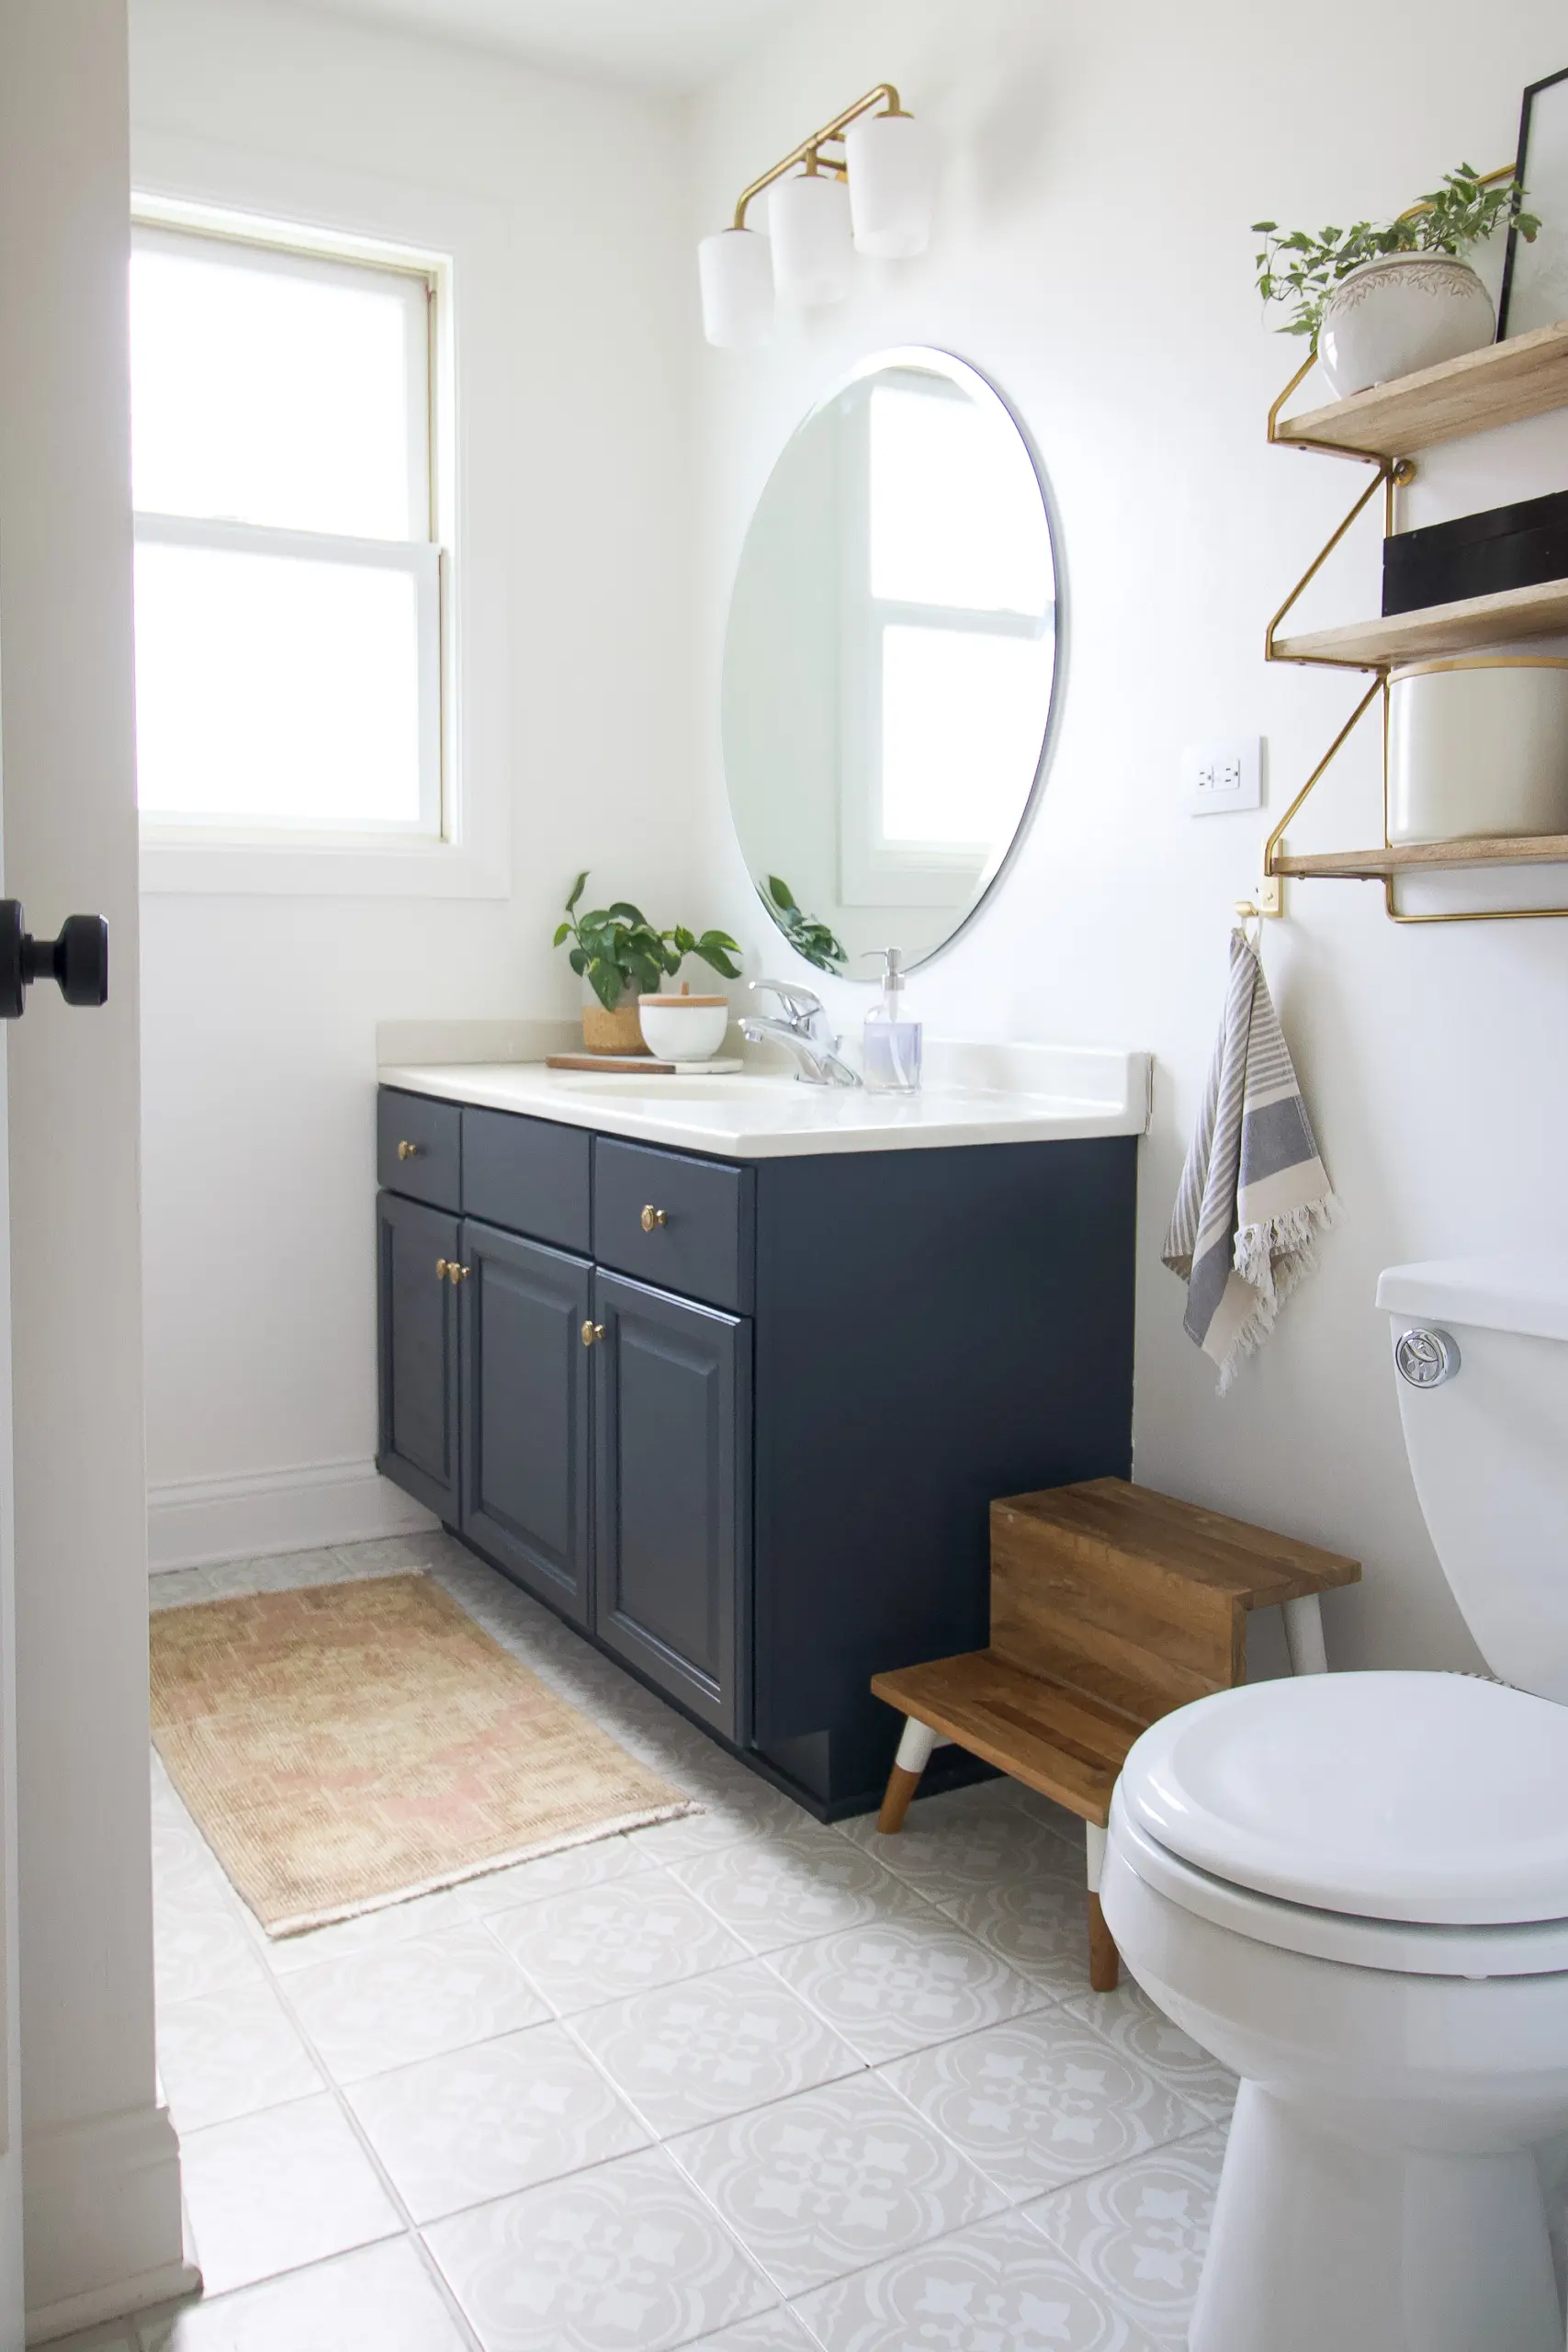
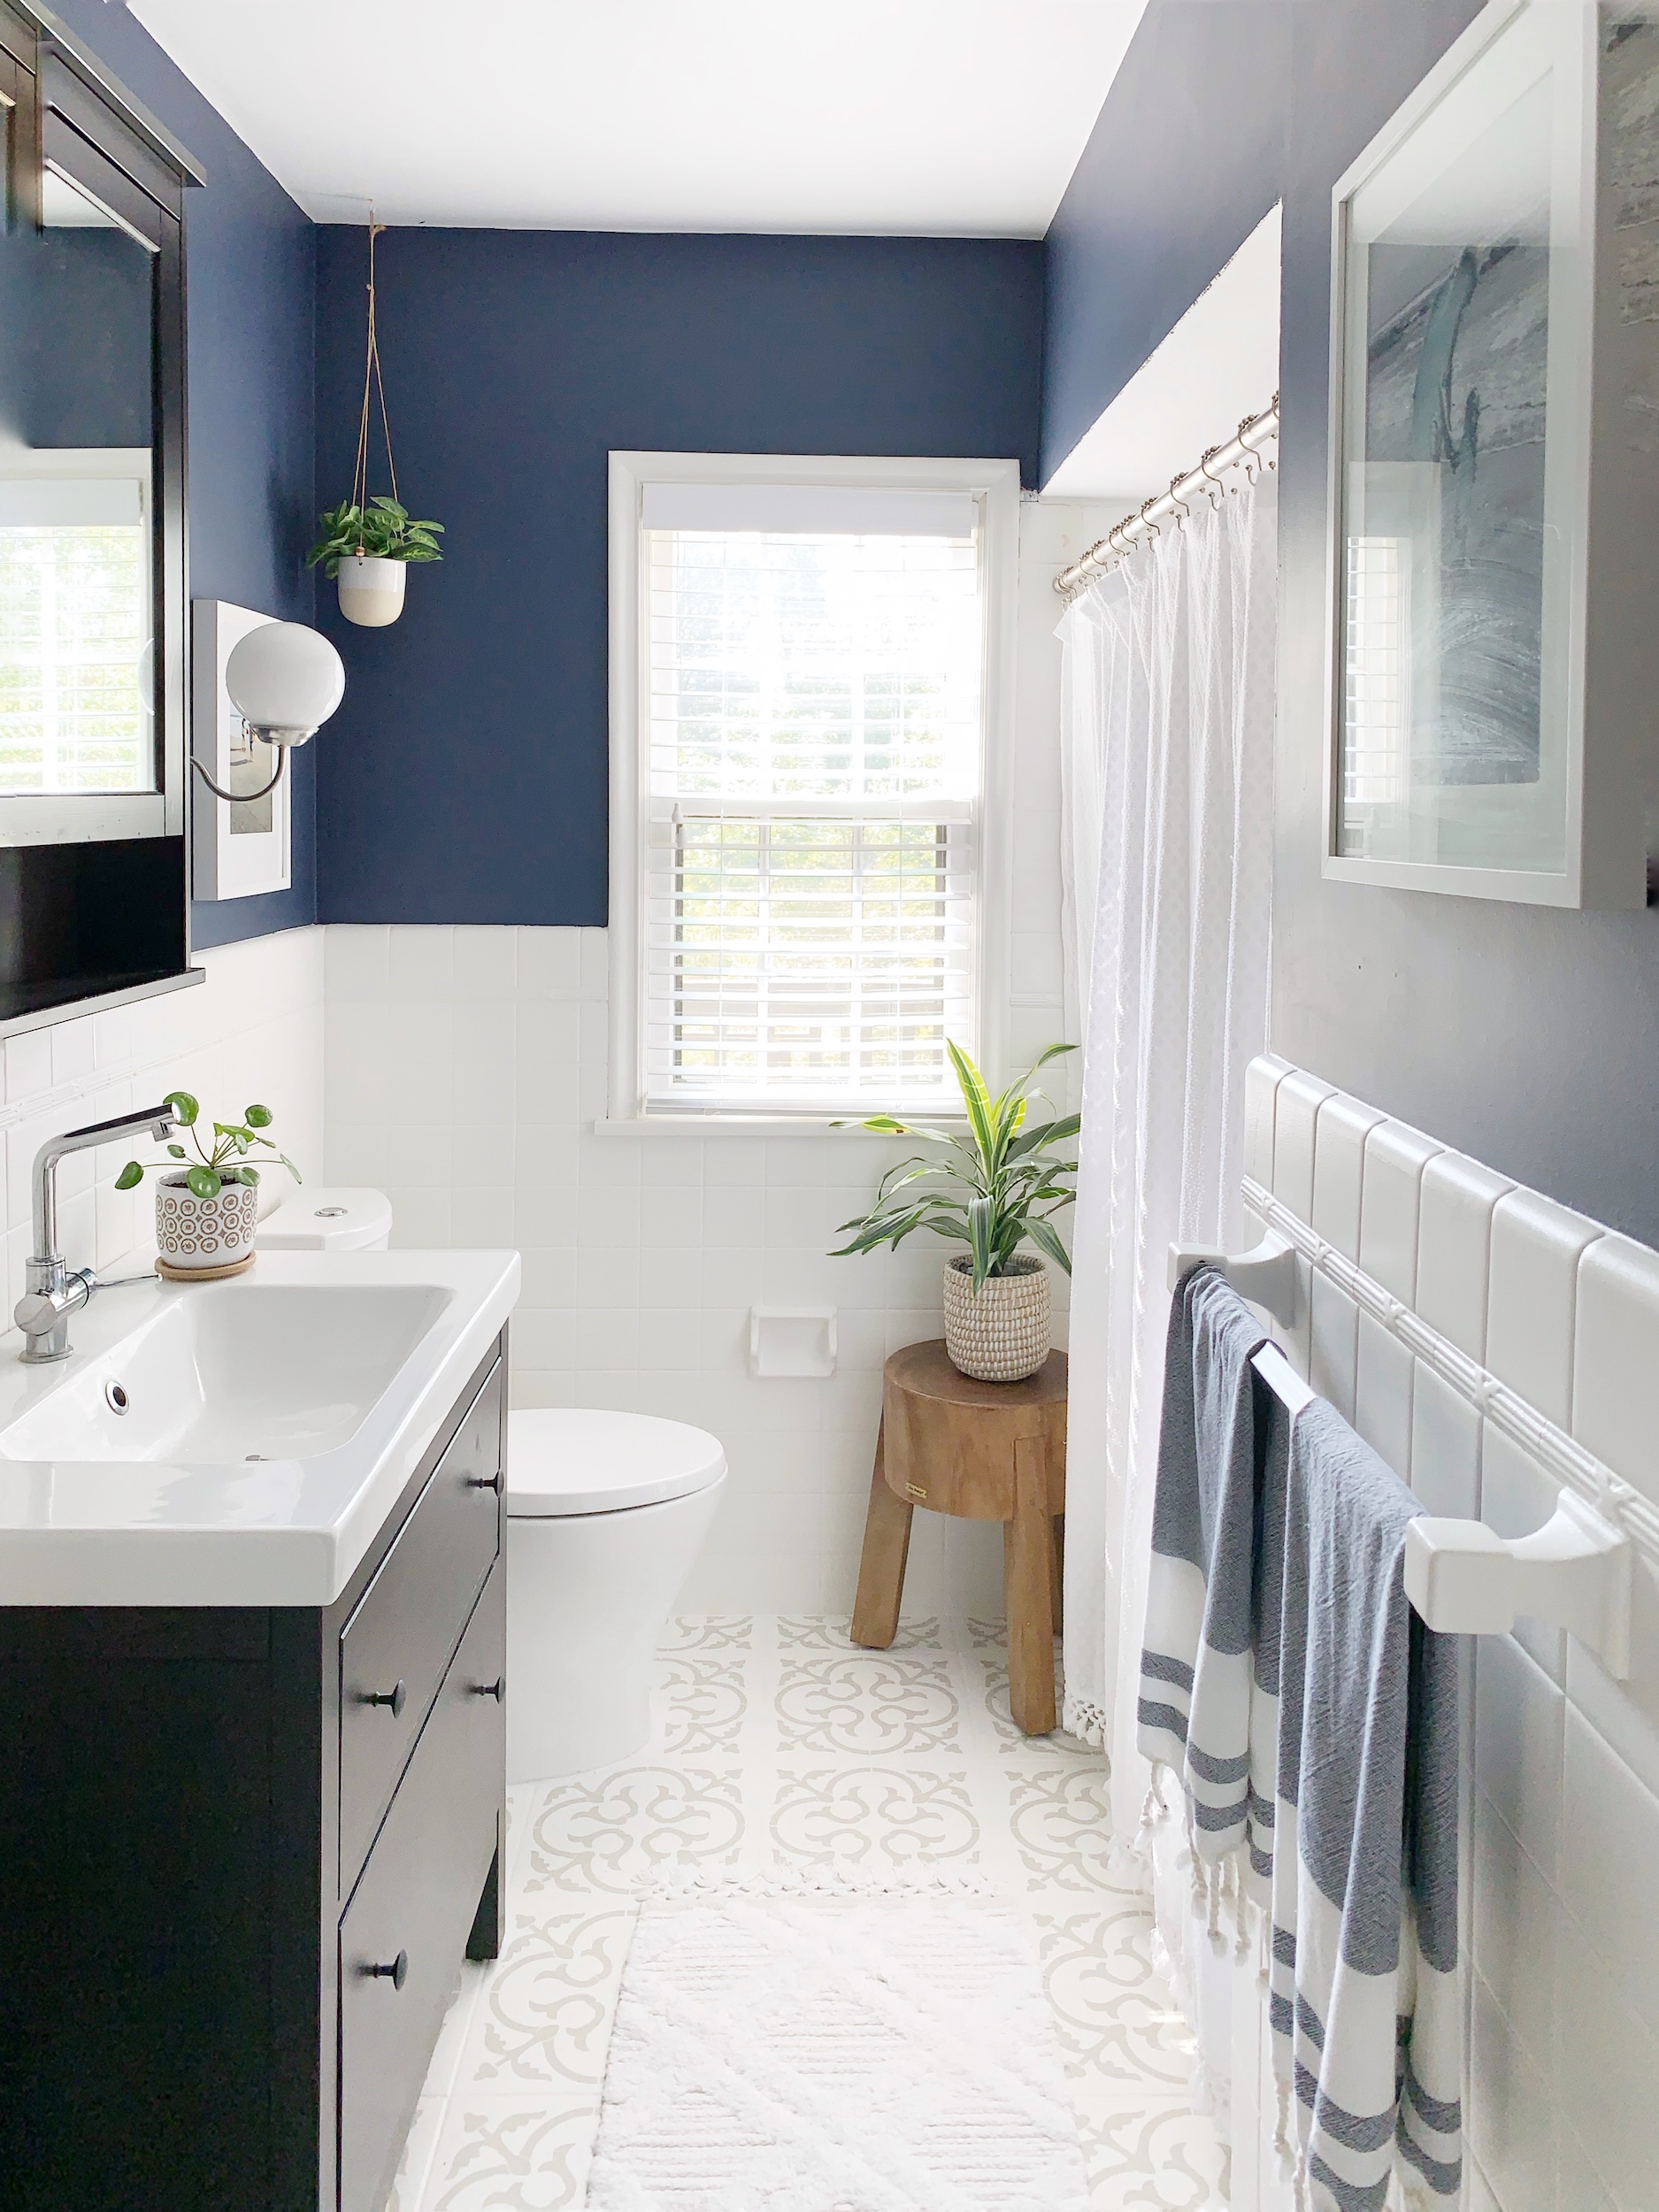
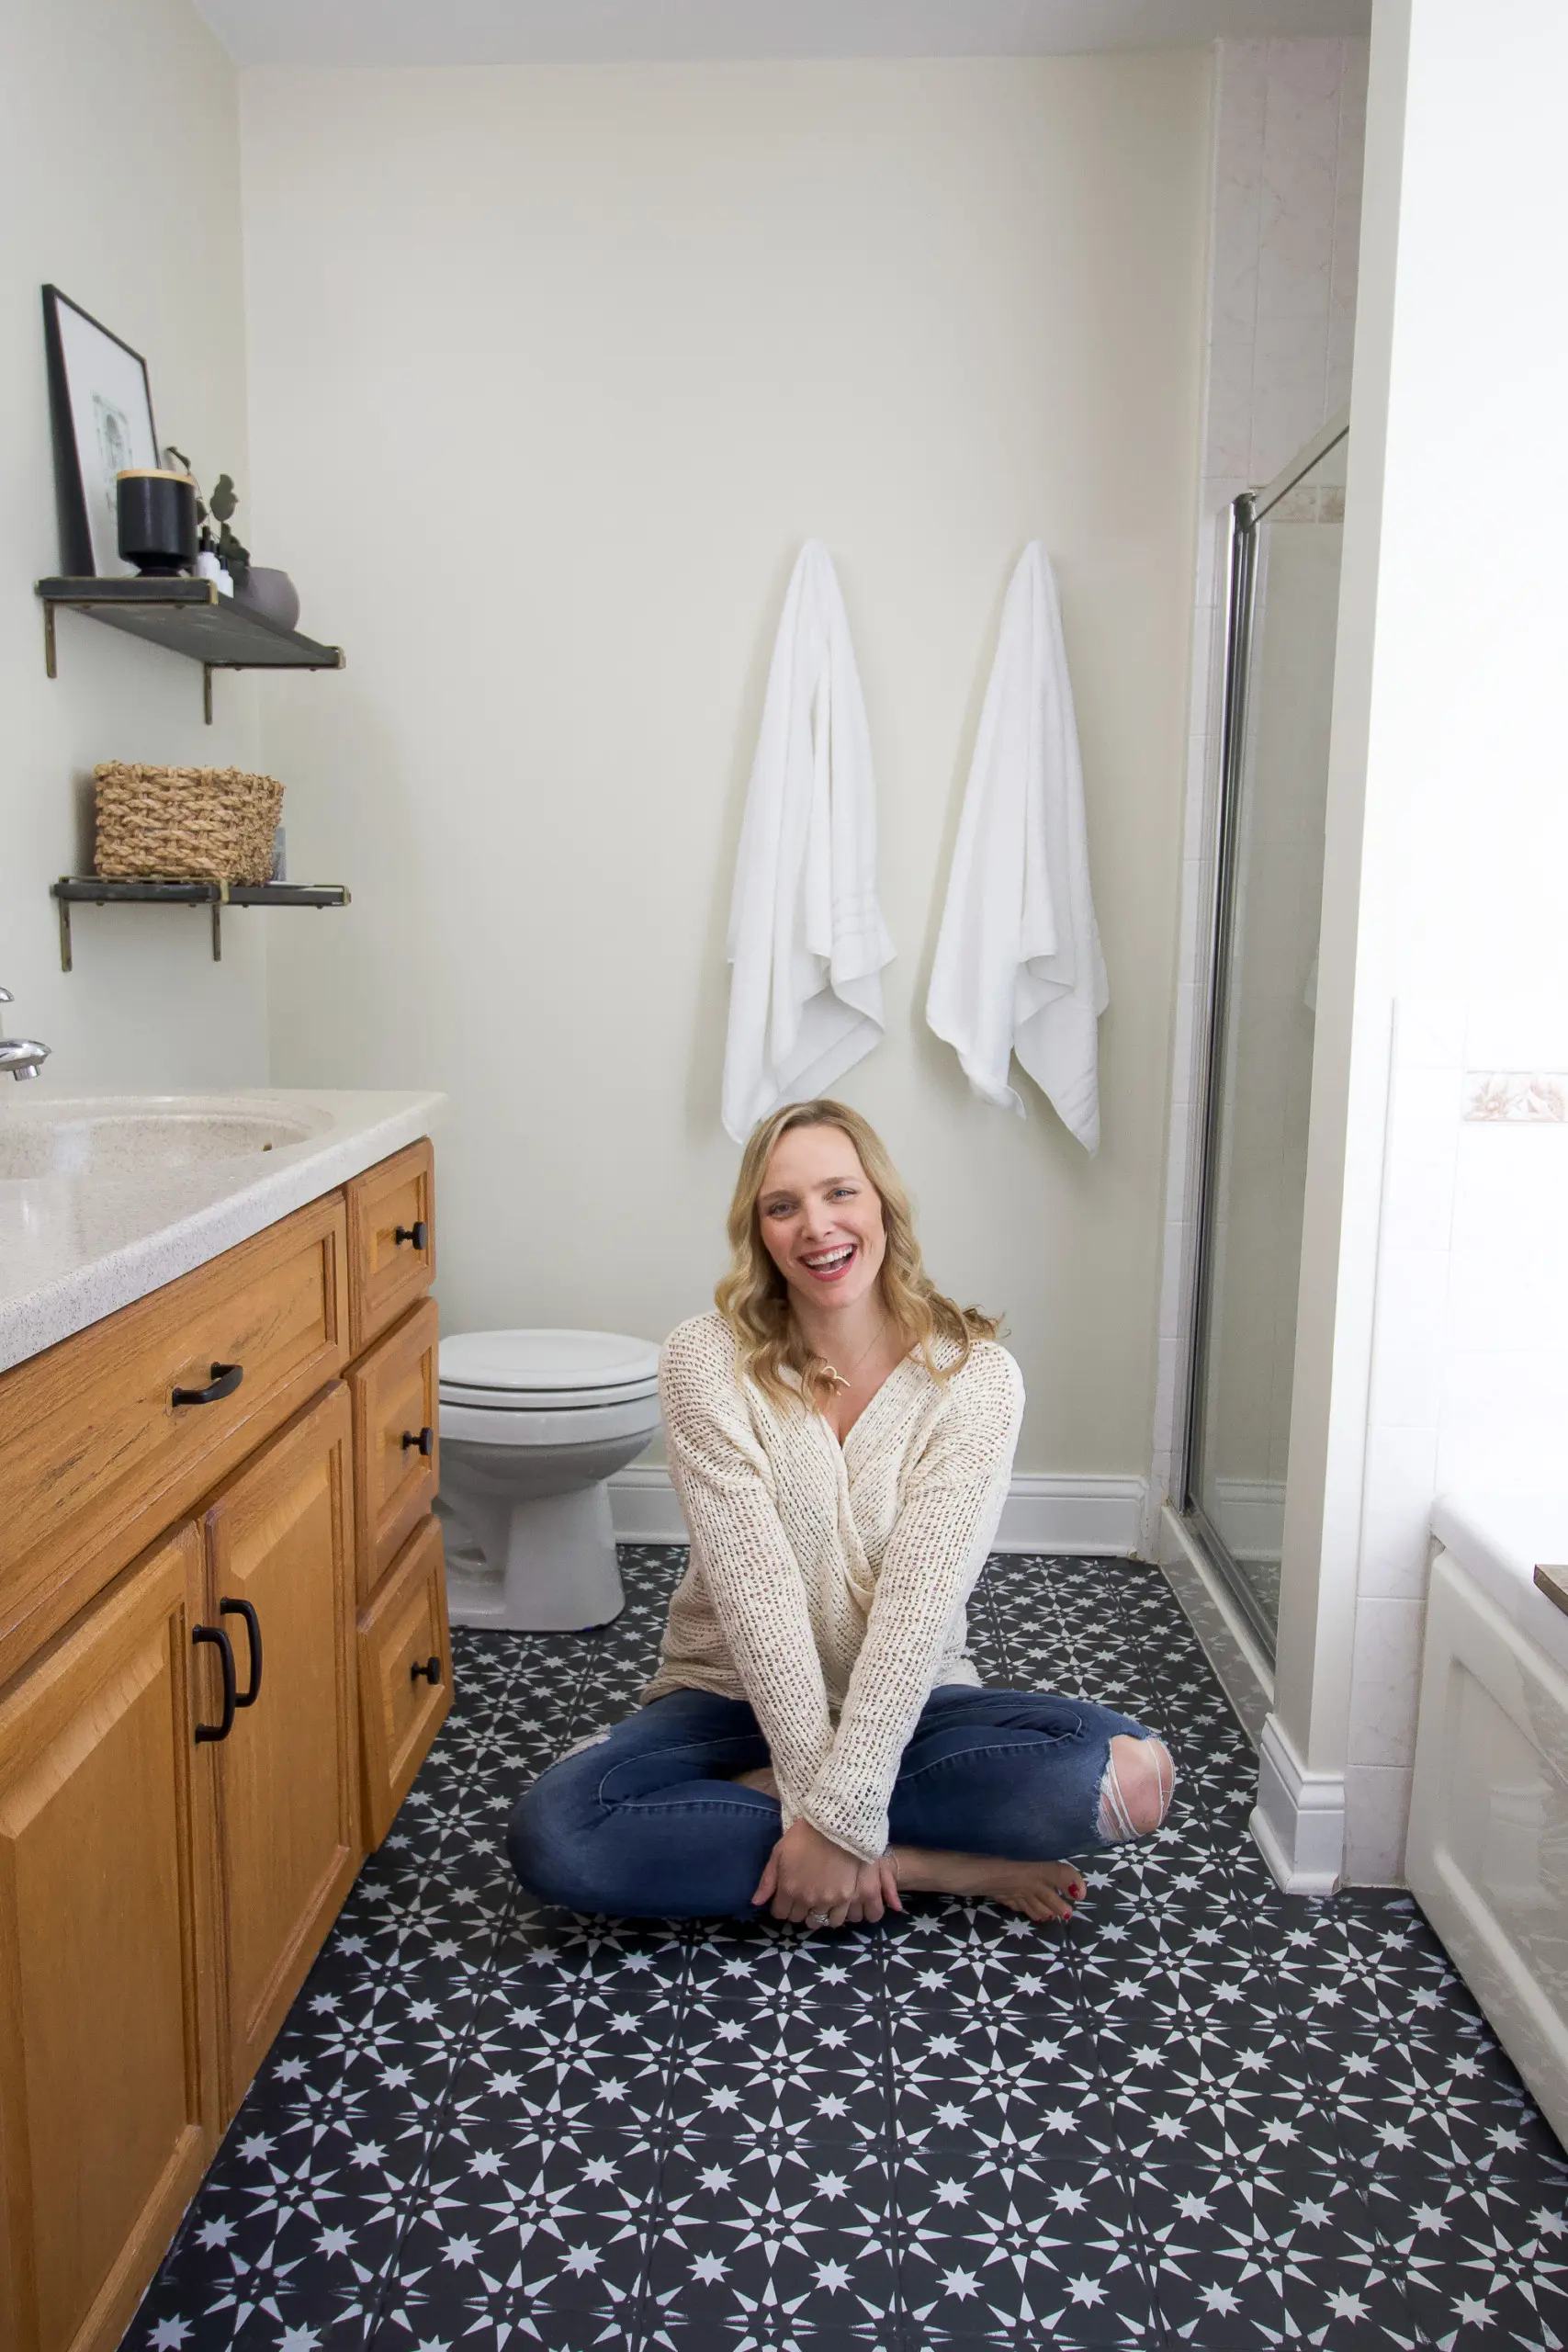
Introduction: Revamping Your Bathroom with a Fresh Look
The bathroom is often overlooked when it comes to home renovations, but a simple update can make a world of difference. Painting tiles is a cost-effective and creative way to breathe new life into your bathroom. In this article, we’ll explore the before and after transformations that can be achieved by painting tiles, along with tips and tricks for a successful DIY project.
Assessing Your Bathroom: Identifying Areas for Improvement
Before diving into a tile painting project, it’s essential to assess your bathroom and identify areas that could benefit from a refresh. Consider the following factors:
- Tile Condition: Examine the condition of your existing tiles, paying attention to any cracks, chips, or stains. Painting can help conceal minor imperfections and give your tiles a fresh, uniform appearance.
- Color Scheme: Evaluate the current color scheme of your bathroom and consider how painting the tiles could complement or enhance the overall aesthetic. Choose colors that coordinate with existing fixtures, cabinetry, and decor elements.
- Budget and Time Constraints: Determine your budget and time constraints for the project, taking into account the cost of materials, the scope of work, and the time required for preparation and painting.
- Personal Style: Consider your personal style preferences and the atmosphere you want to create in your bathroom. Whether you prefer a serene spa-like retreat or a bold and vibrant space, there are painting techniques and color options to suit every taste.
Preparing Your Tiles: Cleaning and Priming for Success
Proper preparation is key to achieving professional-looking results when painting tiles. Follow these steps to prepare your tiles for painting:
- Cleaning: Thoroughly clean the tiles with a mild detergent and water to remove dirt, grime, and soap scum. Use a scrub brush or sponge to ensure all surfaces are clean and free of debris. Allow the tiles to dry completely before proceeding.
- Sanding: Lightly sand the tiles with fine-grit sandpaper to create a slightly rough surface that will help the paint adhere. Be sure to wear a dust mask and goggles to protect yourself from airborne particles.
- Priming: Apply a high-quality primer designed specifically for use on tiles. Use a paint roller or brush to apply an even coat of primer to the tiles, taking care to cover all surfaces thoroughly. Allow the primer to dry completely before painting.
- Masking: Use painter’s tape to mask off any areas you don’t want to paint, such as fixtures, trim, and grout lines. This will ensure clean, crisp lines and prevent paint from accidentally getting where it shouldn’t.
Choosing Your Paint: Selecting the Right Type and Color
When painting tiles, it’s essential to choose the right type of paint for the job. Here are some options to consider:
- Epoxy Paint: Epoxy paint is a durable and water-resistant option that is specifically formulated for use on tiles. It provides excellent adhesion and long-lasting results, making it ideal for high-moisture areas like bathrooms.
- Acrylic Paint: Acrylic paint is another suitable option for painting tiles, especially if you’re looking for a wide range of color choices. However, acrylic paint may not be as durable or water-resistant as epoxy paint and may require additional sealing for protection.
- Color Selection: When choosing a paint color for your tiles, consider the overall aesthetic of your bathroom and the mood you want to create. Lighter colors can make a small space feel larger and more airy, while darker colors can add drama and sophistication.
Application Techniques: Achieving Professional-Looking Results
The key to a successful tile painting project is applying the paint correctly. Here are some techniques to help you achieve professional-looking results:
- Roller vs. Brush: Depending on the size and shape of your tiles, you may choose to use a paint roller or brush for application. A roller can cover large areas quickly but may not reach into tight spaces, while a brush allows for more precise application.
- Thin Coats: Apply thin, even coats of paint to the tiles, allowing each coat to dry completely before applying the next. Multiple thin coats will provide better coverage and adhesion than a single thick coat.
- Cross-Hatch Technique: To ensure thorough coverage and minimize brush or roller marks, use a cross-hatch technique. Apply the paint in one direction, then go over it again in a perpendicular direction to create a cross-hatch pattern.
- Drying Time: Allow the paint to dry completely between coats, following the manufacturer’s recommended drying time. Avoid rushing the process, as inadequate drying time can lead to poor adhesion and premature wear.
Finishing Touches: Sealing and Protecting Your Painted Tiles
Once the paint has dried completely, it’s essential to seal and protect your newly painted tiles to ensure long-lasting results. Consider the following finishing touches:
- Sealer: Apply a clear sealant or urethane topcoat to the painted tiles to protect them from moisture, stains, and abrasion. Be sure to choose a product that is compatible with the type of paint you used and follow the manufacturer’s instructions for application.
- Grout Renewal: Consider refreshing the grout lines between the tiles to enhance the overall appearance of your bathroom. Use a grout pen or grout paint to fill in any cracks or discoloration and create a clean, uniform look.
- Caulking: Replace any old or damaged caulking around the edges of the tiles to create a watertight seal and prevent water damage. Use a mildew-resistant silicone caulk for best results and allow it to dry completely before using the shower or bath.
- Accessorizing: Once the painted tiles have been sealed and protected, it’s time to add the finishing touches to your bathroom decor. Consider updating fixtures, adding artwork, and incorporating accessories that complement your new color scheme for a cohesive and stylish look.
Conclusion: Transforming Your Bathroom with Painted Tiles
In conclusion, painting tiles is a cost-effective and creative way to transform your bathroom and breathe new life into your space. By assessing your bathroom, preparing your tiles, choosing the right paint, applying the paint correctly, and finishing with sealing and protecting, you can achieve professional-looking results that will enhance the beauty and functionality of your bathroom for years to come. So roll up your sleeves, gather your supplies, and get ready to embark on a DIY journey that will leave your bathroom looking fresh, stylish, and rejuvenated.