
Introduction:
Tired of your outdated tiles but don’t have the budget for a full renovation? Fear not! With a little creativity and elbow grease, you can give your tiles a stunning makeover without breaking the bank. Painting tiles is a cost-effective solution that can completely transform the look of any space, whether it’s a kitchen backsplash, bathroom floor, or fireplace surround. In this comprehensive guide, we’ll walk you through the step-by-step process of painting tiles to achieve a budget-friendly refresh that will breathe new life into your home.
1. Assessing Your Tiles:
Before diving into the painting process, it’s essential to assess the condition of your tiles. Inspect them for any cracks, chips, or damage that may need to be repaired before painting. Additionally, consider the material of your tiles—while ceramic and porcelain tiles are ideal for painting, natural stone tiles may require special treatment. Take note of the current color and finish of your tiles, as this will influence the type of paint and primer you’ll need for the project.

2. Preparing the Surface:
Proper preparation is key to achieving a long-lasting and professional-looking finish. Start by thoroughly cleaning the tiles to remove any dirt, grease, or grime using a mild detergent and warm water. For stubborn stains or buildup, you may need to use a stronger cleaning solution or a degreaser. Once the tiles are clean, allow them to dry completely before proceeding to the next step. It’s also essential to mask off any adjacent surfaces, such as countertops or walls, to protect them from paint splatter.
3. Sanding and Priming:
To ensure proper adhesion, lightly sand the surface of the tiles with fine-grit sandpaper. This will roughen up the surface and create a better bond for the paint. After sanding, wipe away any dust with a tack cloth or damp rag. Next, apply a high-quality primer specifically designed for use on tiles. The primer will create a smooth and durable base for the paint to adhere to, as well as help to prevent any stains or discoloration from bleeding through.
4. Choosing the Right Paint:
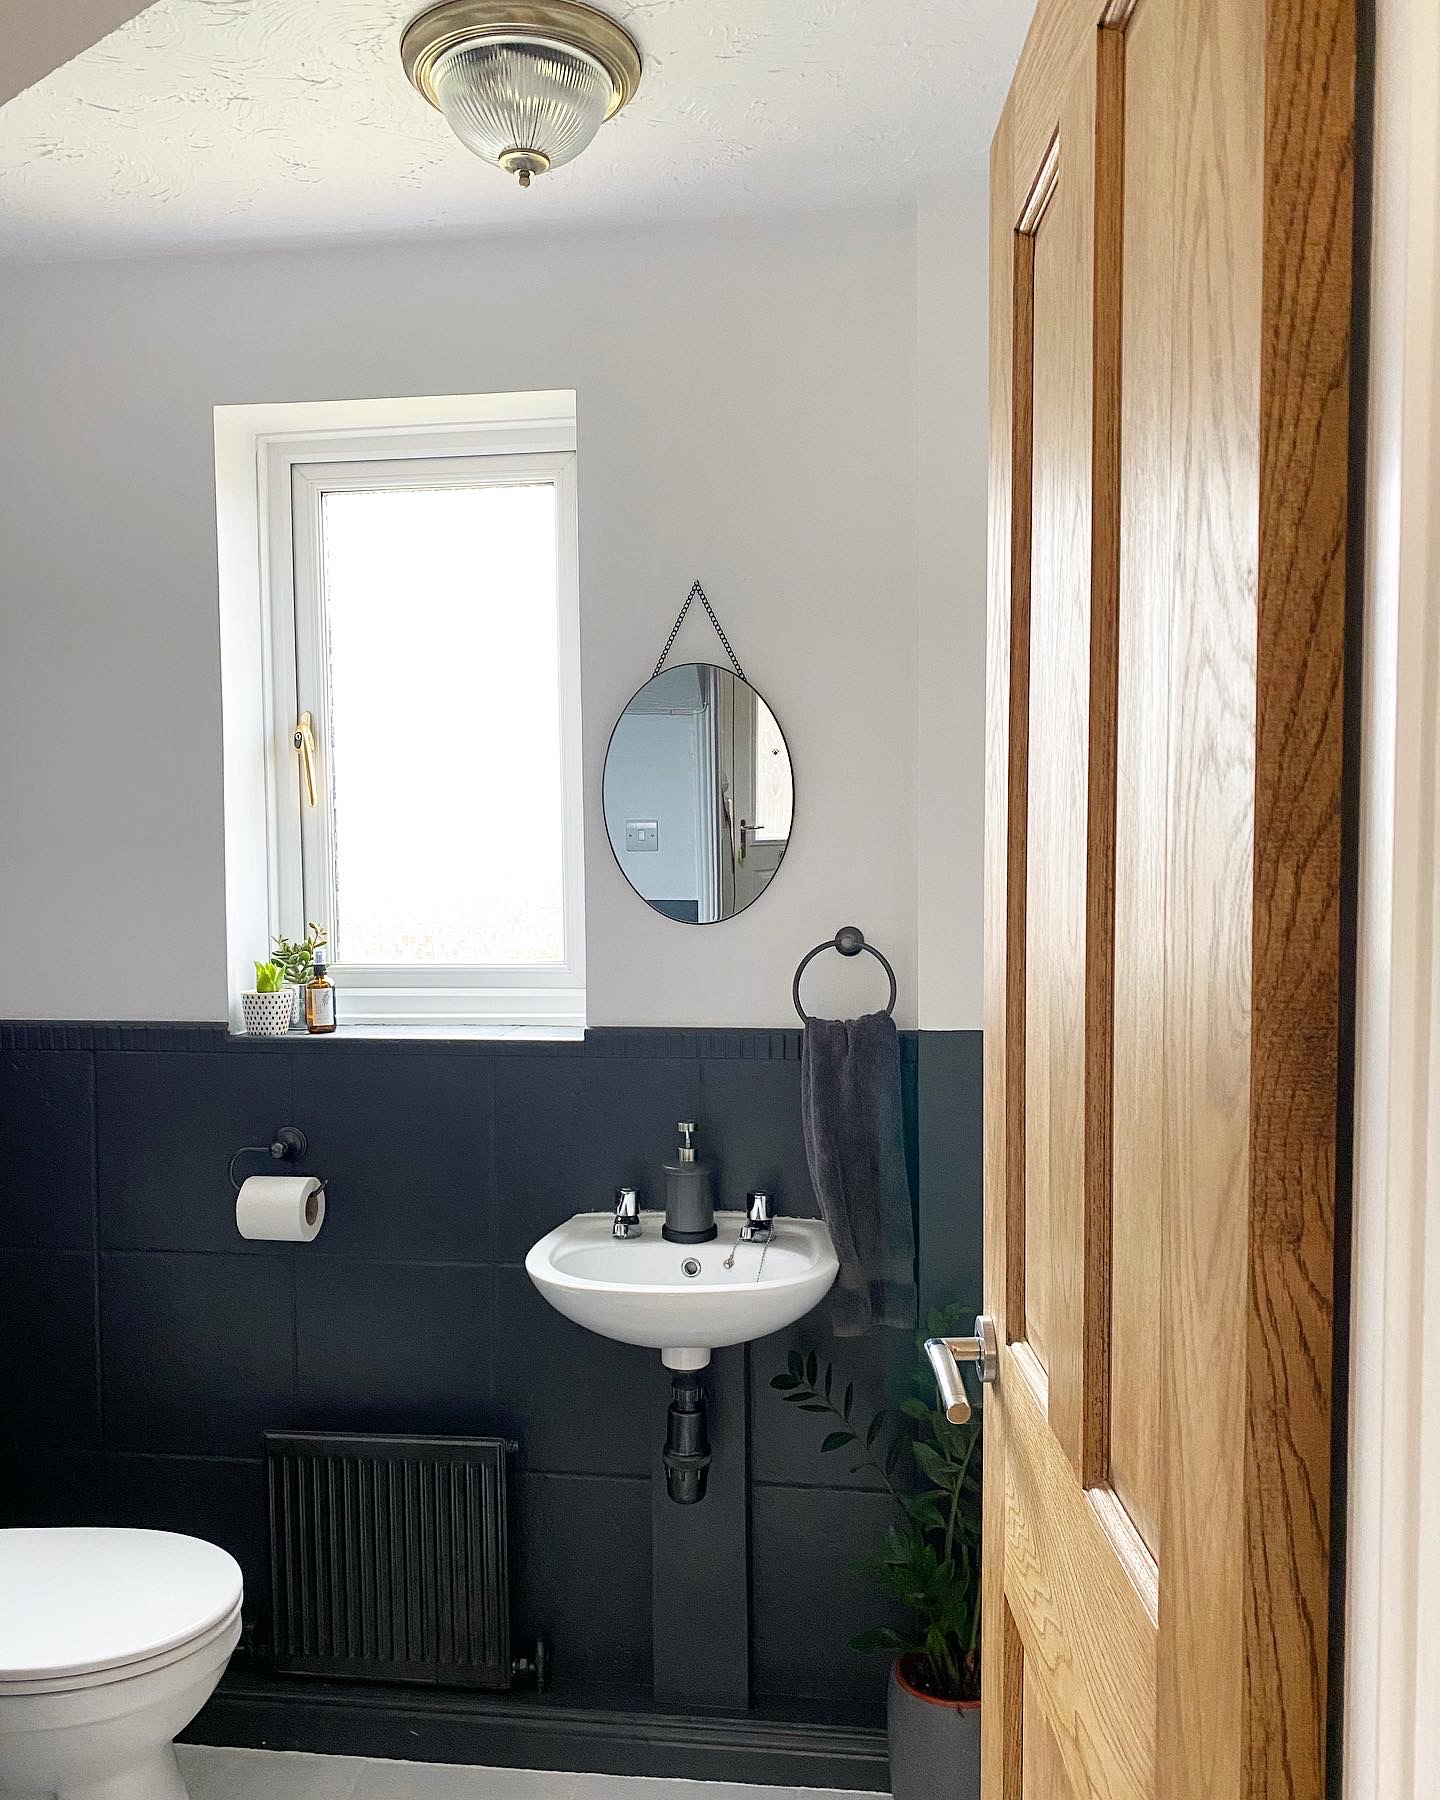
When it comes to painting tiles, not all paints are created equal. Opt for a paint specifically formulated for use on tiles, such as epoxy or enamel paint. These types of paint are highly durable and moisture-resistant, making them ideal for use in kitchens, bathrooms, and other high-moisture areas. Additionally, choose a paint color and finish that complements your existing decor and personal style. Whether you prefer a sleek and modern look or a classic and timeless aesthetic, there’s a paint color and finish to suit every taste.
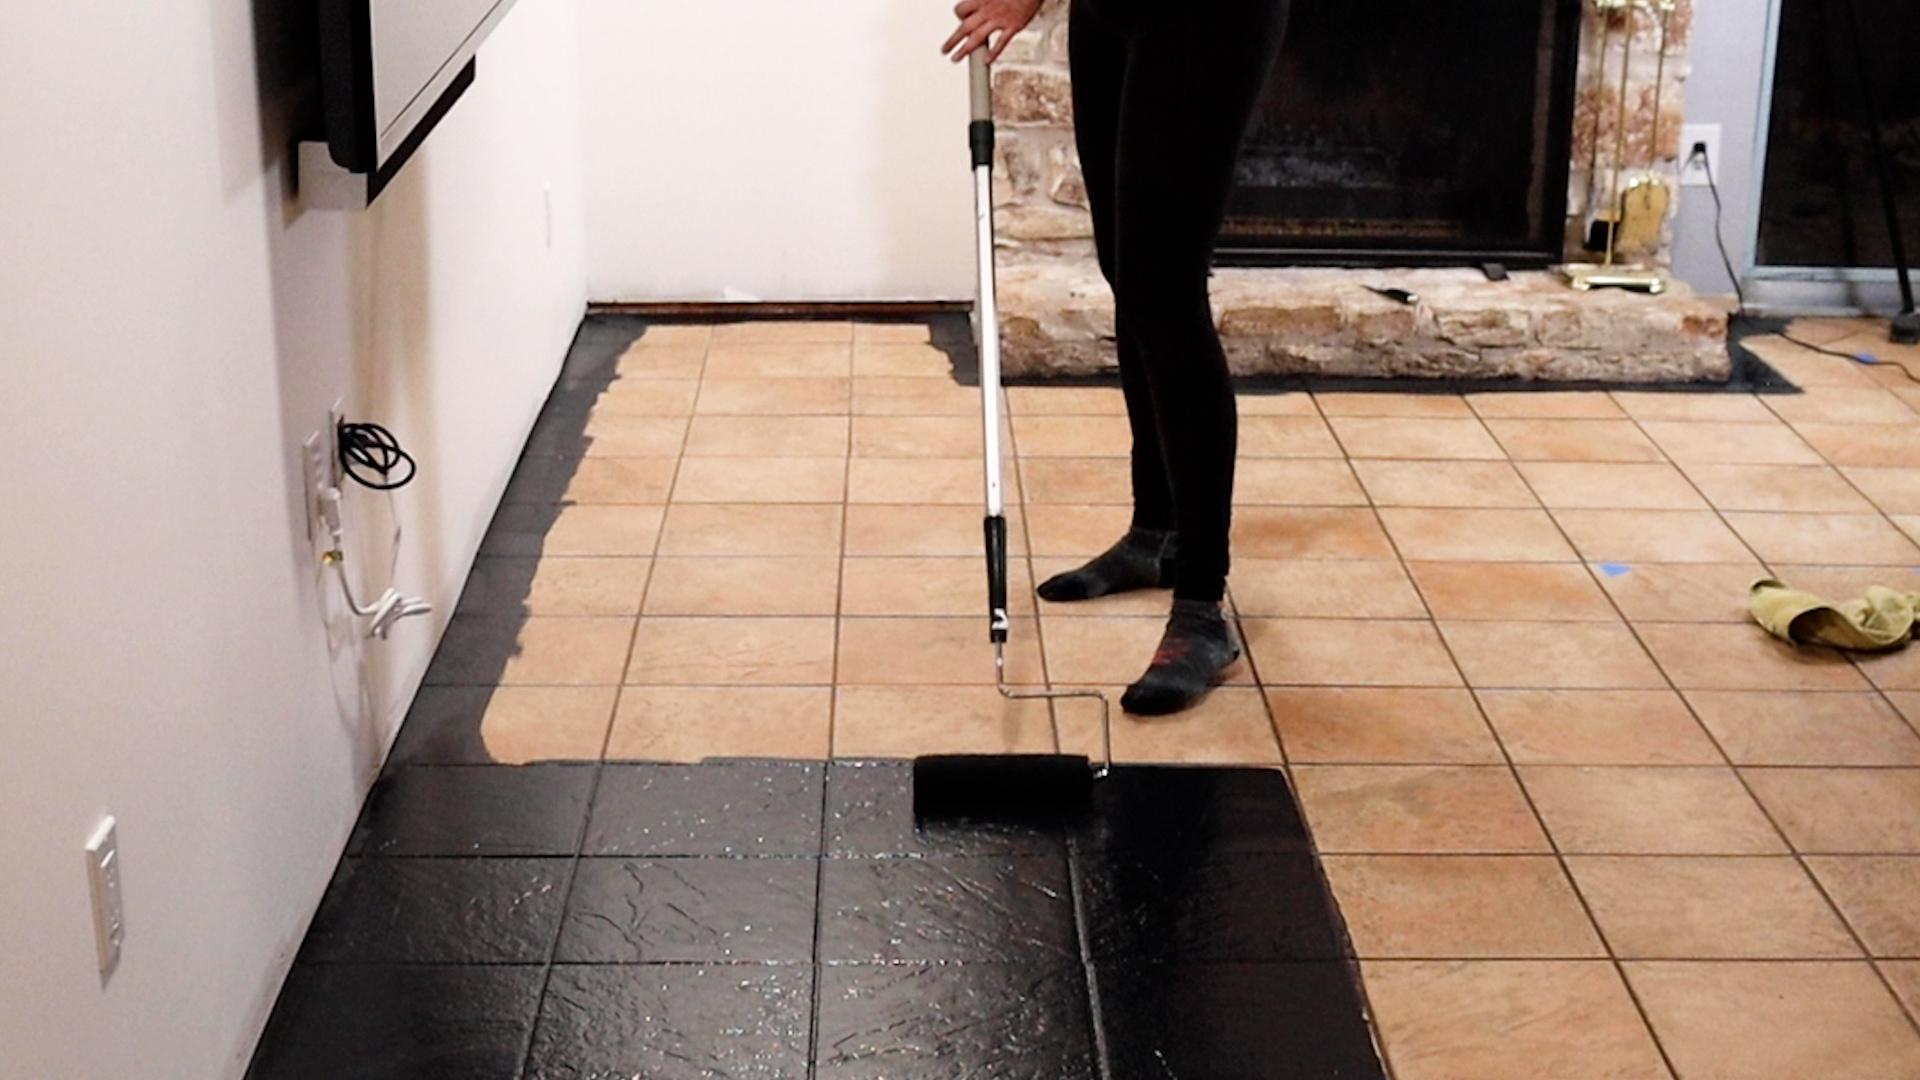
5. Applying the Paint:
Once the primer has dried completely, it’s time to apply the paint. Use a high-quality brush or roller to apply the paint evenly to the tiles, working in small sections at a time. Be sure to use smooth, even strokes to avoid streaks or brush marks. Depending on the color and coverage you desire, you may need to apply multiple coats of paint, allowing each coat to dry completely before applying the next. Take your time and be patient—the key to a professional-looking finish is thin, even coats of paint.
6. Adding Decorative Accents:
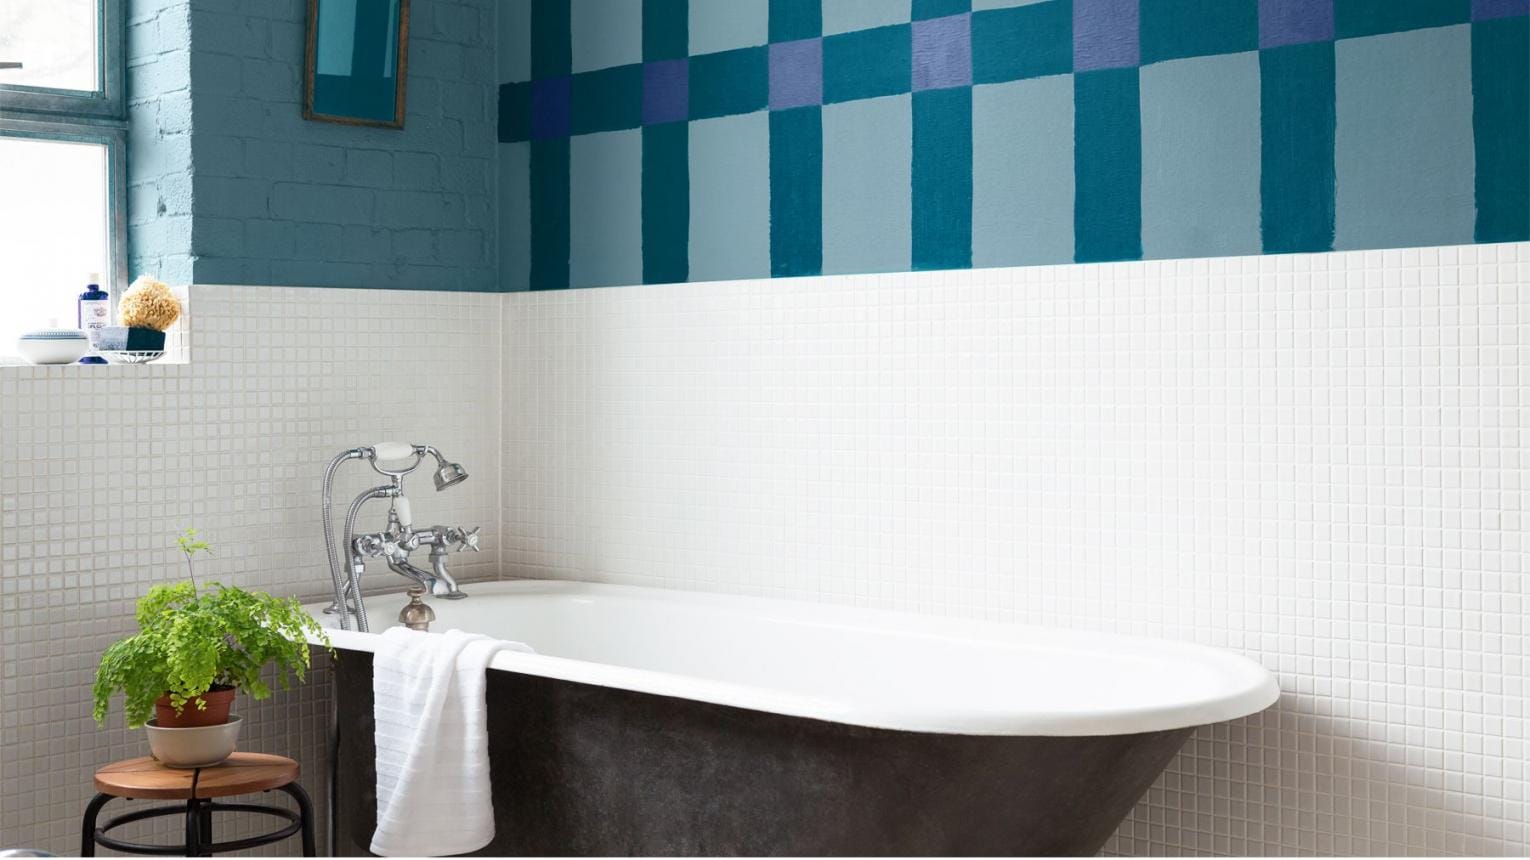
For an extra touch of style and personality, consider adding decorative accents to your painted tiles. Stencils, decals, or hand-painted designs can be used to create custom patterns and motifs that reflect your unique taste and aesthetic. Alternatively, consider using painter’s tape to create geometric shapes or borders for a modern and graphic look. Get creative and experiment with different techniques to achieve the desired effect.
7. Sealing the Paint:
Once the paint has dried completely, it’s essential to seal it with a clear, protective topcoat. This will help to protect the paint from chipping, scratching, and fading over time, ensuring a long-lasting and durable finish. Choose a topcoat specifically designed for use on painted tiles and follow the manufacturer’s instructions for application. Typically, this will involve applying multiple thin coats of topcoat with a brush or roller, allowing each coat to dry completely before applying the next.
8. Curing and Maintenance:
After sealing the paint, allow it to cure for the recommended period of time before exposing it to water or heavy use. This will ensure that the paint fully hardens and adheres to the tiles, providing maximum durability and longevity. Once cured, maintain your painted tiles by regularly cleaning them with a mild detergent and warm water, avoiding abrasive cleaners or scrubbing pads that may damage the finish. With proper care and maintenance, your painted tiles will continue to look beautiful for years to come.
9. Embracing Texture and Dimension:
For those looking to add depth and dimension to their painted tiles, consider incorporating texture into your design. Texture can be achieved through various techniques such as stippling, sponging, or using textured paint additives. These methods create visual interest and tactile appeal, elevating your painted tiles from flat surfaces to dynamic focal points within your space. Experiment with different textures and layering techniques to create a one-of-a-kind finish that adds character and personality to your home.
10. Exploring Color Psychology:
Color has the power to influence mood, perception, and atmosphere within a space. When choosing paint colors for your tiles, consider the principles of color psychology to create the desired ambiance. Cool tones like blues and greens evoke a sense of calm and serenity, making them ideal for bathrooms or relaxation areas. Warm hues like reds and yellows energize and invigorate, perfect for kitchens or areas where socialization is encouraged. Neutral shades provide versatility and timeless elegance, allowing other design elements to take center stage. By harnessing the psychological impact of color, you can create a space that not only looks beautiful but feels harmonious and balanced as well.
11. Incorporating Faux Finishes:
Faux finishes are a fantastic way to mimic the look of natural materials such as marble, granite, or wood on your painted tiles. Techniques like faux marbling, faux wood grain, or faux stone can add sophistication and luxury to your space at a fraction of the cost. These finishes are achieved using specialty paint products and application methods that replicate the intricate patterns and textures of real materials. Whether you desire the elegance of marble in your bathroom or the warmth of wood in your kitchen, faux finishes offer endless possibilities for customization and creativity.

Conclusion:
In conclusion, painting tiles is a cost-effective and creative way to refresh your space and breathe new life into your home. With the right materials, techniques, and a little bit of patience, you can achieve stunning results that rival those of a professional renovation—all without breaking the bank. So roll up your sleeves, unleash your inner artist, and transform your tiles into works of art that you’ll love for years to come. Happy painting!