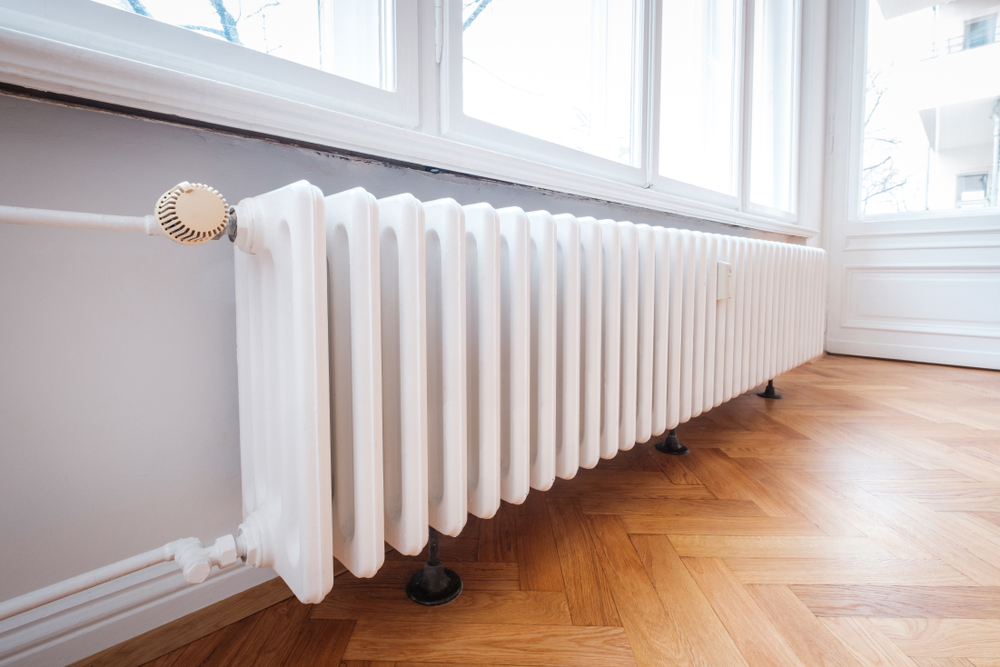
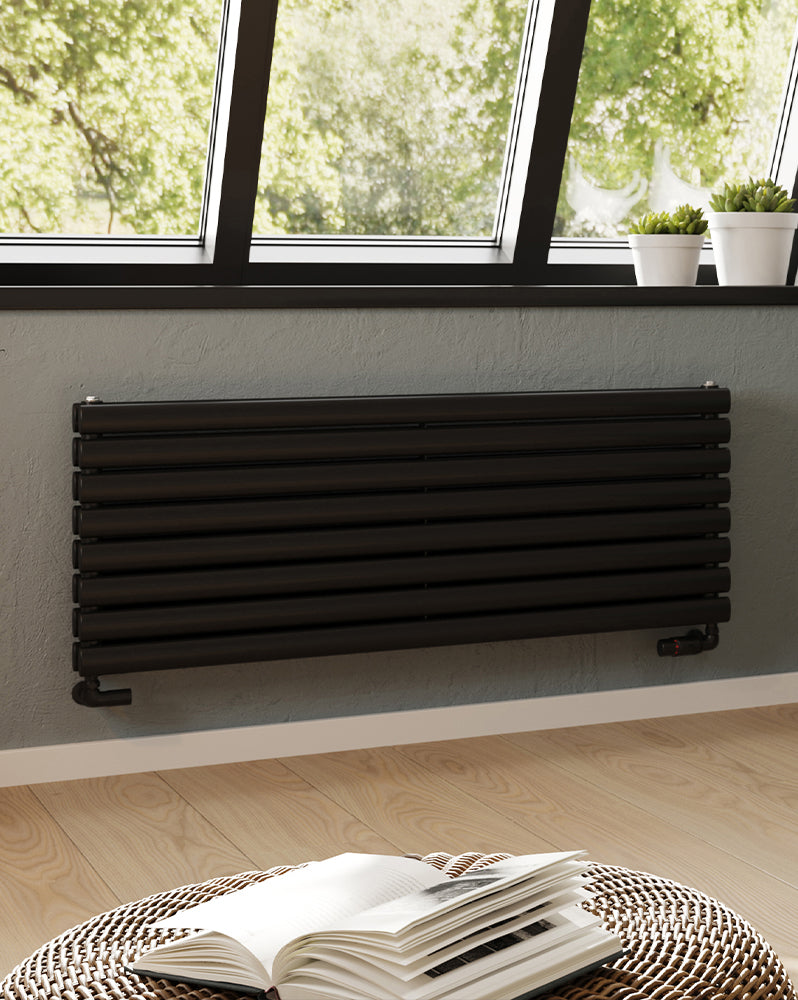
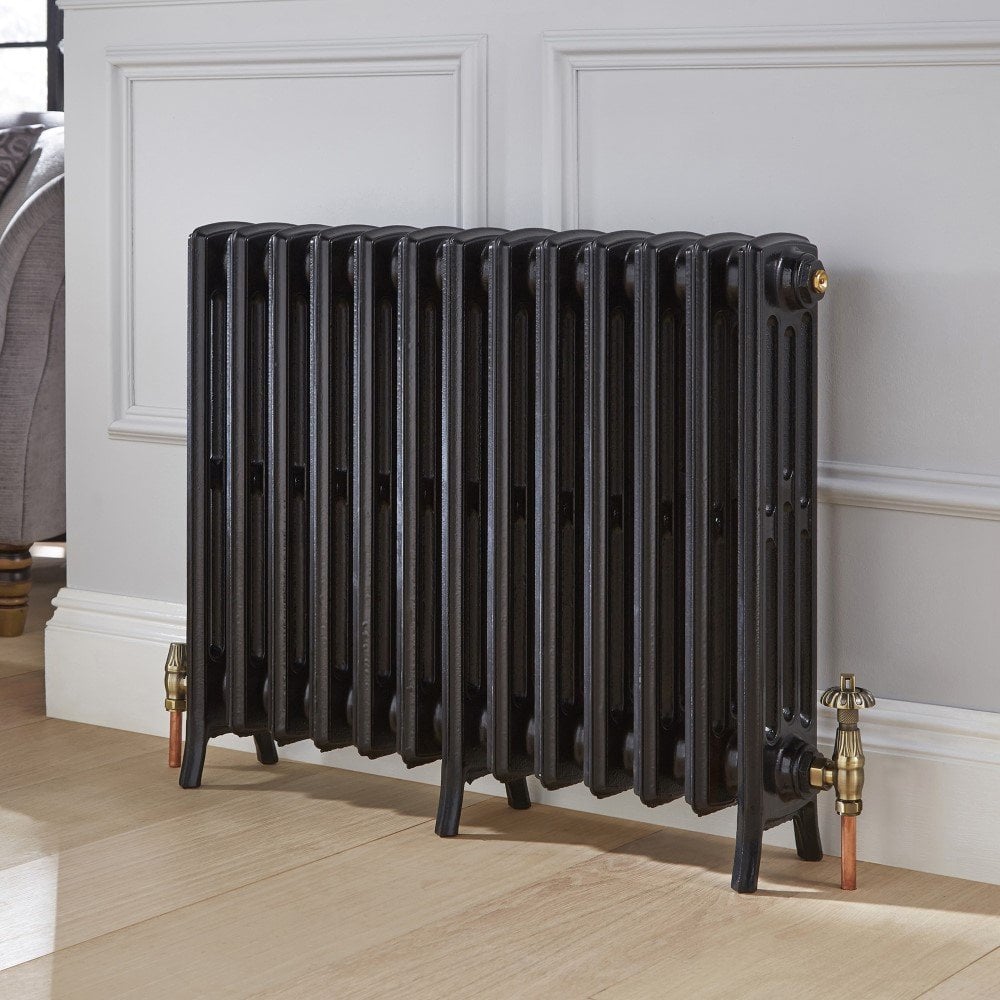
Radiators are essential components in many heating systems, providing warmth and comfort during chilly seasons. However, when they start to leak, they can quickly turn from a source of coziness into a frustrating problem. A dripping radiator not only wastes energy and water but also poses the risk of water damage to your floors and walls. In this comprehensive guide, we’ll delve into troubleshooting techniques for identifying the root cause of leaks and outline step-by-step instructions for fixing them, ensuring that your radiator is back to its leak-free state.
Understanding the Anatomy of a Leak
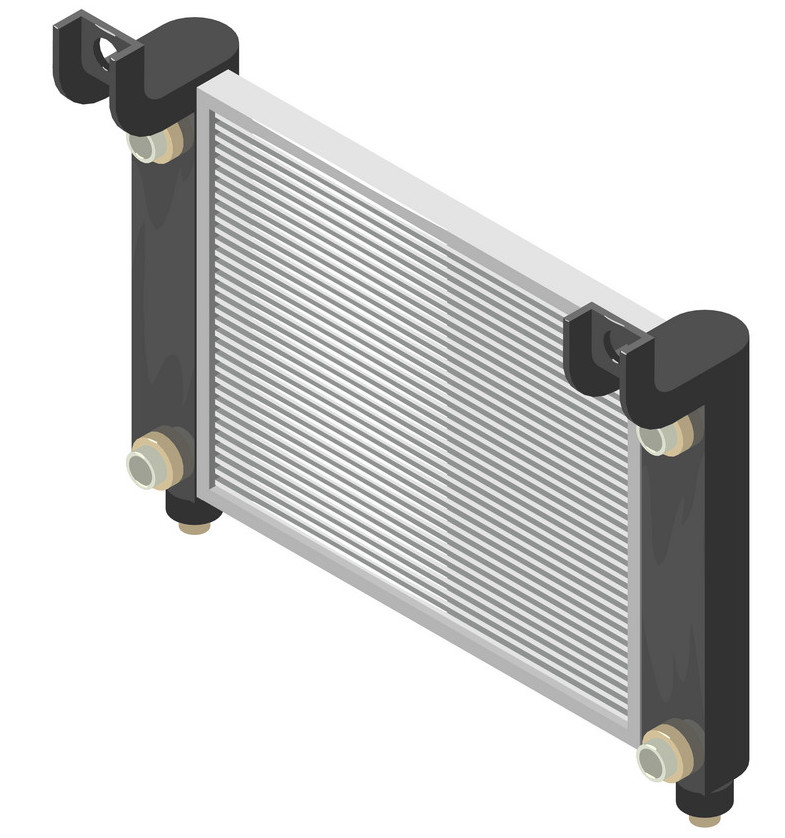
Before diving into repairs, it’s crucial to understand the basics of how a radiator works and where leaks typically occur. Radiators are essentially heat exchangers, transferring heat from hot water or steam into the room. They consist of a network of pipes, valves, and sometimes a reservoir (in the case of steam radiators), all of which can potentially develop leaks.
The most common points of leakage include:
- Valve joints
- Seams between sections (for column radiators)
- Pipe connections
- Radiator tank (for steam radiators)
Diagnosis: Identifying the Source
Inspecting the Scene Begin by thoroughly inspecting the radiator and surrounding area. Note the exact location of the drip and any signs of rust or corrosion nearby. Turn off the heating system to prevent further leakage and allow the radiator to cool before proceeding.
Pressure Testing If the source of the leak isn’t immediately apparent, a pressure test can be conducted. This involves isolating the radiator from the heating system, filling it with water, and pressurizing it to detect any leaks. It’s a task best left to professionals due to the specialized equipment required.
Valve Check Leaky valves are a common culprit. Carefully examine both the inlet and outlet valves for any signs of moisture or dripping. A faulty valve might simply need tightening or replacing.
Assessing the Damage Once the source is identified, assess the severity of the damage. Minor leaks might be sealed with epoxy putty or specialized radiator sealants, while more extensive corrosion might necessitate part replacement or even a new radiator.

Repair Strategies: From Simple Fixes to Professional Interventions
Tightening Valves and Connections If the leak stems from loose valves or pipe connections, use a wrench to gently tighten them. Over-tightening can strip threads or crack the valve body, so be cautious.
Sealing Minor Leaks For small holes or hairline cracks, apply a radiator-specific sealant following the manufacturer’s instructions. These products are designed to cure when exposed to heat, effectively sealing the leak.
Replacing Valves and Parts When valves are beyond repair or if a section of the radiator has corroded significantly, replacement is necessary. Turn off the central heating, drain the radiator, and disconnect the faulty component. Install the new valve or part, ensuring a proper fit and tight seals.
Re-Soldering Seams Leaks from seams in cast iron or sectional radiators might require re-soldering. This is a job for an experienced plumber or heating engineer, as it involves applying heat to melt solder and create a watertight seal.
Dealing with Steam Radiator Tanks Leaking steam radiators often have issues with their air vents or water tanks. Cleaning or replacing the vent and draining the tank to check for cracks or holes is the first step. Repairs might involve soldering or using specialized repair kits.
Preventive Maintenance: Staying Ahead of Leaks
Regular Inspections Annual inspections can help catch potential leaks early on. Look for signs of rust, corrosion, and ensure all connections are secure.
Flushing and Bleeding Flushing the system annually removes sludge and debris that can corrode internal parts. Bleeding the radiators removes trapped air, improving efficiency and reducing stress on the system.
Lubrication Apply a light coat of plumber’s grease to valve stems to prevent seizing and ensure smooth operation.
Protective Coatings Applying a rust inhibitor or protective coating to the exterior of the radiator can slow down corrosion, especially for older units.
Enhancing Efficiency Post-Repair: Tips for Optimizing Your Radiator’s Performance
After successfully repairing a leaky radiator, it’s important to optimize its performance to ensure efficient heating and longevity. Here are some additional steps you can take:
- Balancing the Radiator System: Uneven heating throughout your home could indicate that your radiators aren’t balanced properly. Balancing involves adjusting the flow of hot water to each radiator so that all rooms heat up evenly. This usually involves using a lockshield valve on each radiator to regulate the flow.
- Insulating Pipes and Radiators: Heat loss through uninsulated pipes and around the radiator itself can reduce heating efficiency. Wrap exposed pipes with foam insulation sleeves, and consider placing reflective foil behind radiators, especially those mounted on external walls. This helps to reflect heat back into the room rather than letting it escape through the wall.
- Upgrade Thermostatic Radiator Valves (TRVs): If your system allows, upgrading to TRVs gives you room-by-room temperature control. These valves automatically adjust the flow of hot water based on the room’s temperature, saving energy and improving comfort.
- Use Radiator Reflectors: Installing simple foil reflectors behind your radiators can improve heat reflection by up to 50%, directing more warmth into the room and reducing energy consumption.
- Keep Furniture Layout in Mind: Avoid blocking radiators with furniture as this can impede heat circulation. Ensure there’s enough space around your radiators for air to circulate freely, maximizing their effectiveness.
- Regular Cleaning: Dust and debris can accumulate on radiator fins, reducing their ability to emit heat efficiently. Use a soft brush or vacuum cleaner attachment to gently clean the surface and fins periodically.
-
Monitor Room Humidity: High humidity can lead to increased condensation, which over time can corrode radiator surfaces. Using a dehumidifier or ensuring proper ventilation can help maintain a healthy humidity level and protect your radiator.

Conclusion: A Leak-Free Future
Addressing a dripping radiator promptly not only saves you money on wasted energy and potential repairs but also safeguards your home against water damage. By understanding the causes of leaks, employing effective diagnostic techniques, and executing the right repairs, you can restore your radiator to full functionality. Remember, prevention is key; regular maintenance goes a long way in avoiding leaks altogether. With the guidance provided here, you’re well-equipped to tackle radiator leaks head-on, ensuring a warm and worry-free environment for years to come.