Introduction: The Art of Concealing to Reveal Beauty
In the quest for the perfect blend of aesthetics and functionality, DIY radiator covers have emerged as a popular home improvement project. These clever disguises not only enhance the visual appeal of often-unsightly heating elements but also contribute to energy efficiency and safety within the home. With a dash of creativity and some practical guidance, transforming functional radiators into fabulous design features is well within reach. This comprehensive guide delves into the world of DIY radiator covers, equipping you with the knowledge and inspiration needed to embark on your own transformational journey.
Understanding the Benefits Beyond Beauty
The allure of DIY radiator covers extends far beyond superficial enhancement. Firstly, they act as insulators, directing heat into the room rather than allowing it to escape through exterior walls, thus improving energy efficiency and potentially reducing heating costs. Secondly, covers provide a much-needed safety barrier, protecting children and pets from accidental burns. Additionally, they minimize dust accumulation around the radiator, improving air quality and reducing cleaning efforts. Lastly, covers offer a versatile canvas for personal expression, seamlessly integrating heating systems into your interior decor scheme.
Design Inspiration: From Classic to Contemporary
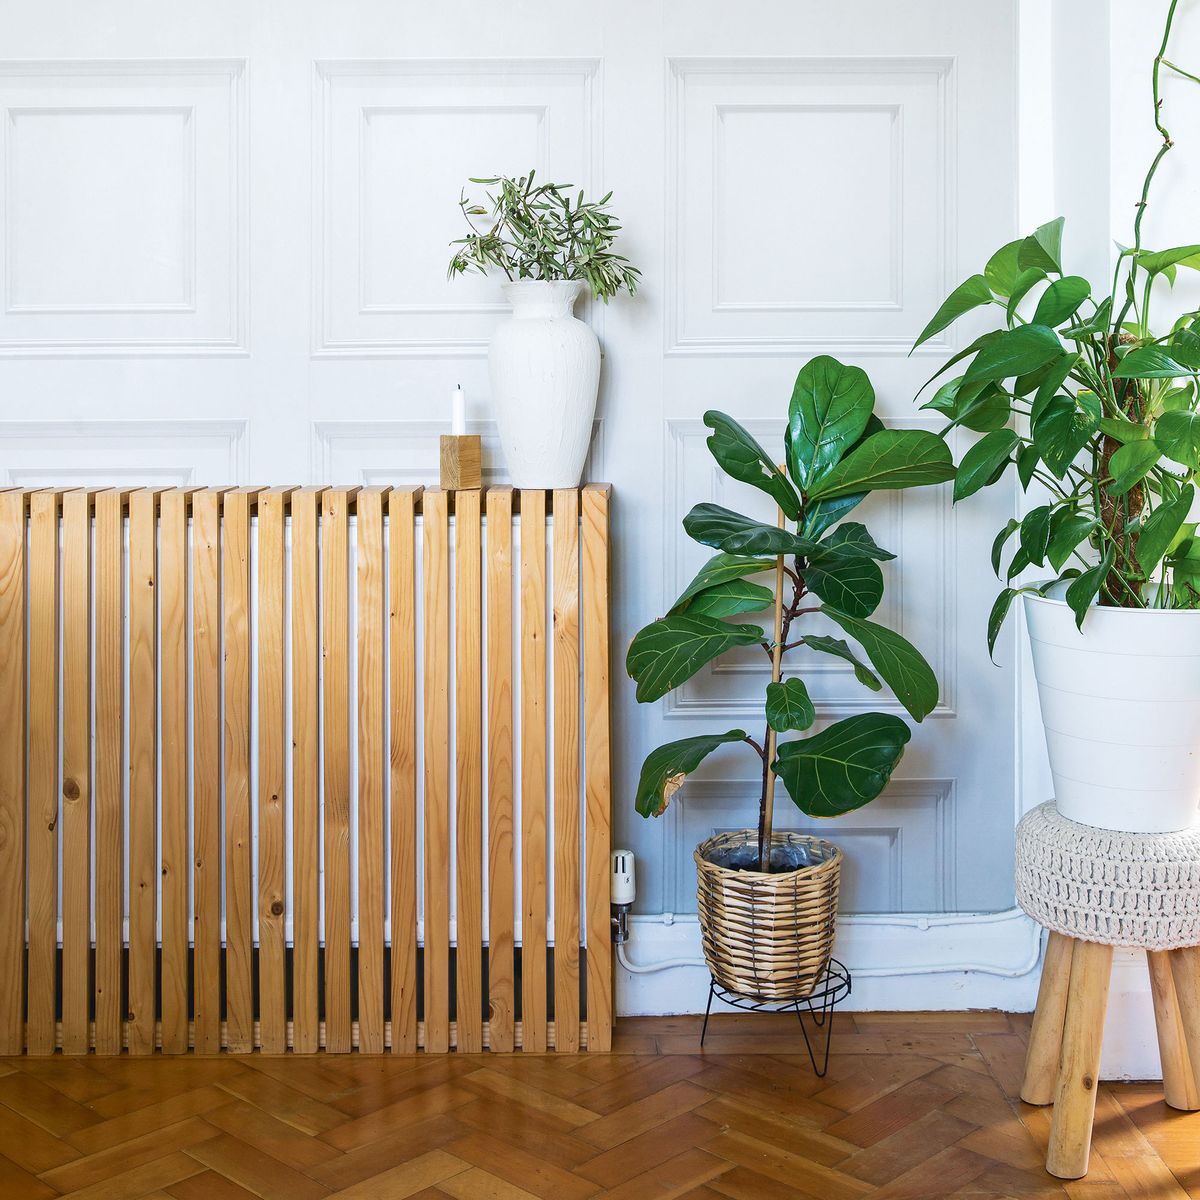
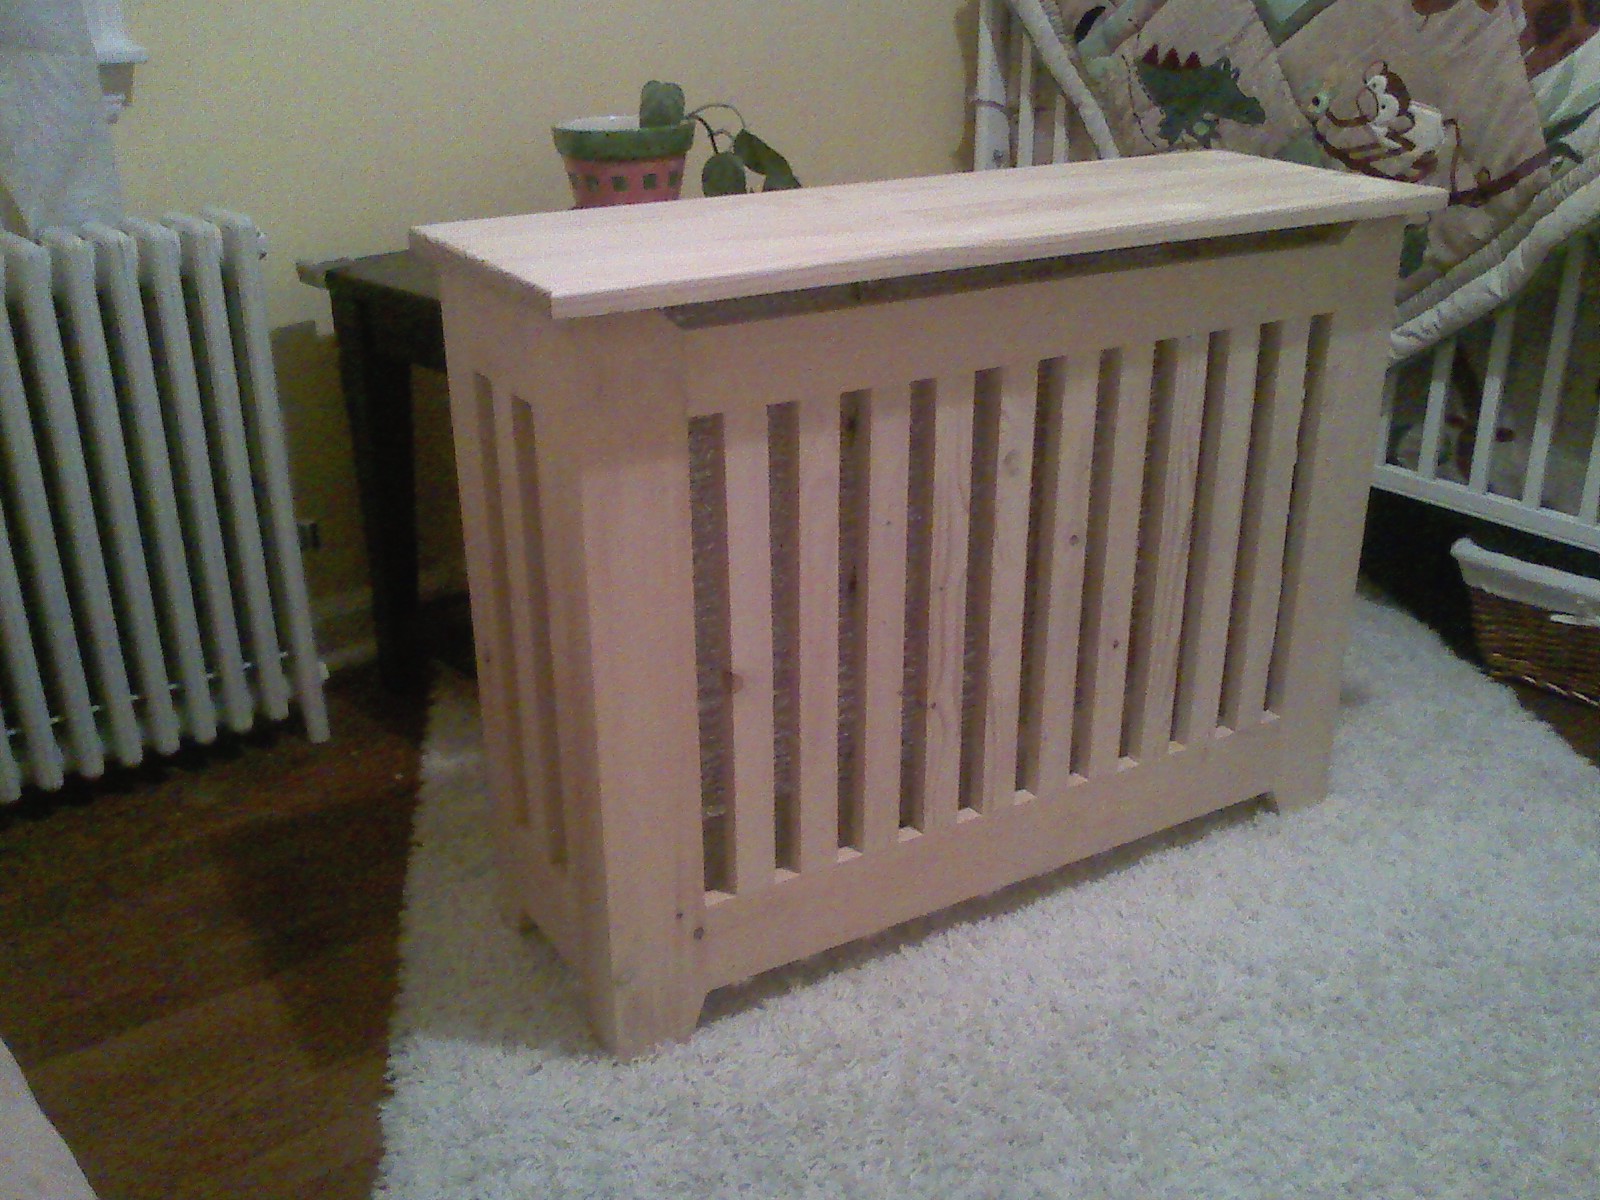
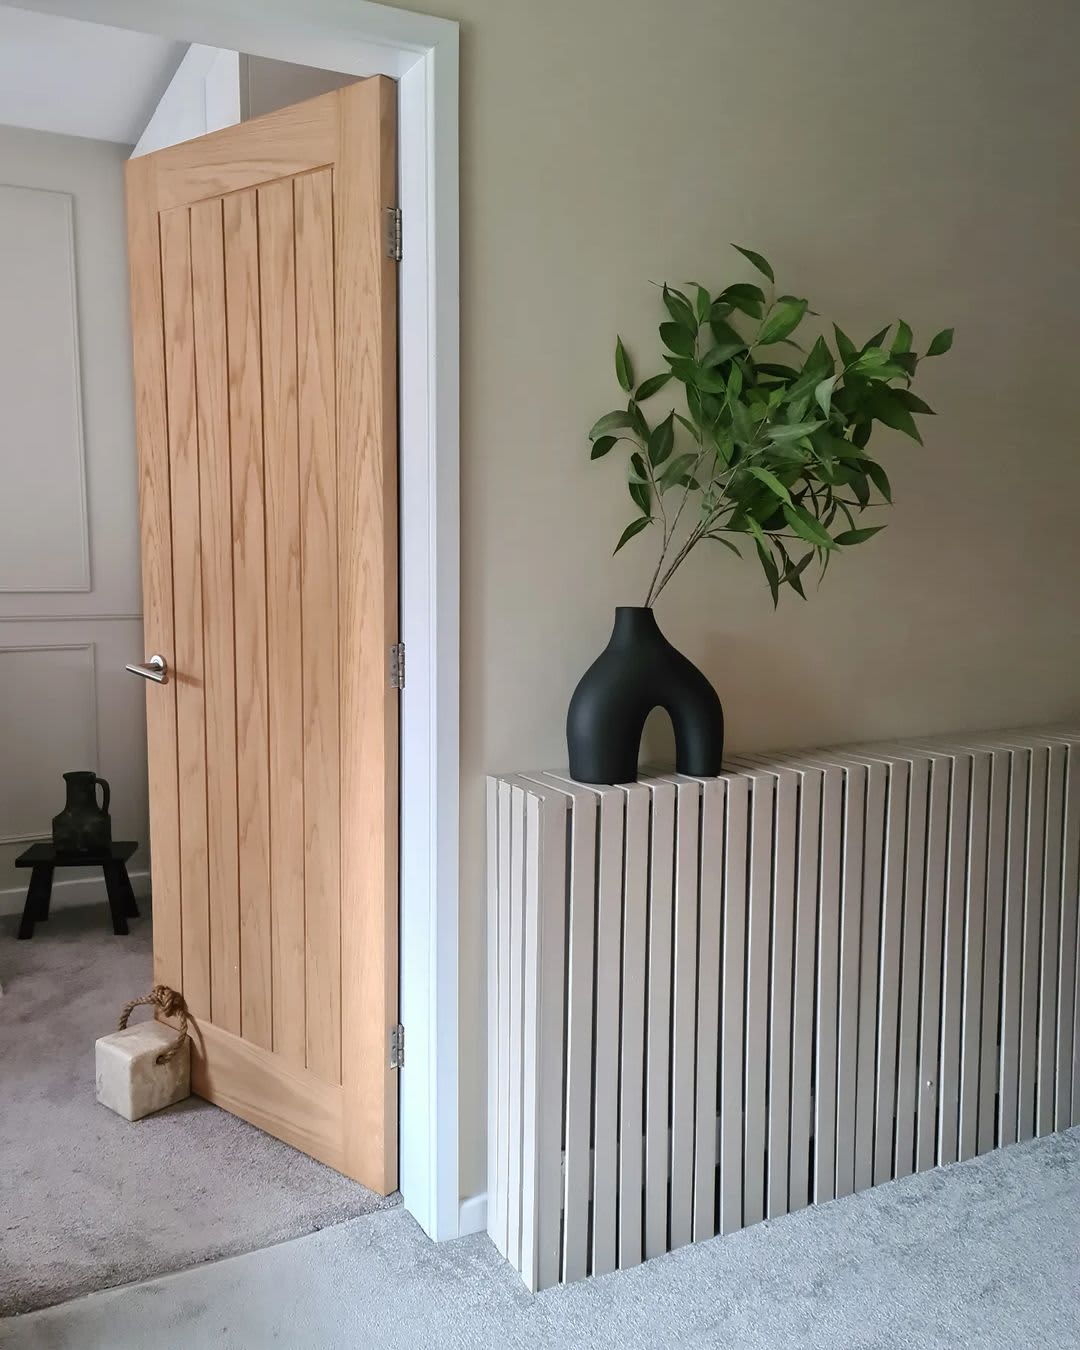
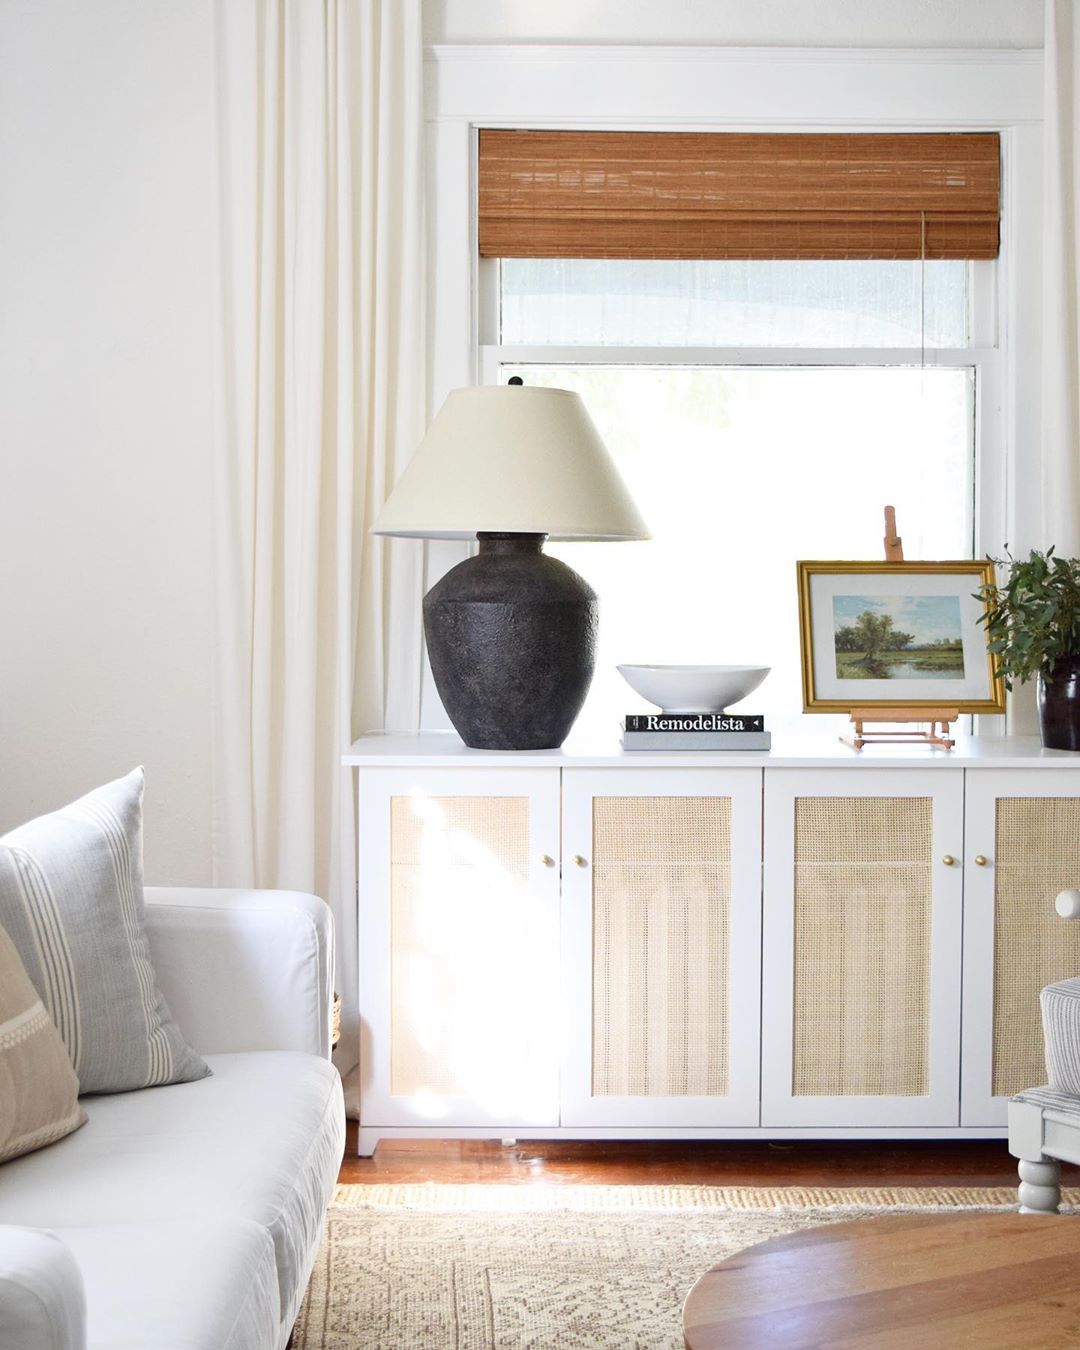
Before diving into the DIY process, it’s crucial to determine the design style that best complements your home’s aesthetic. For traditional settings, consider wooden covers with intricate carvings or classic grillwork, finished in warm, stained hues. Contemporary homes might favor minimalist designs, featuring clean lines, monochromatic colors, and materials like metal or glass. Industrial-inspired covers can incorporate exposed pipes and raw metal finishes, while rustic themes might utilize reclaimed wood and distressed finishes. Browse through design blogs, Pinterest boards, and home decor magazines to curate a vision board that sparks your creativity.
Materials Matters: Choosing Your Canvas
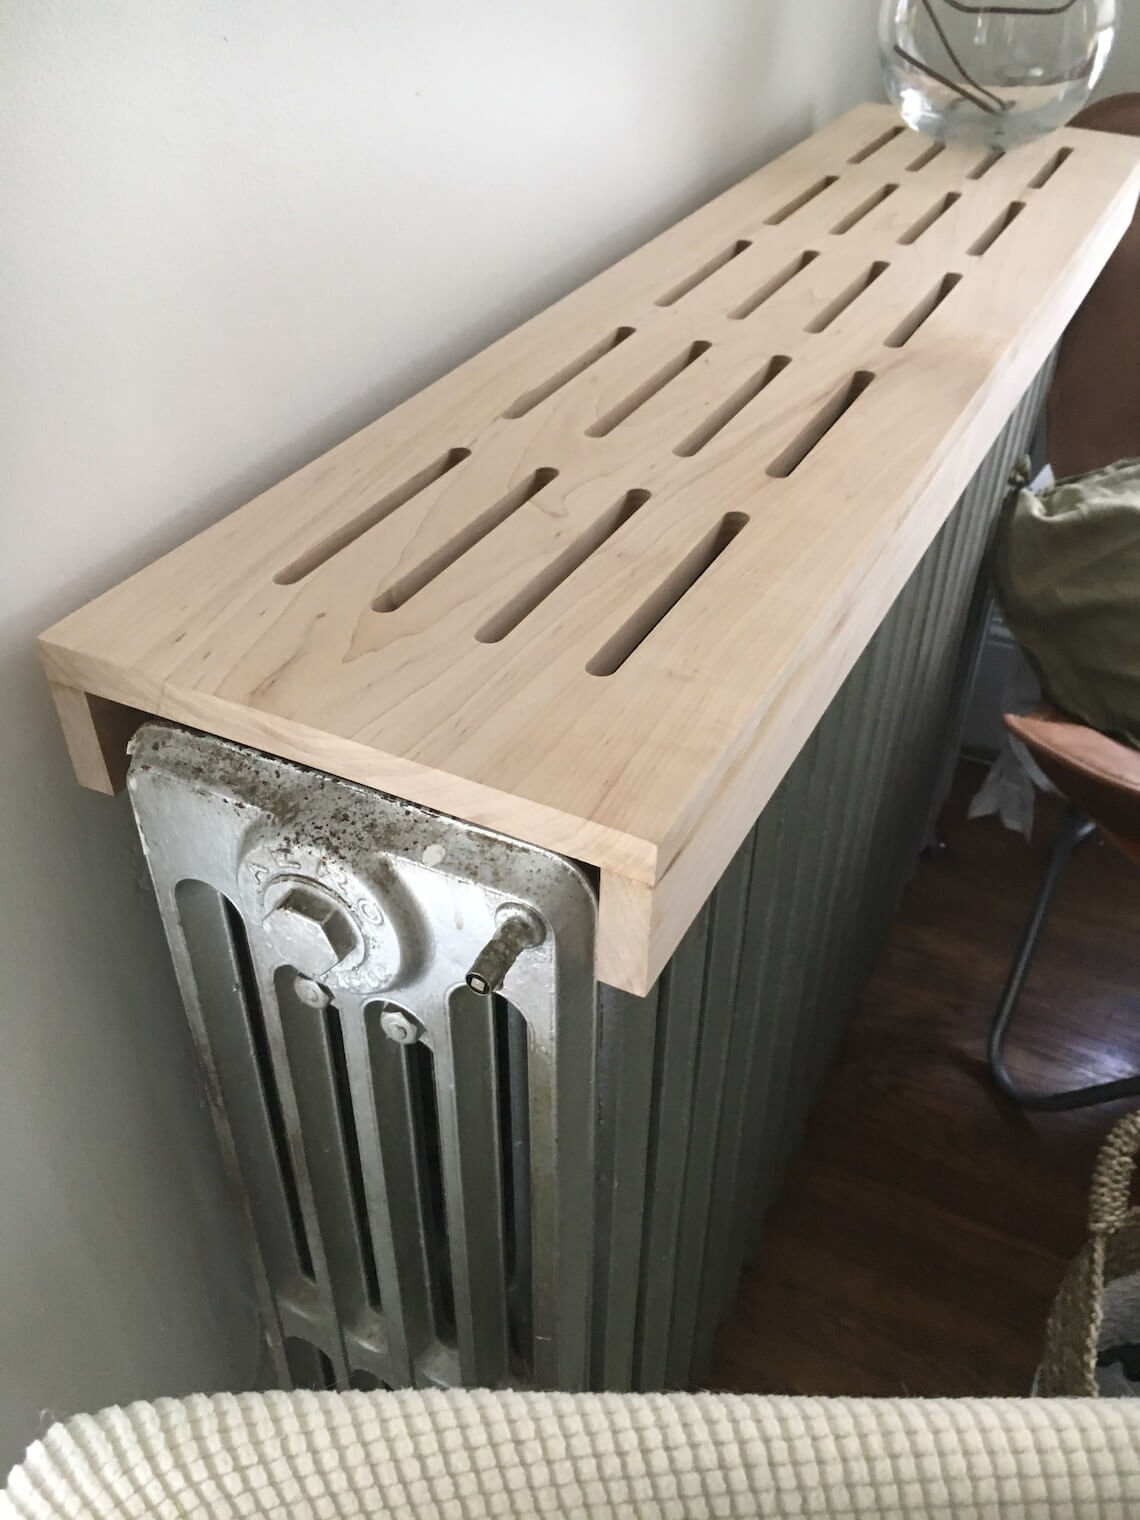
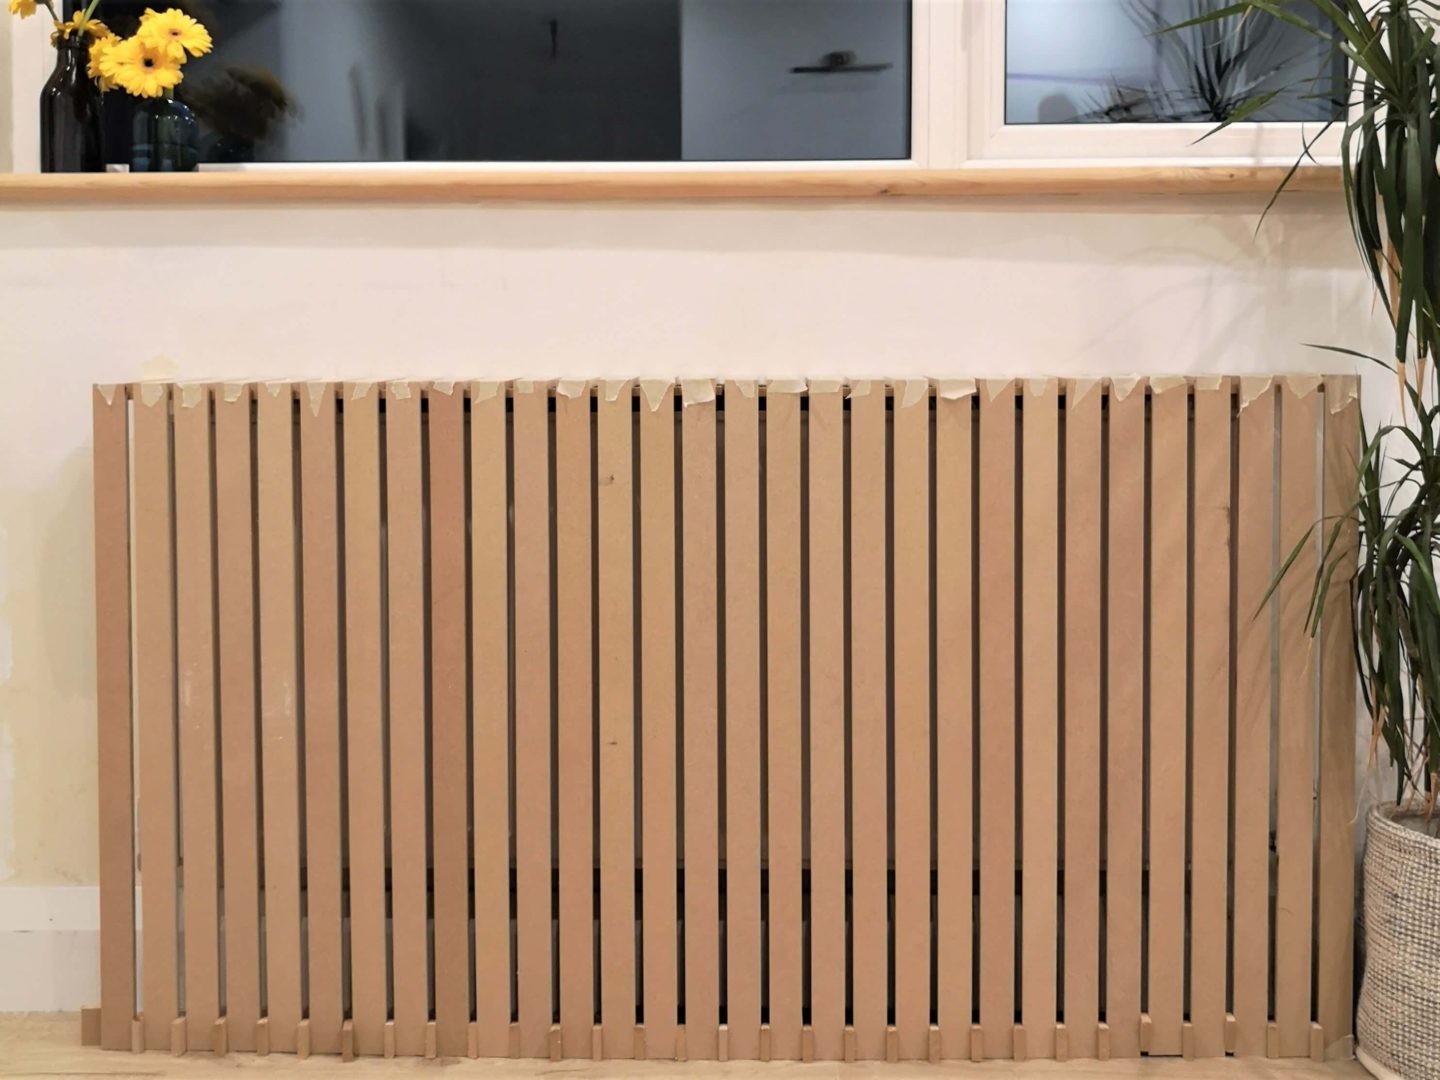
The choice of materials significantly influences the look, durability, and ease of installation. Plywood or medium-density fiberboard (MDF) form a cost-effective and easily workable base for most DIY projects, while solid woods like oak or pine lend a premium touch. For a modern twist, consider using metal sheets or decorative screens. It’s important to select materials that can withstand heat without warping or becoming a fire hazard. Always ensure there’s adequate ventilation—typically via a top grille or perforated metal sheet—to prevent overheating. Don’t forget about the finishing touches; paint, stains, and varnishes can elevate your cover’s appearance dramatically.
Measuring Up for a Perfect Fit
Precise measurements are the cornerstone of a successful DIY radiator cover. Begin by measuring the height, width, and depth of the radiator, factoring in any valves or protrusions. Add an inch to the width and depth for clearance and ventilation. When designing the frame, account for the top grille or vent, ensuring it aligns with the radiator’s heat output. Don’t neglect the importance of leveling; uneven floors require adjustments to keep your cover stable and secure. Sketch out your design, including dimensions, on paper or use digital tools like SketchUp for a more precise visualization.
Building Basics: Assembling Your Cover
With your plan in place, gather your tools—saw, drill, screws, brackets, and sandpaper—and begin constructing the frame. Start by cutting the side panels and top piece according to your measurements. Assemble the frame using wood glue and screws for stability, reinforcing corners with L-brackets. Install any necessary supports for the top, ensuring they’re strong enough to hold the weight. Attach the top grille, which could be a premade metal mesh or custom-cut wooden slats, leaving enough space for airflow. Sand all surfaces smooth and apply your chosen finish, allowing ample drying time between coats.
Finishing Touches: Elevating Your Design
The devil is in the details when it comes to achieving a truly fabulous radiator cover. Consider adding trim or molding to edges for a polished look. If your design incorporates legs, choose styles that complement your room’s decor, whether that’s turned wooden legs for a vintage vibe or sleek metal ones for a modern feel. To further integrate the cover into your space, install a narrow shelf above the radiator, creating a display area for books, plants, or artwork. Finally, don’t forget proper anchoring to the wall to prevent tipping, especially in homes with young children or rambunctious pets.
Safety First: Ensuring a Secure and Efficient Cover
Throughout the project, prioritize safety. Verify that materials used near heat sources are flame-resistant and allow for sufficient ventilation. Avoid placing flammable objects atop or near the cover, and always follow manufacturer guidelines for clearances around heating appliances. Regularly inspect your DIY radiator cover for signs of wear or damage that could compromise its safety or efficiency.
Maximizing Efficiency: Combining Style with Functionality
Your DIY radiator cover isn’t just about aesthetics; it plays a crucial role in enhancing the efficiency of your heating system. A well-designed cover can help circulate warm air more effectively throughout the room by directing the flow away from the walls and into living spaces. Incorporate vent grilles or slats at the bottom as well, allowing cool air to be drawn in and heated, creating a convection current. This not only speeds up the warming process but also reduces energy consumption by ensuring heat distribution is optimized.
Customization for Unique Spaces
Every home has its unique layout and design elements. When building your radiator cover, consider customization options to perfectly fit odd-sized radiators or to work around pipes and other obstacles. Measuring accurately and planning accordingly will ensure a seamless integration into your space. For instance, if you have a bay window with a radiator beneath it, a custom-built cover that follows the window’s curve can add both practicality and visual appeal.
Incorporating Storage Solutions
Space is often at a premium in homes, making storage an essential consideration. Design your radiator cover to include hidden storage compartments, drawers, or even cabinet doors to utilize the otherwise dead space. This can be particularly useful in hallways or bedrooms where additional storage is always welcome. Ensure that any storage components do not obstruct the airflow or heat dissipation of the radiator.
Conclusion: Crafting a Transformative Experience
DIY radiator covers represent more than just a cosmetic upgrade; they symbolize the merging of practicality and artistry within our living spaces. By thoughtfully selecting materials, meticulously measuring, and skillfully executing your design, you can elevate mundane heating elements into stunning focal points. This DIY endeavor not only beautifies your home but also contributes positively to energy efficiency and safety. Embrace the challenge, let your creativity soar, and revel in the satisfaction of turning the functional into the fabulously personal.