Introduction: Transforming Kitchens with Timeless Shaker Style
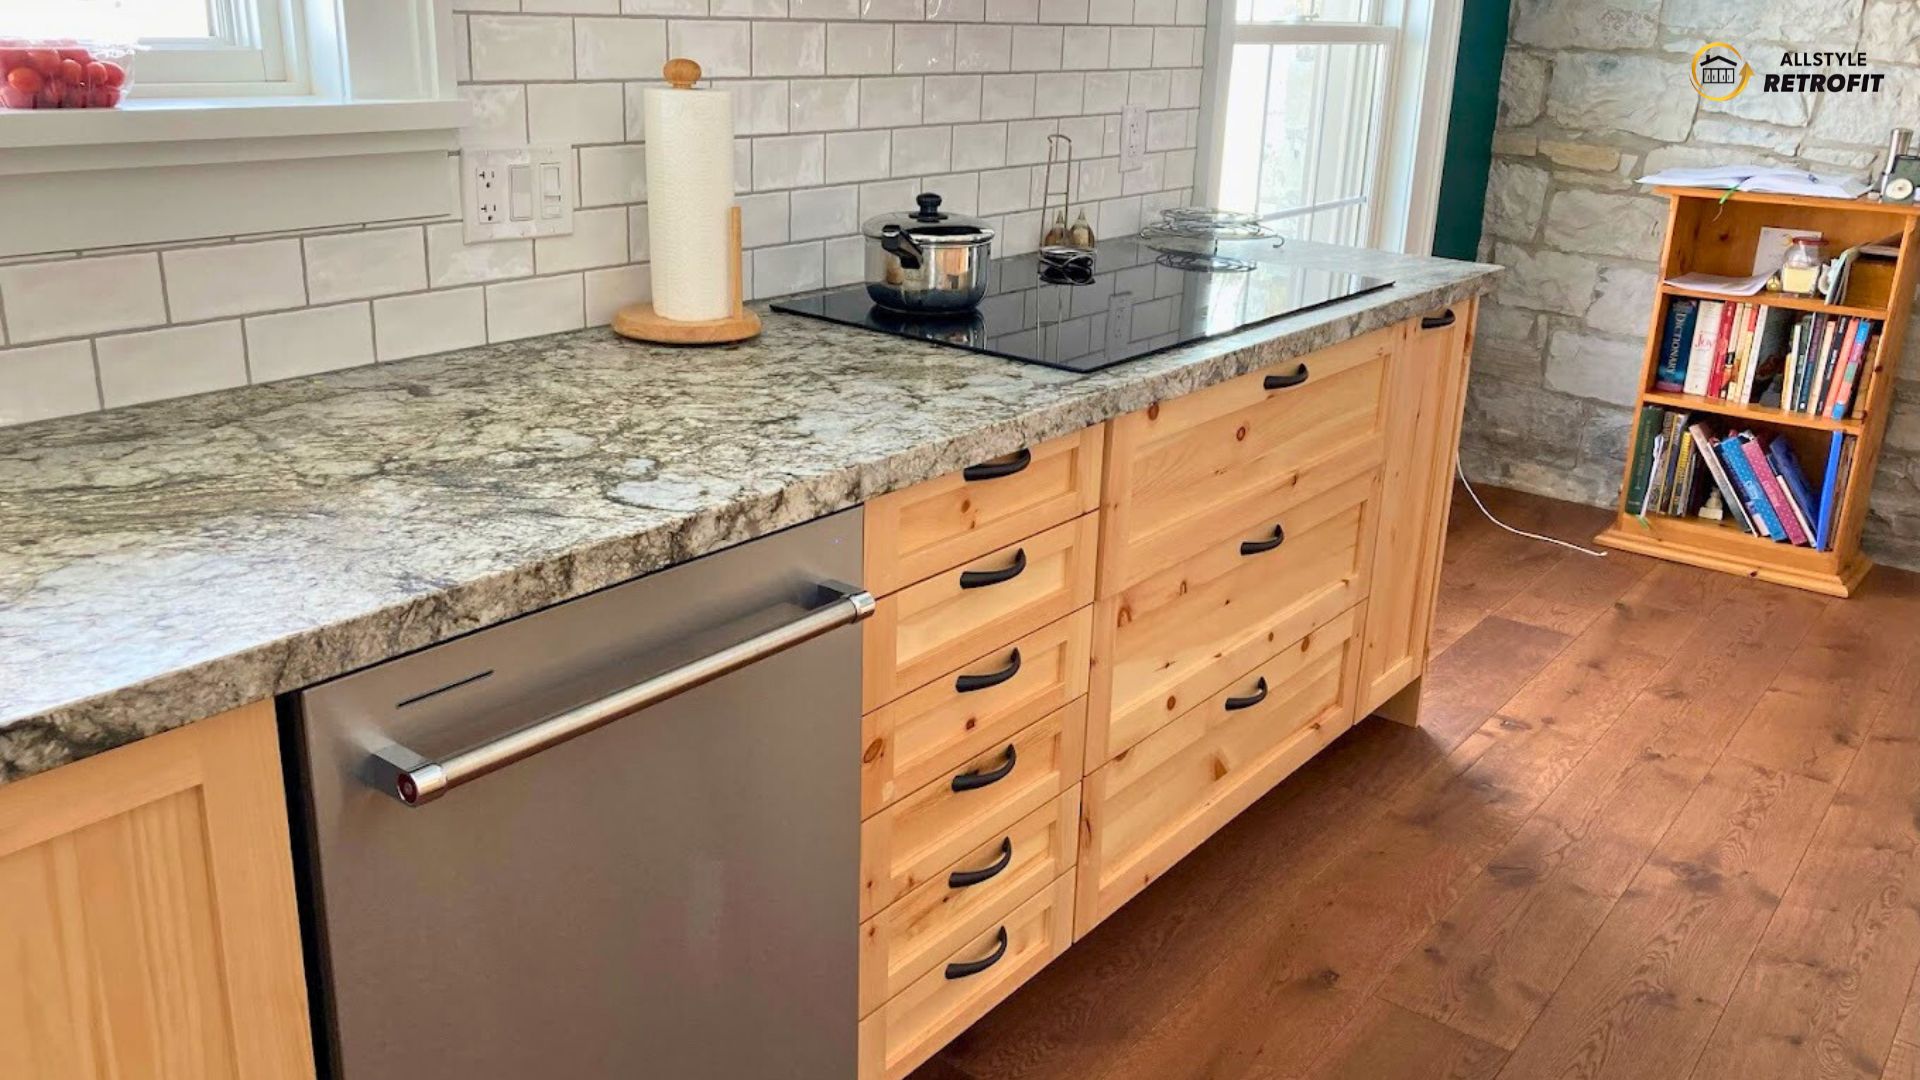
DIY home improvement projects have surged in popularity, offering homeowners a rewarding way to personalize their living spaces while saving on costs. Among these, upgrading kitchen cabinets stands out as a high-impact renovation that can dramatically enhance the heart of any home. One timeless and universally appealing style that continues to dominate kitchen design trends is the Shaker cabinet door. With their clean lines, simplicity, and emphasis on functionality, Shaker-style cabinets blend effortlessly into various décors, from traditional to contemporary. In this comprehensive guide, we’ll embark on a step-by-step DIY journey to crafting your very own Shaker cabinet doors, elevating your kitchen’s aesthetic without breaking the bank.
Understanding the Shaker Design Philosophy
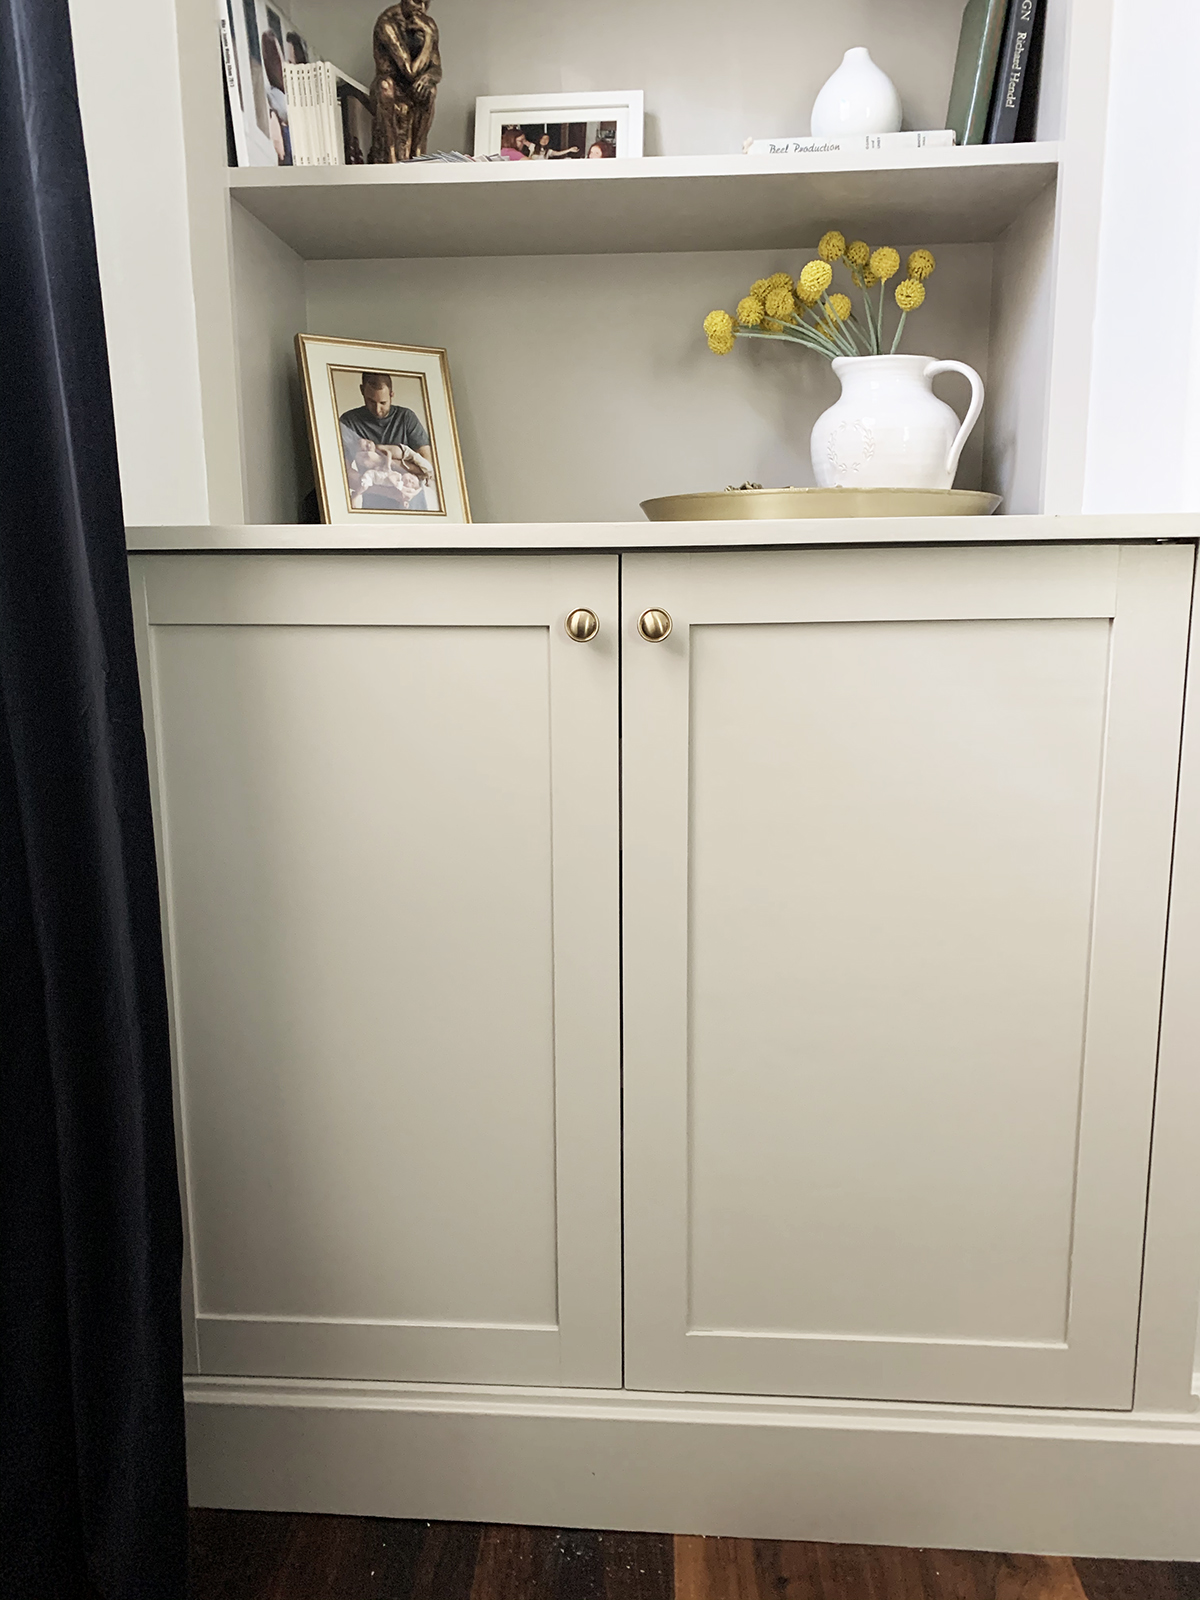
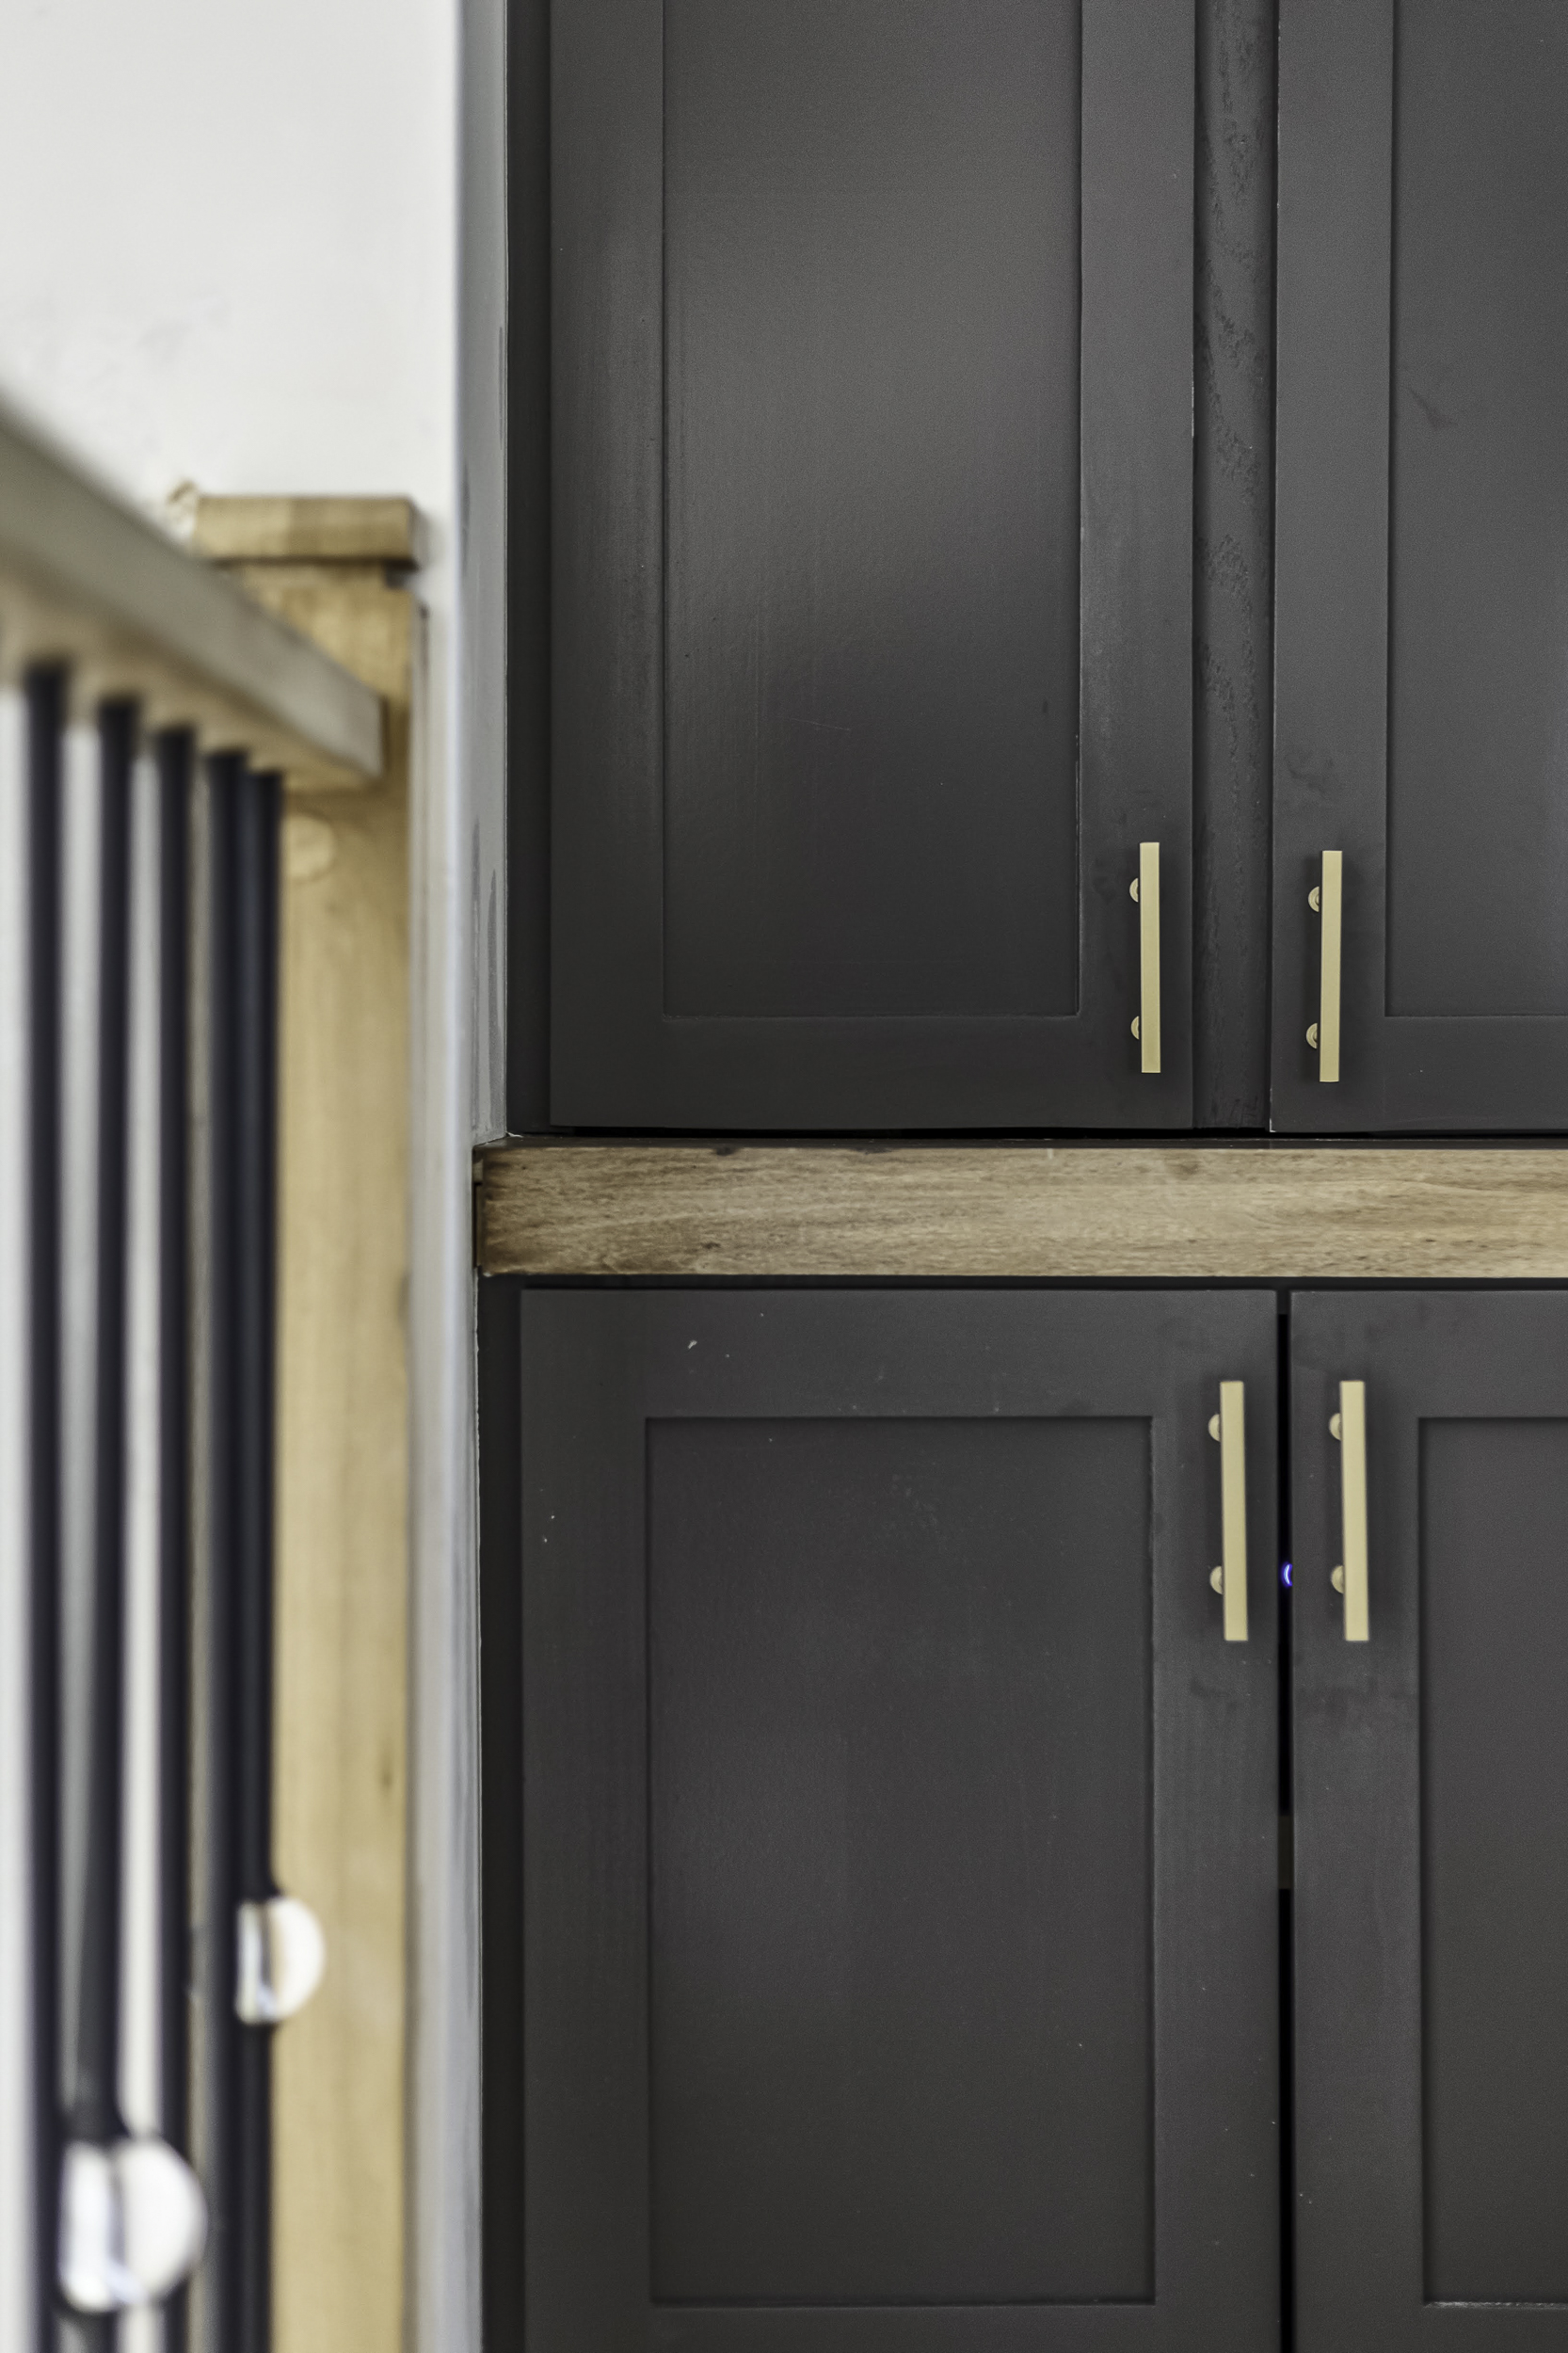
Before diving into the project, it’s crucial to grasp the essence of Shaker design. Originating from the religious sect known as the Shakers in the late 18th century, this design philosophy embodies simplicity, utility, and honesty in craftsmanship. Shaker cabinet doors are characterized by a frame-and-panel construction, typically featuring a recessed center panel surrounded by four flat, wide frames joined at right angles. This straightforward design not only imparts a classic elegance but also allows for easy adaptation to various wood types and finishes, ensuring versatility in styling.
Materials and Tools Checklist
To embark on this DIY adventure, gather the following materials and tools:
- Wood of choice (commonly pine, maple, or cherry) for the frames and panels
- Wood glue
- Finishing nails or pocket hole screws
- Sandpaper (various grits)
- Wood filler
- Paint or stain (and corresponding primer, if necessary)
- Clear protective finish (polyurethane or wax)
- Measuring tape
- Square
- Miter saw or circular saw with a miter gauge
- Drill
- Pocket hole jig (optional)
- Clamps
- Router with straight bit (for optional edge detailing)
- Safety gear (eye protection, dust mask, ear protection)
Measuring and Planning for Precision
Precise measurements are the cornerstone of a successful cabinet door project. Begin by measuring the width and height of each cabinet opening, taking note of any irregularities. To accommodate hinges and ensure a proper fit, subtract 1/8” from both the height and width for clearance. Sketch out a cutting list based on these measurements, factoring in the frame components (two stiles and two rails) and the central panel. Remember to account for the width of the rails and stiles when calculating the size of the panel.
Cutting the Frame Pieces
Using your miter saw, carefully cut the stiles and rails according to your cutting list, ensuring all cuts are square and precise at 90-degree angles. The stiles typically run the full height of the door, while the rails span between them horizontally. For a traditional look, the top and bottom rails are often slightly wider than the side stiles. If desired, route a decorative edge along the outer face of the frame members to add a touch of refinement.
Assembling the Frame
Lay out the frame pieces on a flat surface, applying a thin, even layer of wood glue to the ends of the rails. Join the rails and stiles using either pocket hole screws for invisible joinery or finishing nails driven into pre-drilled pilot holes. Ensure corners are square using a square tool and clamp the assembly together until the glue dries. This step forms the sturdy skeleton of your Shaker door.
Creating the Recessed Panel
The central panel of a Shaker door is typically floating, allowing for expansion and contraction with changes in humidity. Cut the panel to size, leaving a 1/8” gap around all edges within the frame to allow for this movement. You can rout a shallow groove along the inner edges of the frame members to receive the panel, or use biscuits, dowels, or a tongue-and-groove joint for added stability without restricting movement.
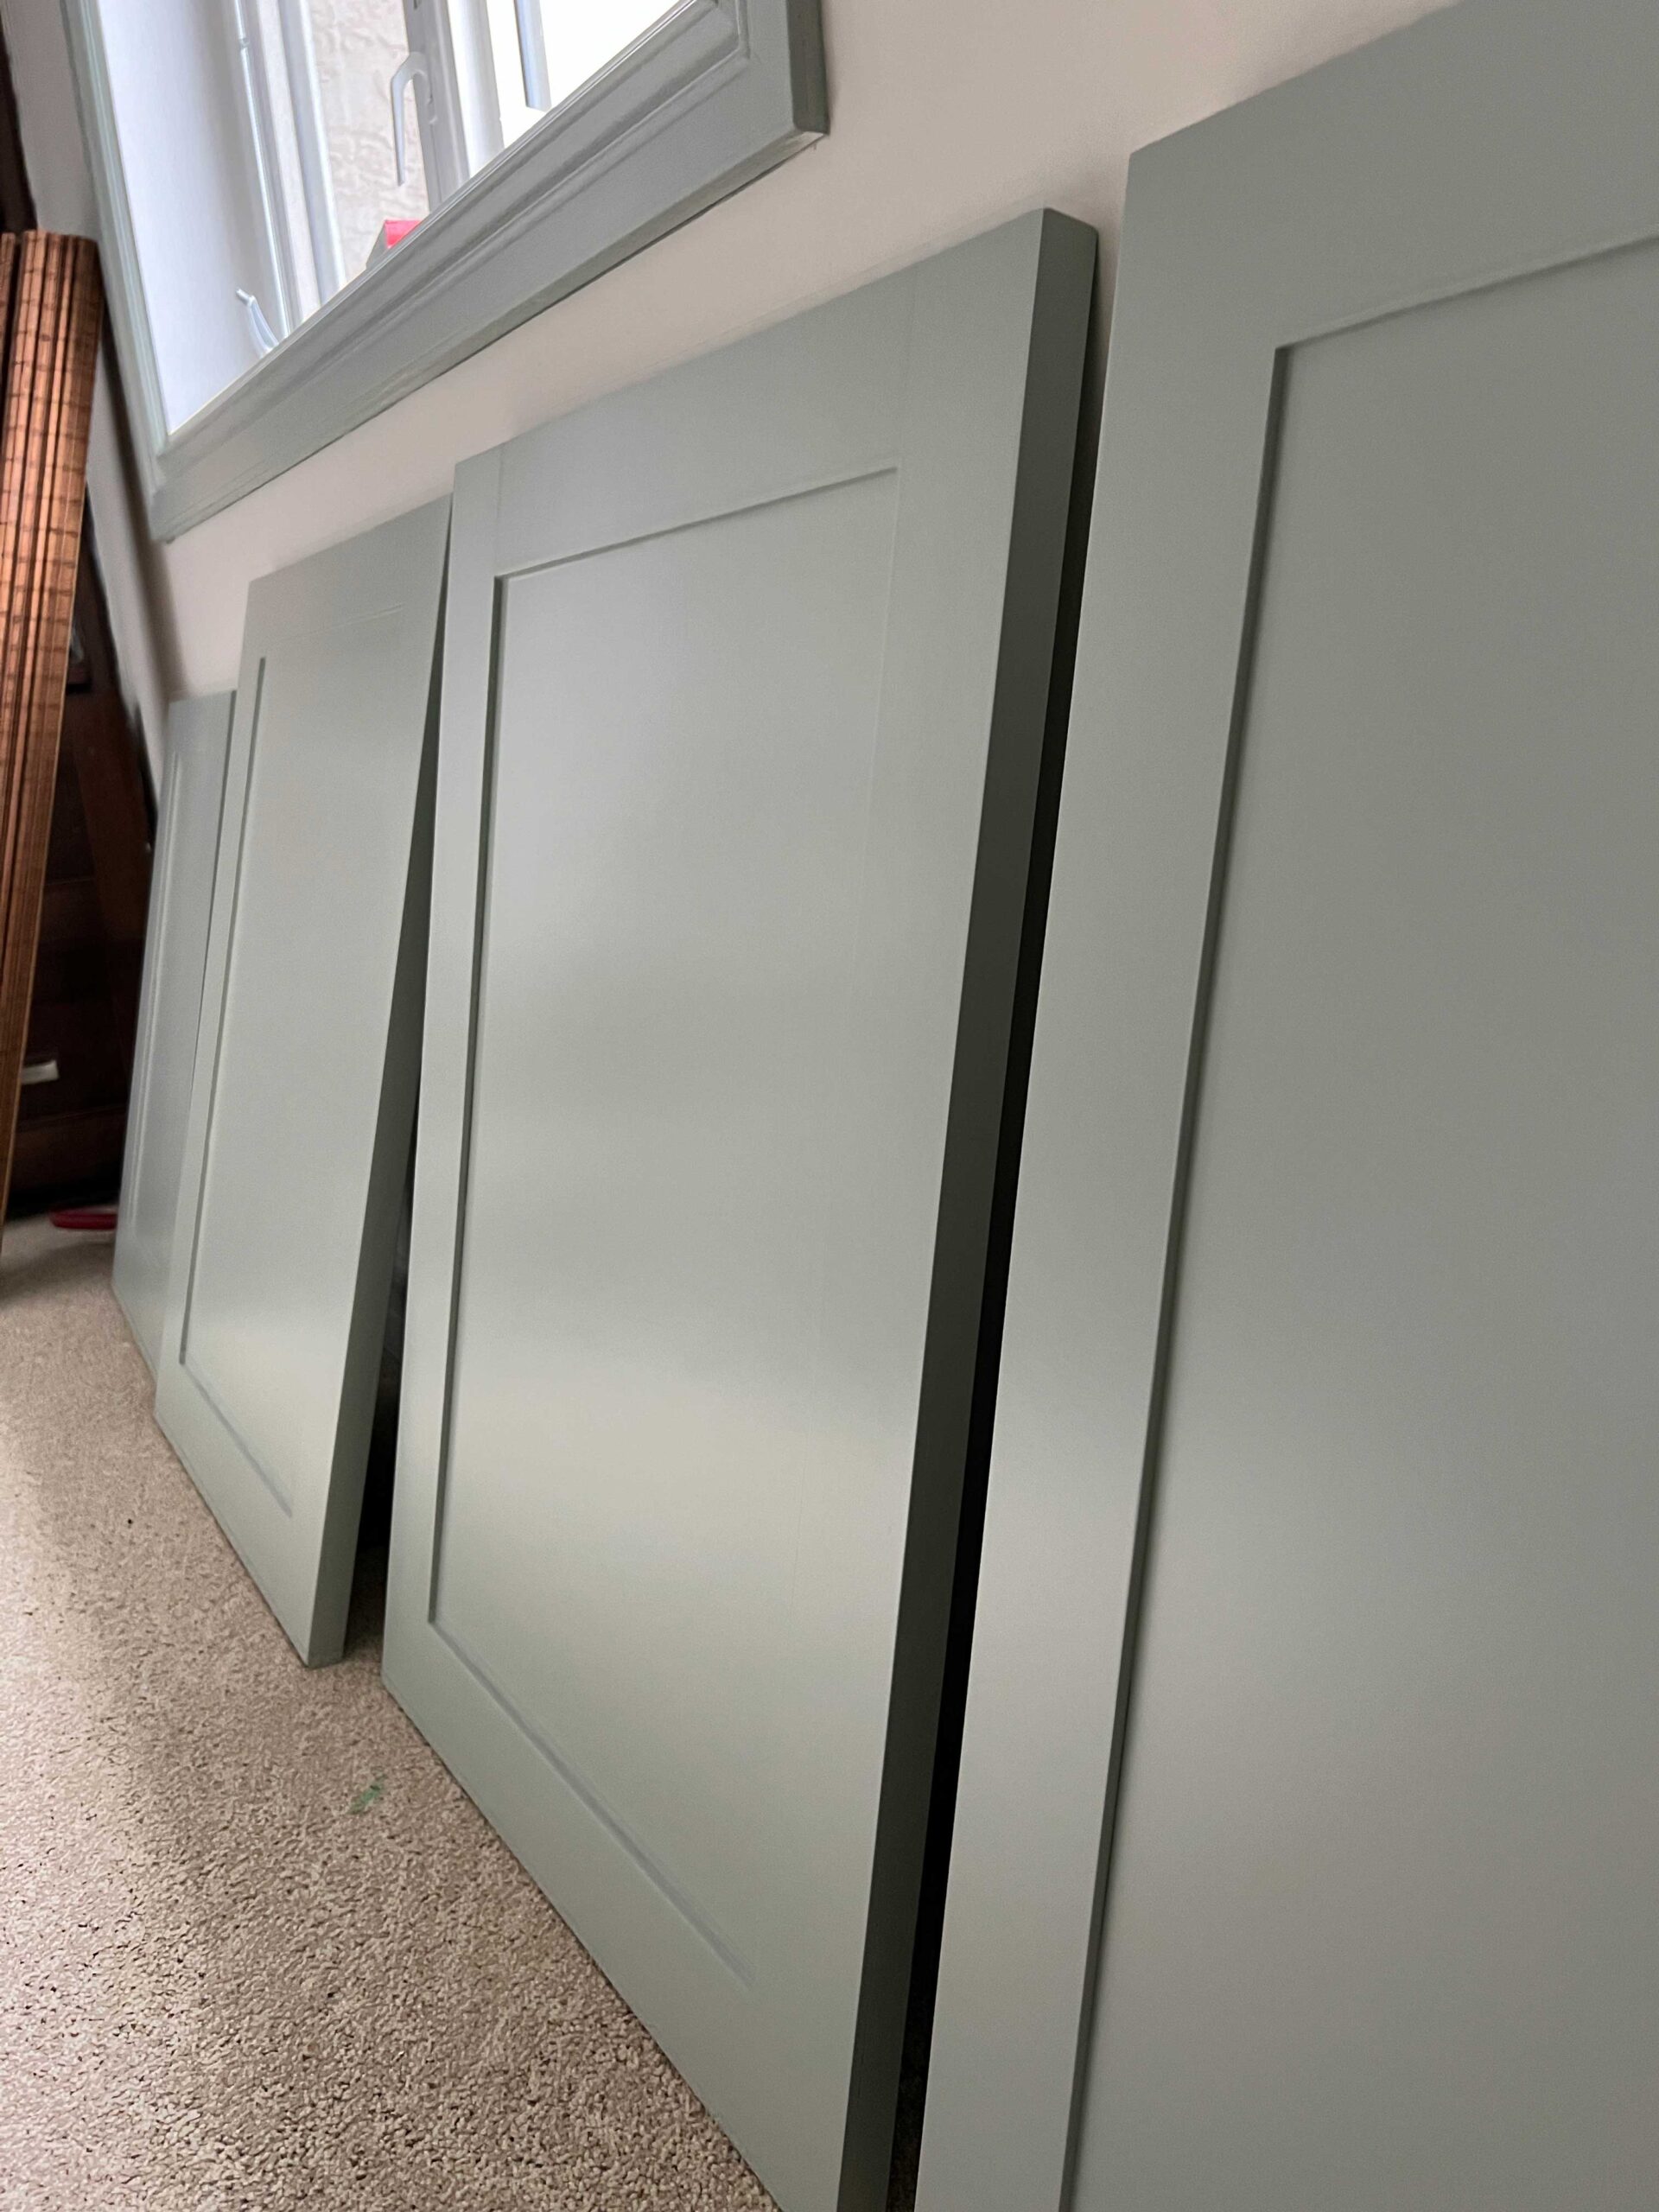
Sanding and Preparing for Finish
Once the frame is assembled and the panel is fitted, thoroughly sand all surfaces with progressively finer grits of sandpaper, starting from 120-grit and moving up to at least 220-grit. Pay particular attention to removing any glue residue and smoothing out joints for a seamless appearance. Fill any nail holes or imperfections with wood filler, sand again once dry, and wipe down the entire door with a tack cloth to remove dust.
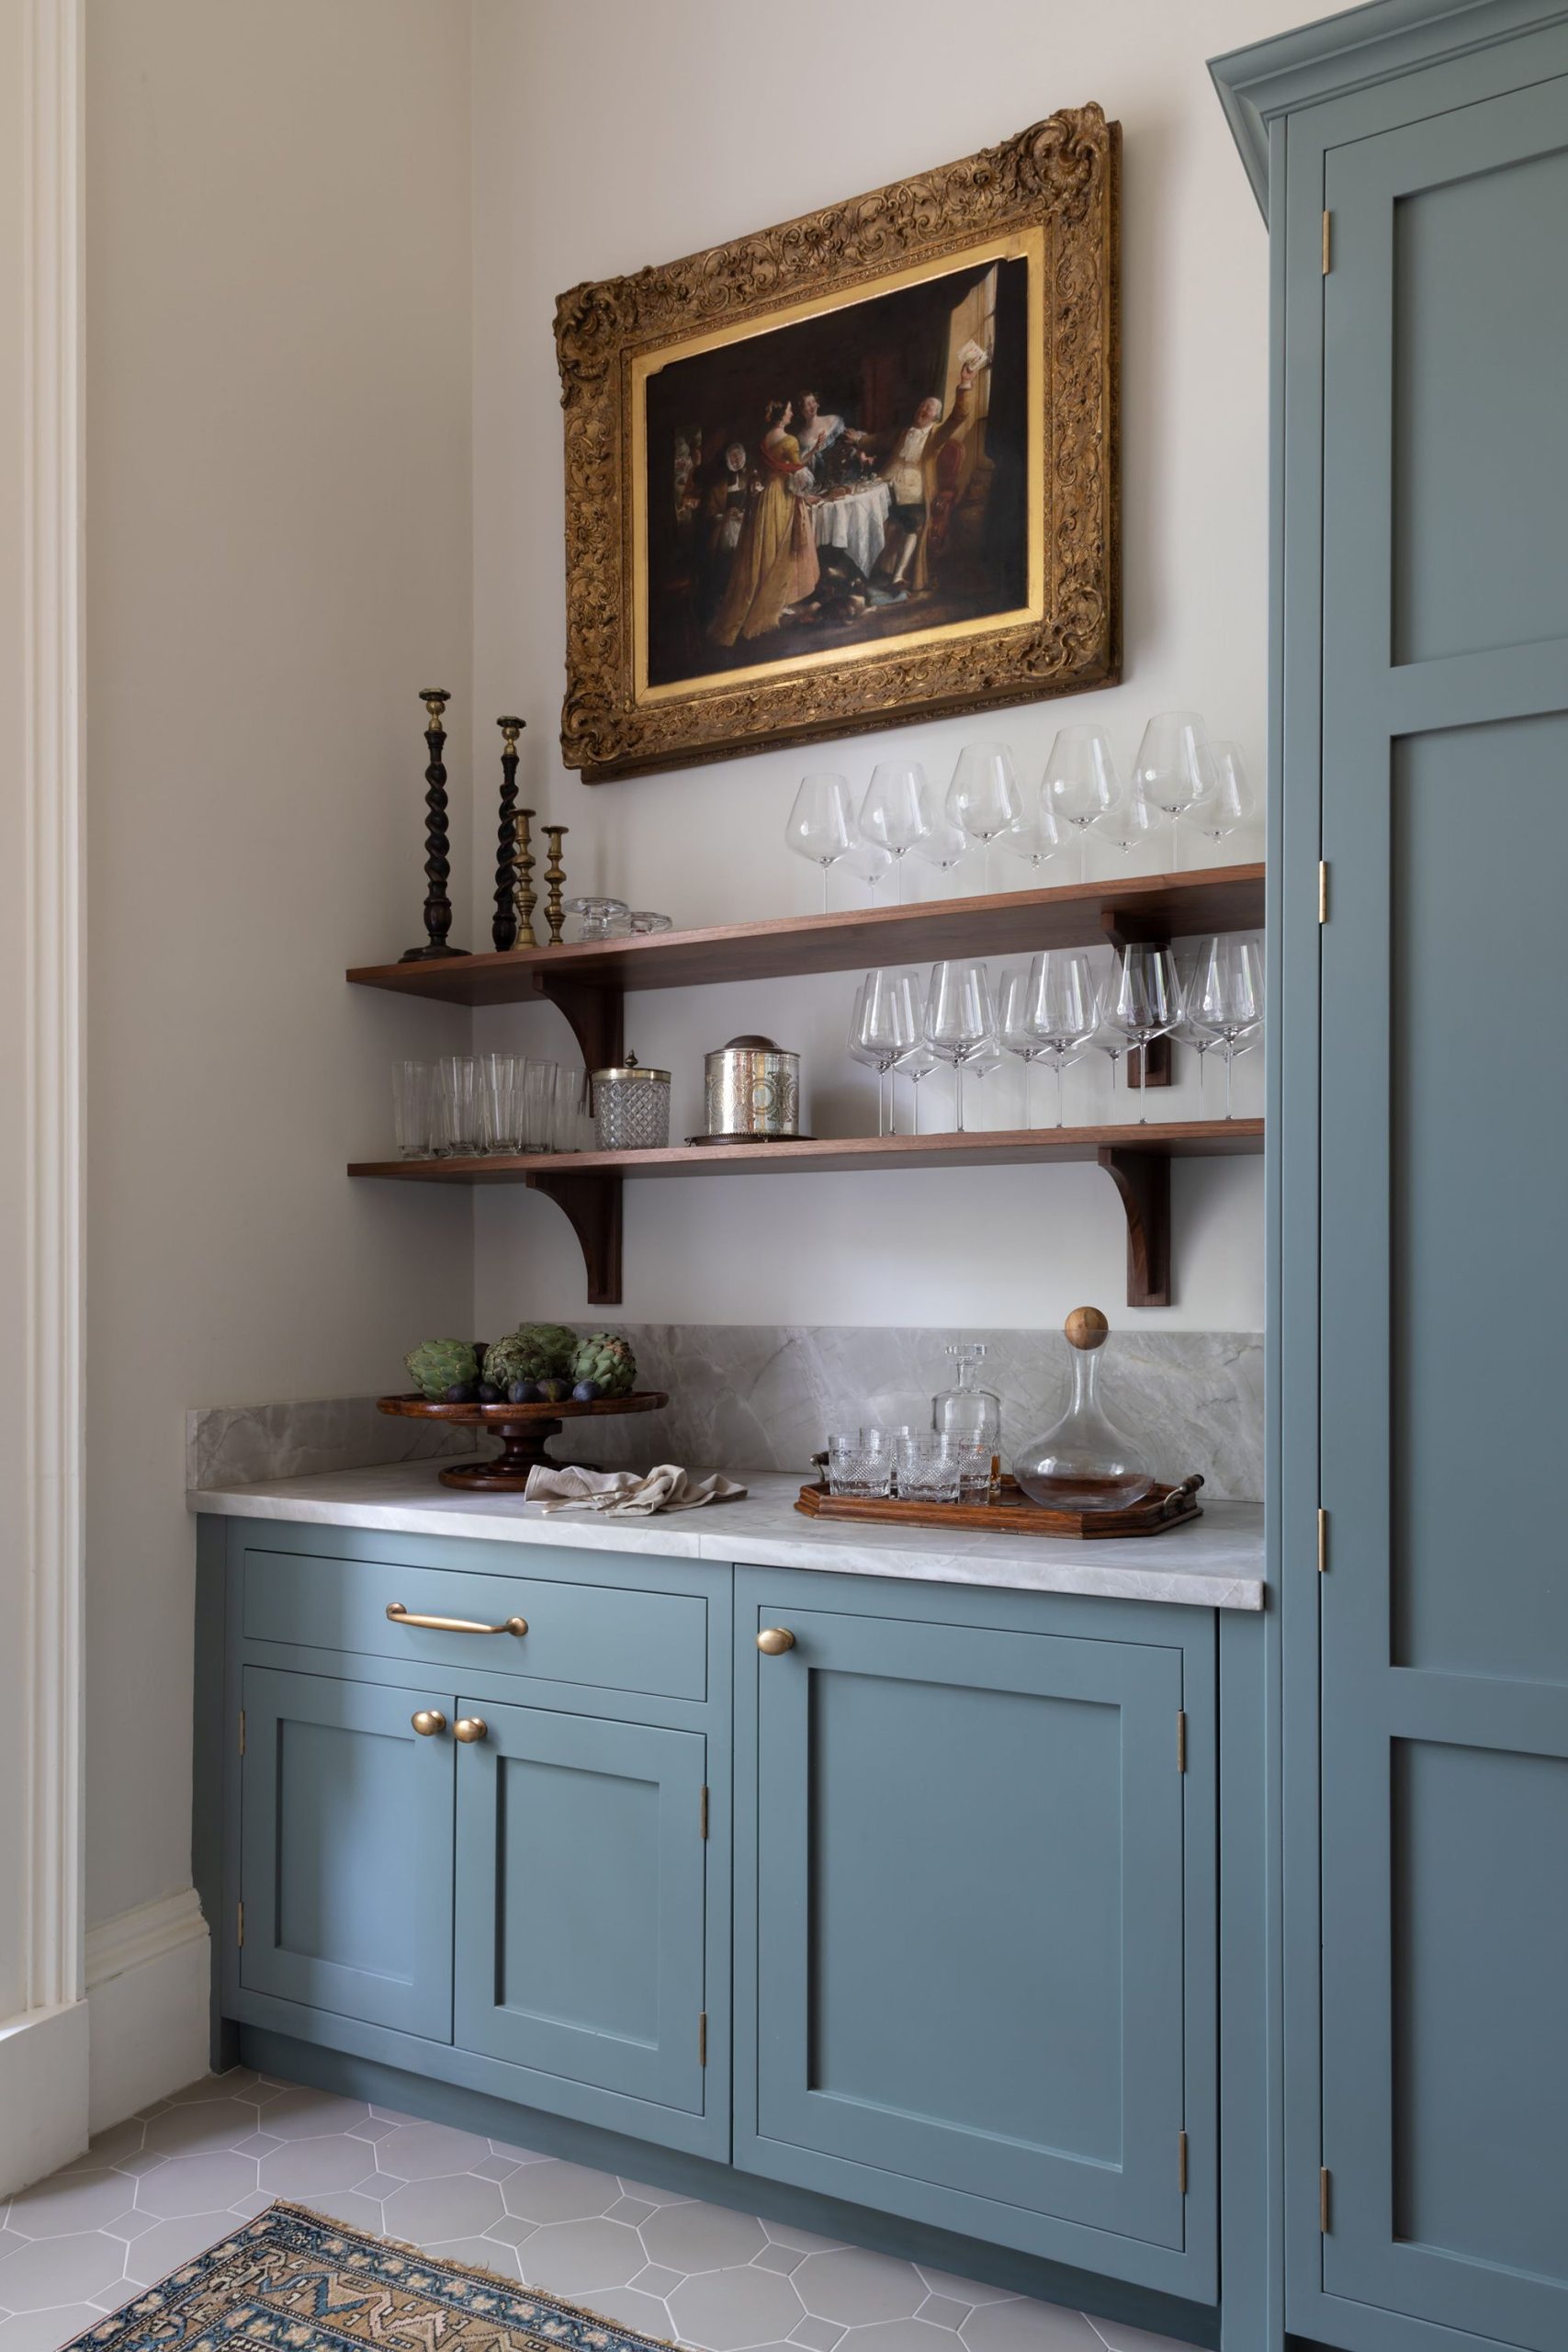
Finishing Touches
The finishing stage is where personal style truly shines. Whether you opt for a classic stained finish that highlights the natural wood grain or a painted look for a more contemporary appeal, thorough preparation is key. Apply a coat of primer if painting, followed by your chosen paint or stain, allowing each coat to dry completely as per manufacturer instructions. Sand lightly between coats for a smooth finish and seal with a protective clear coat to enhance durability and resistance to wear.
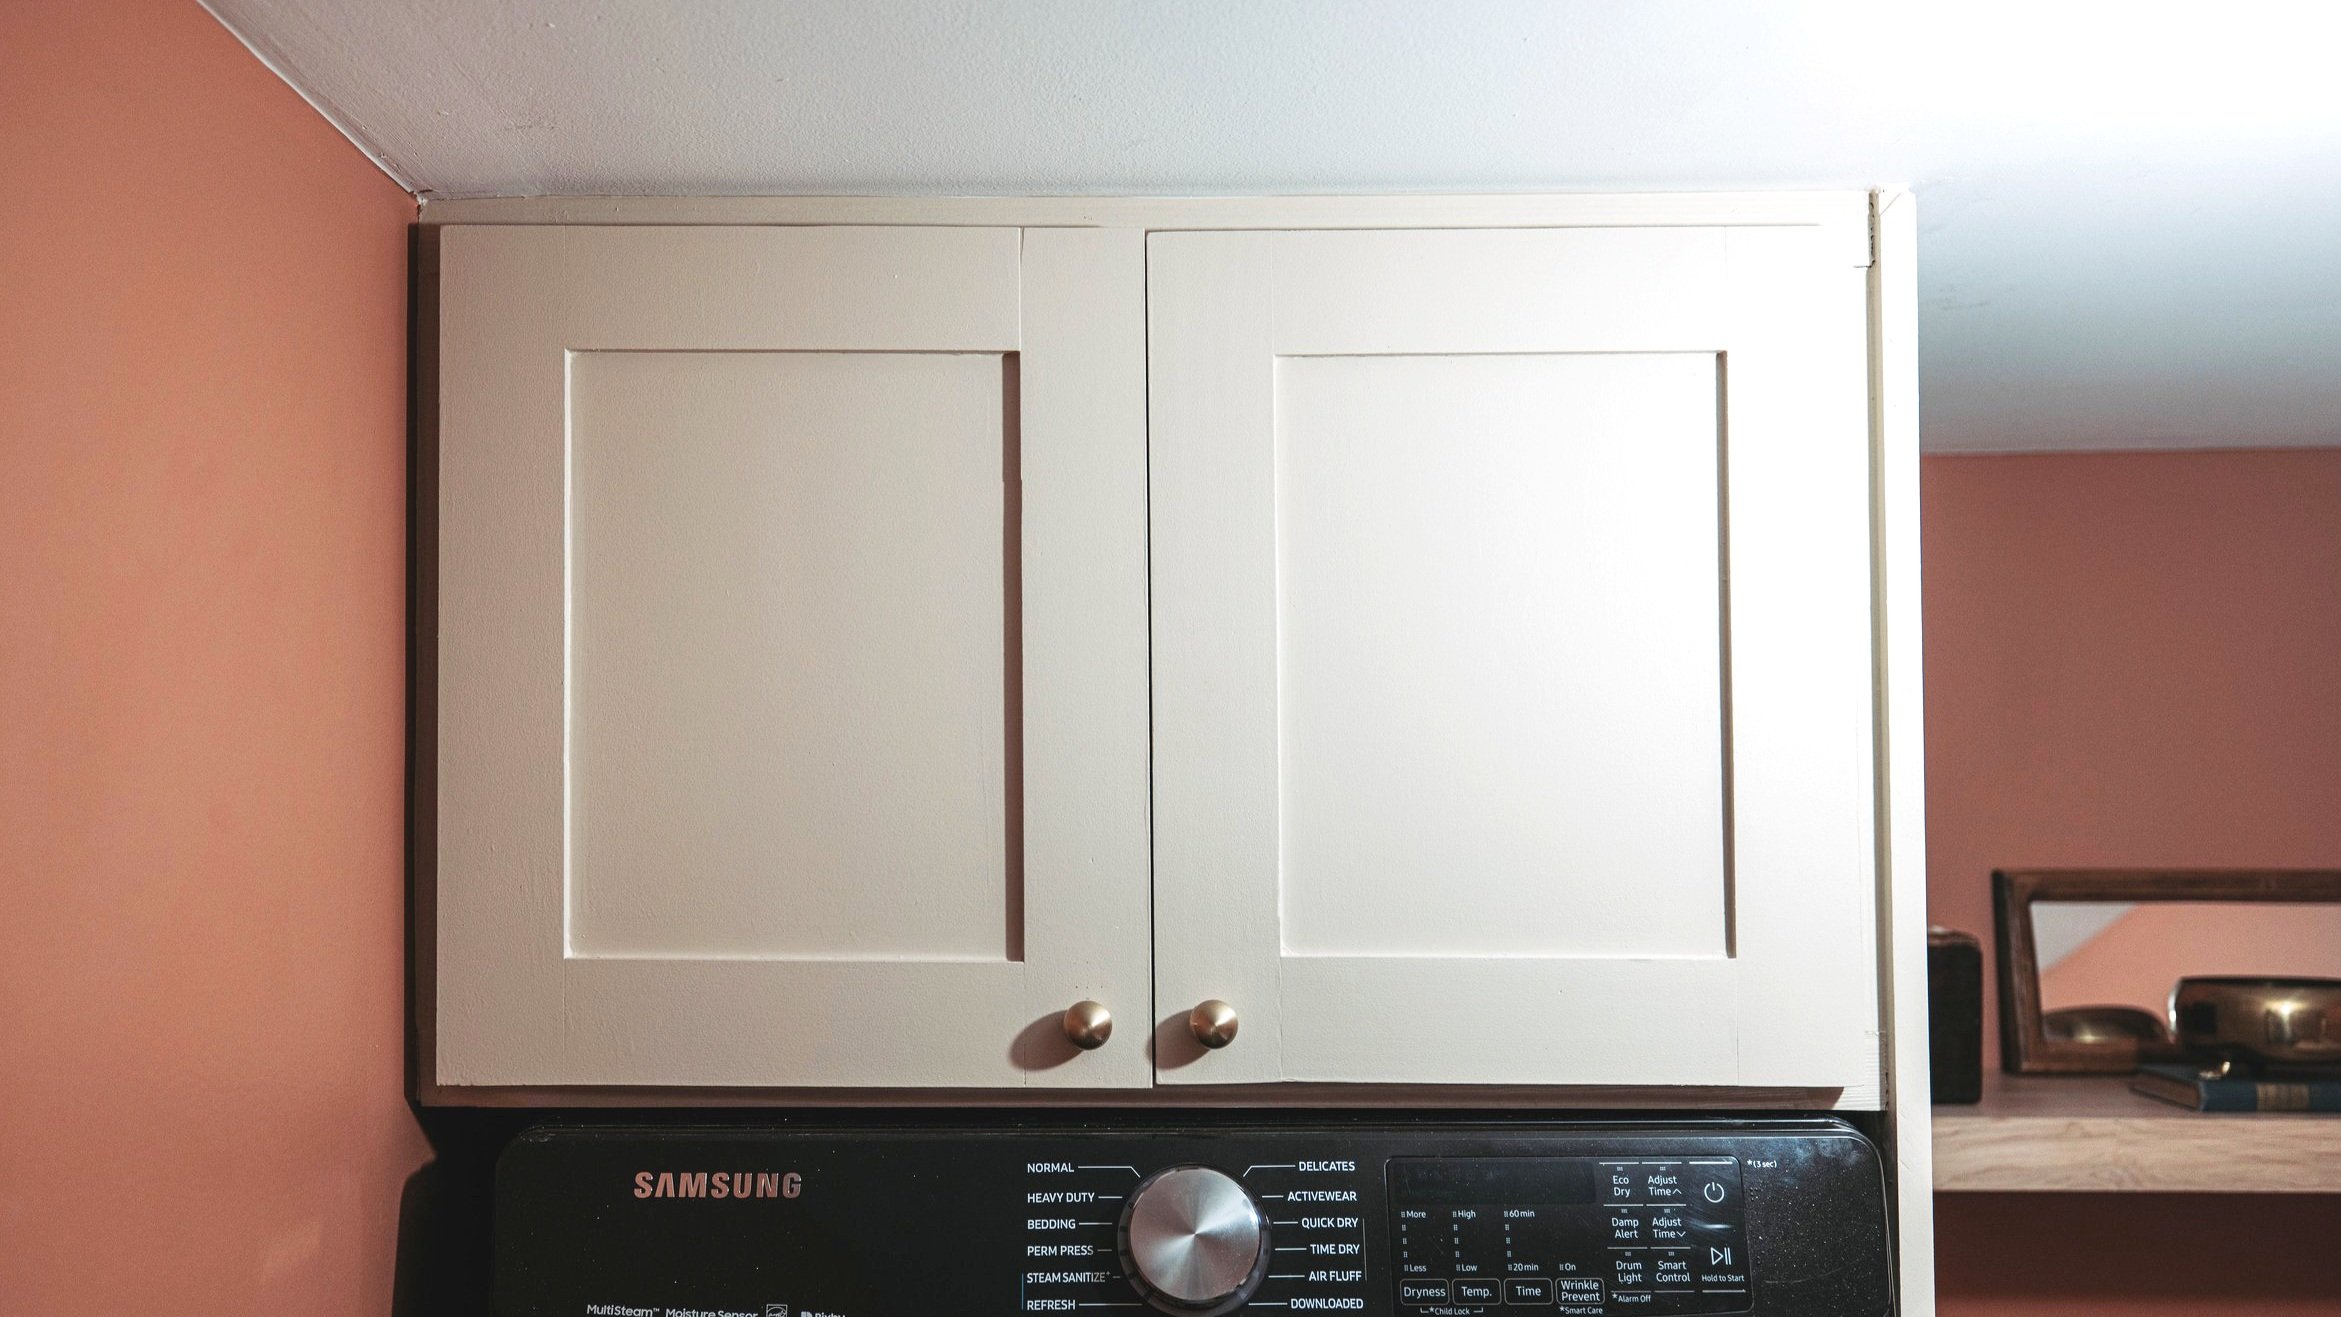
Installation and Enjoyment
With your beautifully crafted Shaker cabinet doors complete, it’s time for installation. Attach hinges to the doors and the cabinet boxes, ensuring they are aligned and leveled for a professional look. Once installed, stand back and admire your handiwork – a kitchen transformed, imbued with a timeless charm and personalized touch that only a DIY project can bring.
Maintaining Your Shaker Cabinet Doors
Proper care and maintenance are essential to preserving the beauty and longevity of your new Shaker cabinet doors. Here are some tips to keep them looking their best:
- Regular Cleaning: Dust your cabinets regularly using a soft, dry cloth or a microfiber duster to prevent the buildup of grime. For spills and stains, use a damp cloth with a mild detergent solution, wiping gently and drying immediately afterward to avoid water damage.
- Avoid Harsh Chemicals: Strong cleaning agents can damage the finish of your cabinet doors. Stick to mild soap and water for cleaning and, if necessary, use specialized wood cleaners that are compatible with your finish.
- Handle with Care: To prevent scratches and dents, avoid placing sharp or heavy objects directly onto the cabinet surface. Consider using felt pads under items that could potentially scratch the surface.
- Humidity Control: Since wood naturally expands and contracts with changes in humidity, maintaining a consistent indoor humidity level (ideally between 35% and 55%) will help minimize these movements and prevent warping or cracking.
- Periodic Inspection: Regularly inspect your cabinet hardware, such as hinges and handles, for signs of wear or loosening. Tighten screws as needed and apply a light coating of oil to hinges to keep them functioning smoothly.
In conclusion, crafting Shaker cabinet doors is not merely a woodworking project; it’s an exercise in patience, precision, and appreciation for enduring design. By undertaking this endeavor, you not only elevate the aesthetic of your kitchen but also infuse it with a sense of accomplishment and personal pride. With careful planning, attention to detail, and the right tools, you too can create a kitchen upgrade that will be cherished for years to come.