Introduction: Understanding the Basics
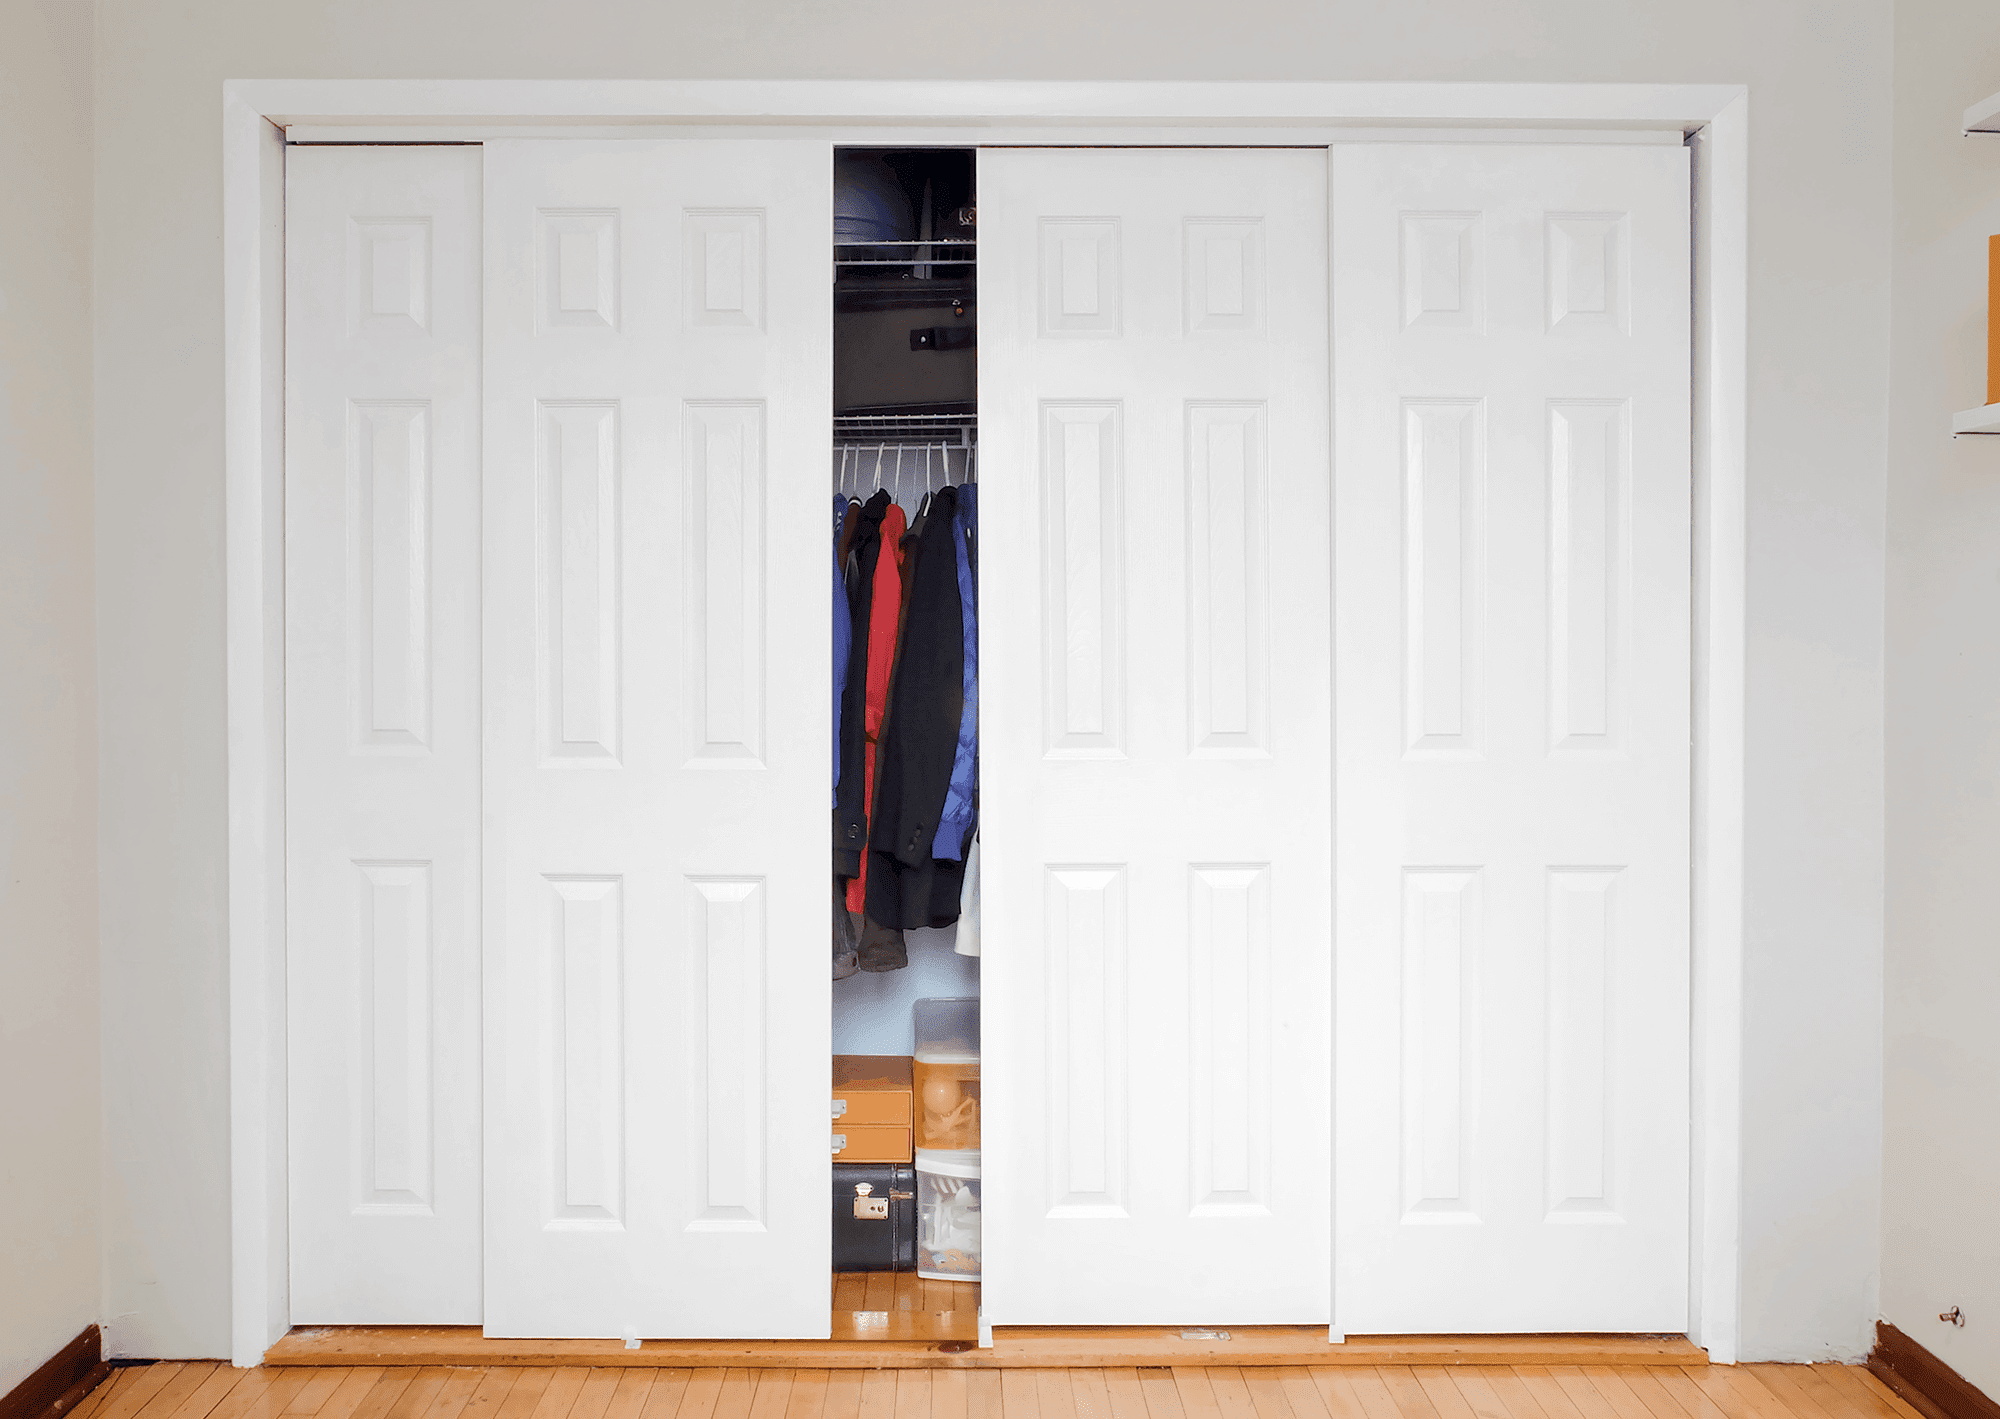
Removing sliding closet doors may seem like a daunting task, but with the right approach and tools, it can be a straightforward process. These doors, typically found in bedrooms and hallways, provide a space-saving solution while offering easy access to your closet. However, there comes a time when you might want to replace or repair them. Whether you’re renovating your home, upgrading to new doors, or simply need to perform maintenance, understanding the basics of how these doors are installed and removed is crucial. This guide will walk you through each step in detail, ensuring that you have all the information needed for a smooth and hassle-free removal process.
Gathering Necessary Tools and Materials
Before diving into the removal process, it’s essential to gather all the necessary tools and materials. Having everything on hand will make the job more efficient and prevent unnecessary interruptions. Common tools required include a screwdriver (preferably both flathead and Phillips), a drill, a rubber mallet, a pry bar, and a pair of pliers. Additionally, you might need a step ladder if your doors are tall, and gloves to protect your hands. It’s also a good idea to have some painter’s tape and a dust mask if the tracks and hardware are old and potentially dusty. Ensuring you have all these items ready will help streamline the removal process and avoid any last-minute trips to the hardware store.
Preparing the Area for Safe Work
Safety should always be a priority when undertaking any DIY project, and removing sliding closet doors is no exception. Start by clearing the area around the closet to ensure you have ample workspace. Remove any clothing, shoes, or other items stored in the closet to prevent obstacles and create a safe environment. It’s also wise to lay down a drop cloth or some old sheets to protect your floor from scratches or debris. If the doors are mirrored or made of glass, take extra precautions to handle them gently to avoid any breakage. Preparing the work area not only enhances safety but also helps you keep track of small parts like screws and brackets that you’ll be removing.

Inspecting the Door Mechanism
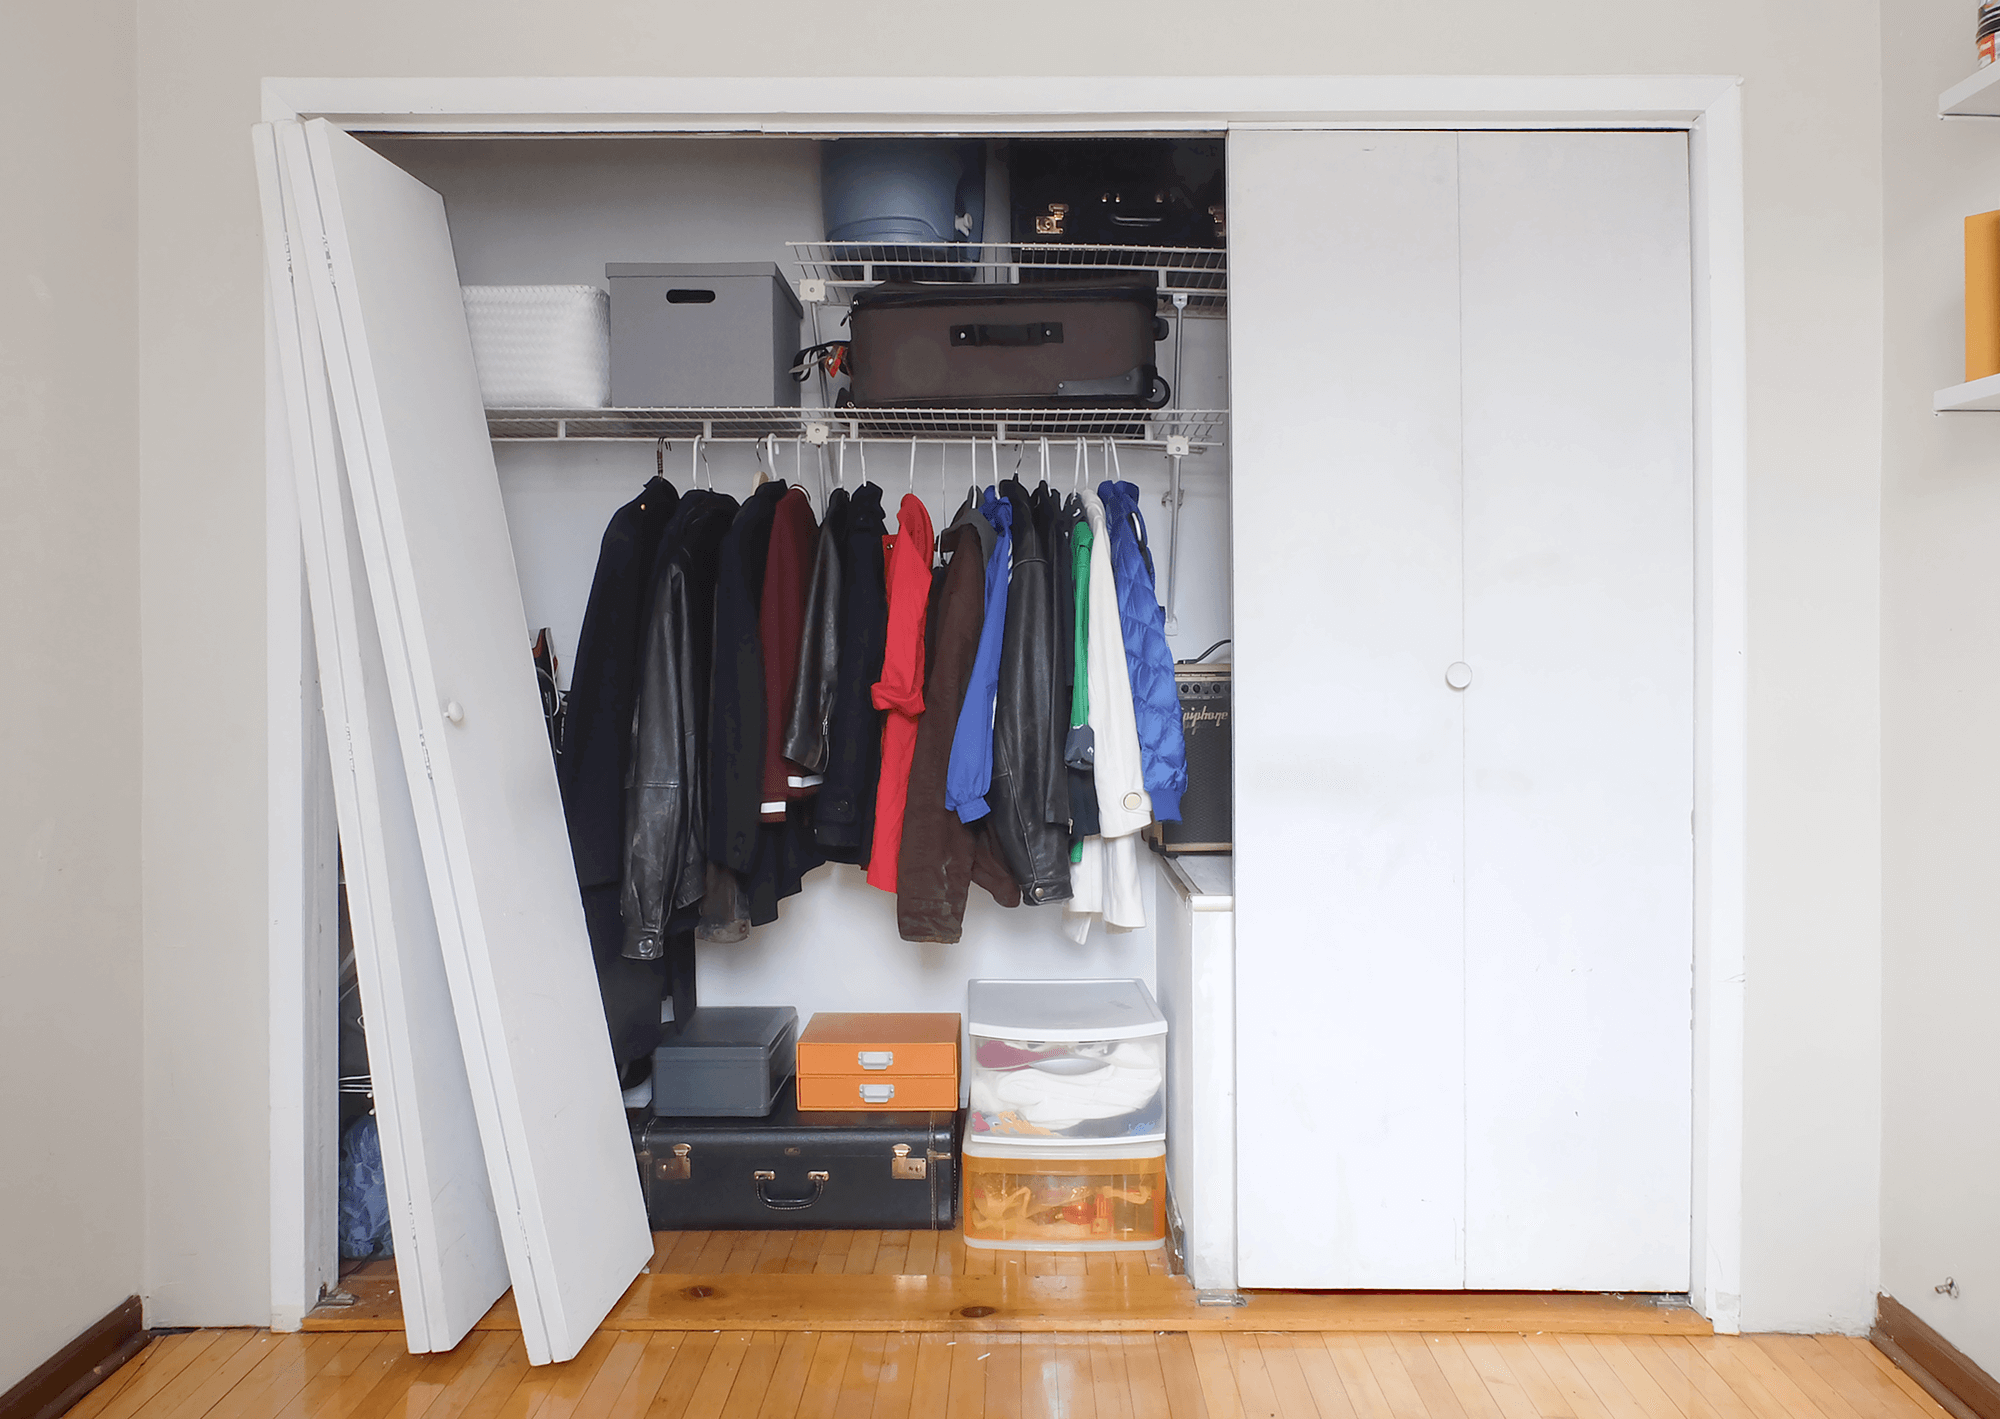
Before you begin the actual removal, take a moment to inspect the sliding door mechanism. Understanding how your specific doors are installed will make the removal process smoother. Most sliding doors operate on a top-hung rail system, but some might have bottom tracks as well. Look at how the doors are mounted and identify the rollers, brackets, and any other hardware keeping them in place. Familiarize yourself with the adjustment screws, usually located on the bottom edge of the doors, which control the height and alignment of the doors. This inspection will give you an idea of how the doors are secured and which parts need to be detached first.
Detaching the Door from the Track
The first step in physically removing the sliding doors is to detach them from the track. Begin by locating the adjustment screws on the bottom of each door. These screws control the height of the door and can usually be adjusted with a Phillips screwdriver. Turn the screws counterclockwise to lower the door. Lowering the door will reduce the tension on the upper track and make it easier to lift out. Once you’ve lowered the door, gently lift it off the bottom track by tilting the bottom towards you and then lifting it up to clear the upper track. If the door doesn’t easily come off, check if there are any retaining clips or additional screws that need to be removed.

Removing the Top Track
With the doors safely detached, the next step is removing the top track. The top track is often secured to the frame with screws, which you’ll need to remove using a screwdriver or drill. Carefully unscrew each fastener, making sure to support the track so it doesn’t fall unexpectedly once the last screw is removed. If the track is painted over or stuck due to age, gently use a pry bar or putty knife to loosen it. Be cautious not to damage the surrounding wall or ceiling. Once all the screws are removed and the track is free, carefully lower it and set it aside. Removing the top track will allow you to easily access and remove the bottom track if your setup includes one.
Removing the Bottom Track (if present)
If your sliding closet doors also have a bottom track, it’s time to remove it. Similar to the top track, the bottom track is likely secured with screws or nails. Use your screwdriver or drill to remove any fasteners holding the track in place. Sometimes, the track might be glued down or secured with construction adhesive. In such cases, a pry bar can be used to gently lift the track, starting from one end and working your way to the other. Be patient and apply even pressure to avoid bending or damaging the track. Once free, carefully remove the entire bottom track. This step clears the way for any further modifications or installations you plan for your closet space.
Cleaning Up and Preparing for New Installations
With both the doors and tracks removed, take this opportunity to clean the area thoroughly. Vacuum or sweep up any dust, dirt, or debris left behind from the removal process. Inspect the floor and frame for any damage or repairs that might be needed before installing new doors or a different system. Filling in any holes or cracks with wood filler or spackle and repainting or refinishing the area can give your closet a fresh, clean look. Cleaning up properly ensures that the new installation will go smoothly and that your closet will look its best once the project is complete.
Disposing of Old Doors and Tracks
Once the removal and cleanup are done, you’ll need to decide what to do with the old doors and tracks. If the doors are still in good condition, consider donating them to a local charity or recycling center. Many organizations appreciate home improvement donations, and this can be a great way to give back to the community. If the doors are damaged or broken, check with your local waste management services for guidelines on disposing of large items. Some areas offer bulk pickup services, while others may require you to take the items to a landfill or recycling facility. Proper disposal ensures that your old materials are handled responsibly and that your home remains clutter-free.

Conclusion: Enjoying Your Updated Space
Successfully removing sliding closet doors opens up a world of possibilities for updating and customizing your space. Whether you’re planning to install new sliding doors, switch to hinged doors, or leave the closet open for a more modern look, knowing how to remove the old doors properly is the first step. By following this step-by-step guide, you’ve ensured a safe and efficient removal process. Now, you can proceed with your renovation plans, confident in the knowledge that you’ve prepared your closet area thoroughly. Enjoy the satisfaction of completing a DIY project and the fresh, updated look of your newly transformed space.