
Introduction: Embracing the Challenge of Tile Replacement
Tiled surfaces can add elegance and functionality to any space, but over time, wear and tear or accidental damage may necessitate tile replacement. While hiring a professional may seem like the easiest solution, embarking on a do-it-yourself (DIY) tile replacement project can be both rewarding and cost-effective. In this comprehensive guide, we’ll provide step-by-step instructions for achieving a flawless finish when replacing tiles in your home.
Assessing the Situation: Determining the Scope of the Project
Before diving into tile replacement, it’s essential to assess the extent of the damage and evaluate the scope of the project:
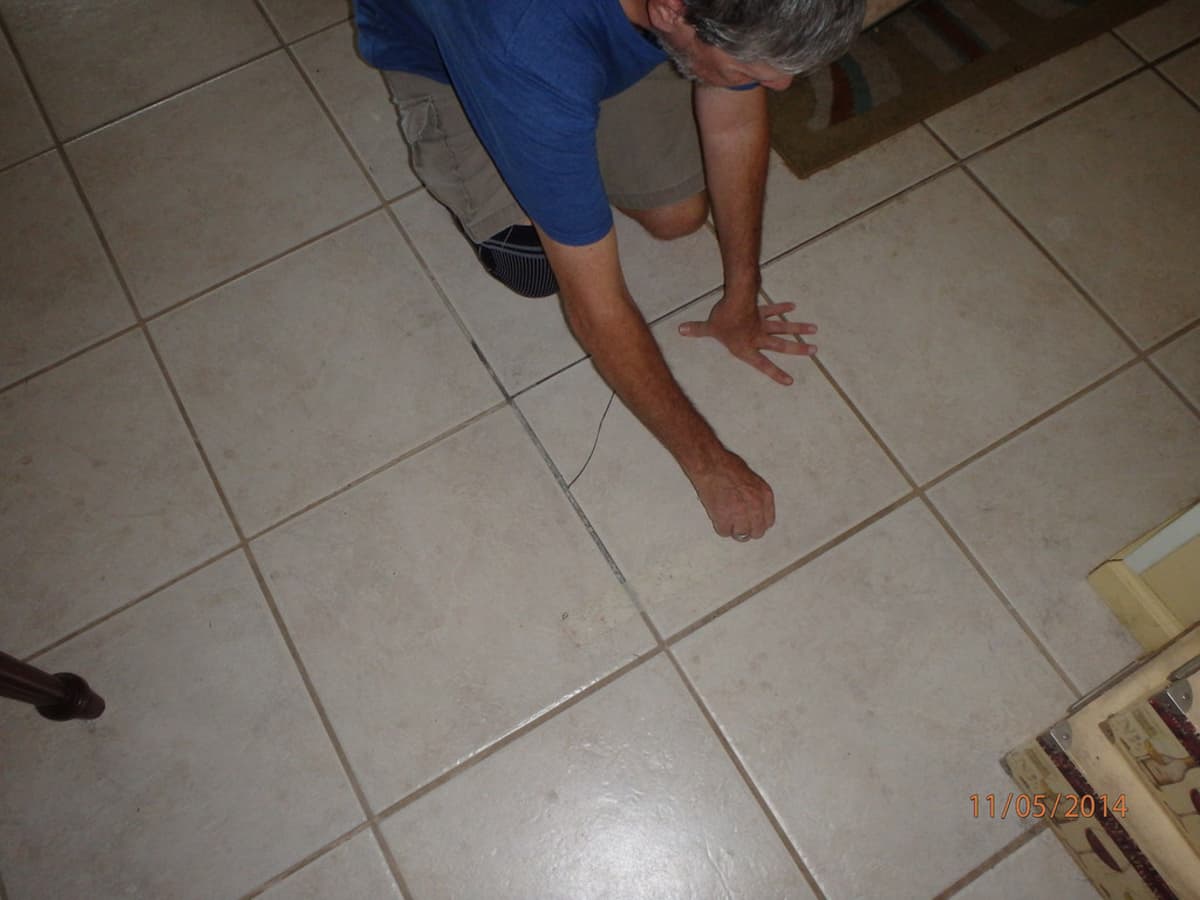
- Identifying Damaged Tiles: Carefully inspect the tiled surface to identify any cracked, chipped, or loose tiles that require replacement. Take note of the size, type, and pattern of the existing tiles to ensure a seamless match with the replacements.
- Assessing Substrate Condition: Examine the substrate, whether it’s a wall, floor, or countertop, to ensure it is structurally sound and free of moisture or other damage. Address any underlying issues before proceeding with tile replacement to prevent future problems.
- Gathering Materials and Tools: Make a list of materials and tools needed for the project, including replacement tiles, tile adhesive, grout, a notched trowel, a grout float, a tile cutter, safety goggles, and gloves.
Preparing the Work Area: Setting the Stage for Success
Proper preparation is key to achieving a flawless finish when replacing tiles. Follow these steps to prepare the work area:
- Clearing the Space: Remove any furniture, fixtures, or obstacles from the area to create a clean and unobstructed workspace. Cover nearby surfaces with drop cloths or plastic sheeting to protect them from dust and debris.
- Removing Old Grout and Adhesive: Use a grout saw or rotary tool with a grout removal attachment to carefully remove the old grout surrounding the damaged tiles. Then, use a chisel or putty knife to pry up the damaged tiles and scrape away any remaining adhesive from the substrate.
- Cleaning and Prepping the Substrate: Thoroughly clean the substrate with a mild detergent and water to remove dirt, grease, and debris. Allow the surface to dry completely before proceeding with tile installation.
Installing Replacement Tiles: Achieving Precision and Accuracy
With the work area prepared, it’s time to install the replacement tiles. Follow these steps for precise and accurate tile installation:
- Applying Tile Adhesive: Use a notched trowel to apply a thin, even layer of tile adhesive to the substrate, covering an area slightly larger than the size of the replacement tile. Avoid applying adhesive to areas where grout will be applied later.
- Placing the Replacement Tile: Carefully place the replacement tile into position, pressing it firmly into the adhesive to ensure good adhesion. Use tile spacers to maintain uniform spacing between tiles, and check for level and alignment with adjacent tiles.
- Allowing for Adhesive Cure Time: Allow the adhesive to cure according to the manufacturer’s instructions before proceeding with grouting. This typically involves waiting 24 to 48 hours for the adhesive to set and achieve maximum strength.
Grouting and Finishing Touches: Sealing the Deal
With the replacement tiles securely in place, it’s time to grout and add the finishing touches to complete the project:
- Mixing and Applying Grout: Mix the grout according to the manufacturer’s instructions until it reaches a smooth, lump-free consistency. Use a grout float to apply the grout diagonally across the tile joints, pressing it firmly into the gaps.
- Removing Excess Grout: After applying the grout, use a damp sponge to wipe away excess grout from the tile surfaces, working in a circular motion. Rinse the sponge frequently and change the water as needed to prevent grout haze from forming.
- Sealing Grout and Cleaning Up: Allow the grout to cure for the recommended time, typically 24 to 72 hours, before applying a grout sealer to protect against stains and moisture. Once the sealer has dried, use a clean, dry cloth to buff away any haze or residue from the tile surfaces.
Enjoying the Fruits of Your Labor: Admiring the Finished Result
Stand back and admire your handiwork as you revel in the satisfaction of a job well done. With the damaged tiles replaced and the grout meticulously applied, your tiled surface has been restored to its former glory. Whether it’s a kitchen backsplash, bathroom floor, or entryway, you can take pride in knowing that you tackled the challenge of tile replacement with skill and precision.
Conclusion: Empowering Yourself with DIY Tile Replacement Skills
In conclusion, DIY tile replacement offers a cost-effective and rewarding solution for addressing damaged or outdated tiles in your home. By following the step-by-step instructions outlined in this guide, you can achieve a flawless finish and rejuvenate any tiled surface with confidence. From assessing the scope of the project to preparing the work area, installing replacement tiles, and adding the finishing touches, each step contributes to a successful outcome. With practice and patience, you’ll develop the skills and expertise needed to tackle future tile replacement projects with ease.